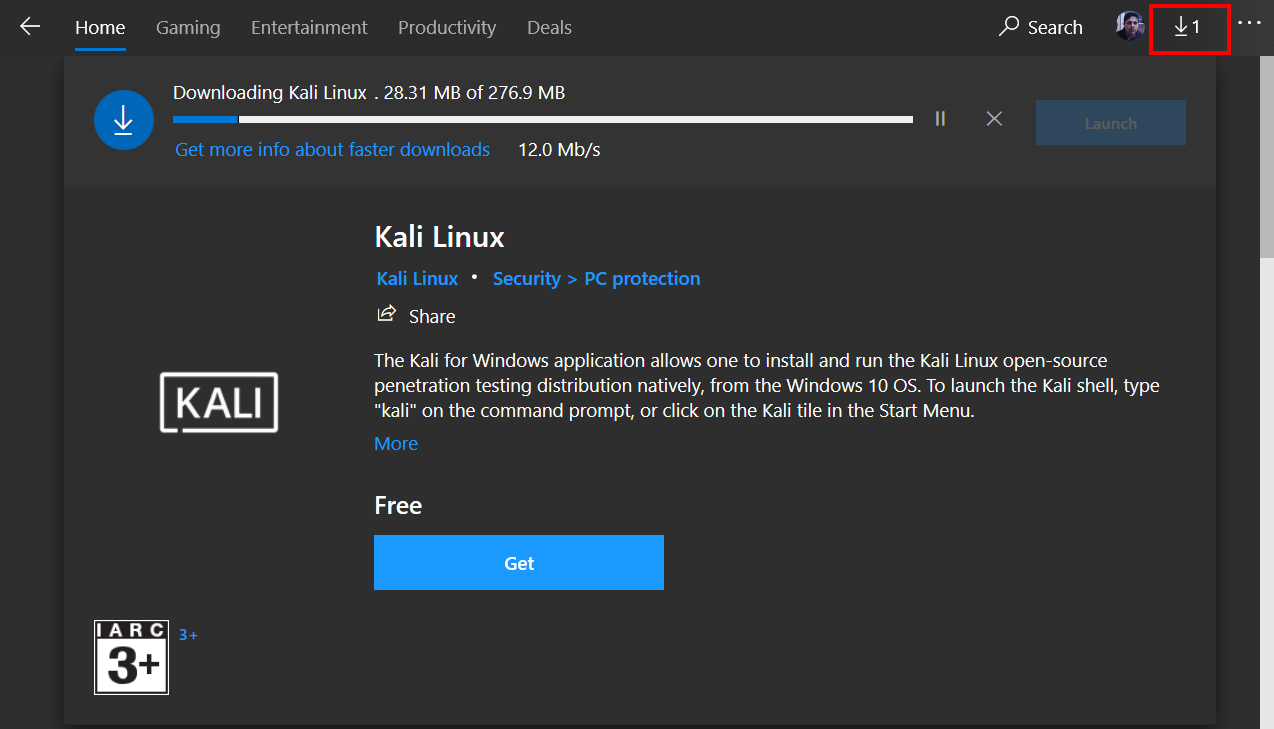
What is Kali Linux
Kali Linux is a Debian-based Linux distribution design for advanced Penetration Testing and Security Auditing. that comes with pre-installed Penetration Testing, Security research, Computer Forensics, and Reverse Engineering Tools.
Kali Linux Install VirtualBox Images
- Kali Linux 64-Bit (Installer)
- Kali Linux 32-Bit (Installer)
- Kali Linux 32-Bit (Live)
- Kali Linux Install VirtualBox OVA
- Kali Linux 32-Bit (NetInstaller)
Kali Linux Install VirtualBox ALL Images download here link
- Parrot OS Install on Virtualbox 2021
- Kali Linux Install on AWS cloud
- Elementary OS Installation
- Kali Linux Install VirtualBox
- Garuda Linux Installation
Kali Linux Install Virtualbox
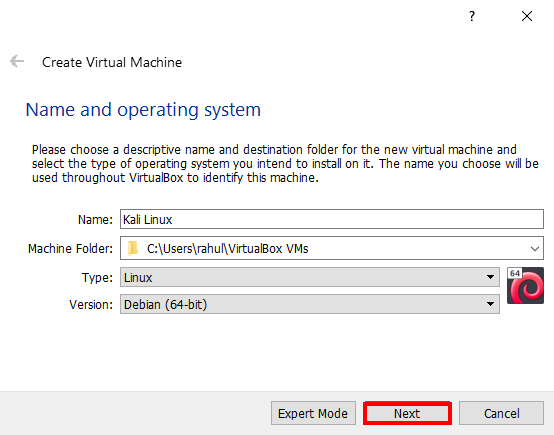
After Download and install the VirtualBox on your Computer, Open your VirtualBox and Click on the New Button. A dialogue box is open here we need to type the name of the machine or Type of Operating System and Version of the Operating system.
In my case, my Virtual Machine Name is Kali Linux or OS type is Linux and Version Debian 64, if you download Kali Linux 32-bit, choose Debian 32 bit version and click Next.
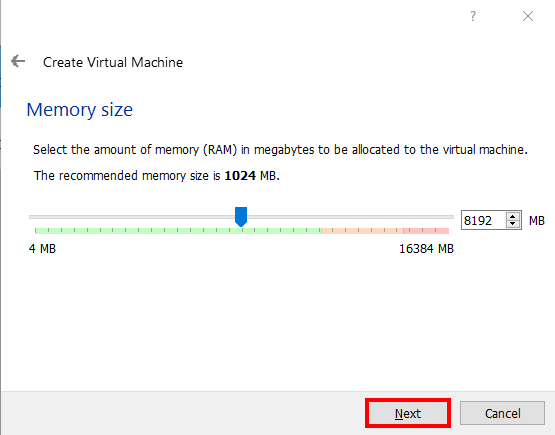
The next step is allocating Virtual Ram for Kali Linux, it is recommended that you allocate at least 1 GB, to run perfectly Kali Linux allocate at least 8 GB.
The Next option is Creating Virtual Hard Disk for Kali Linux, Choose the second radio button ( create a virtual hard disk now ) and click Create.
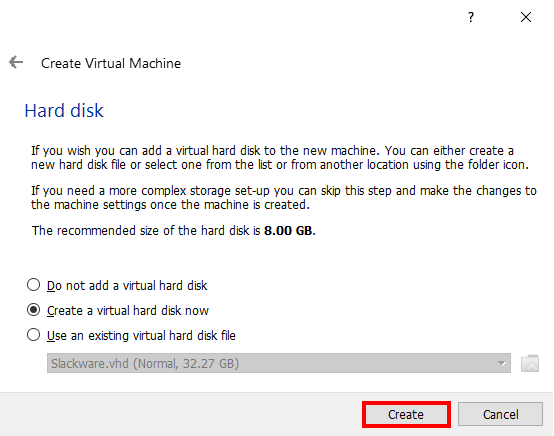
Choose Storage Type Dynamically Allocated and click the Next button.
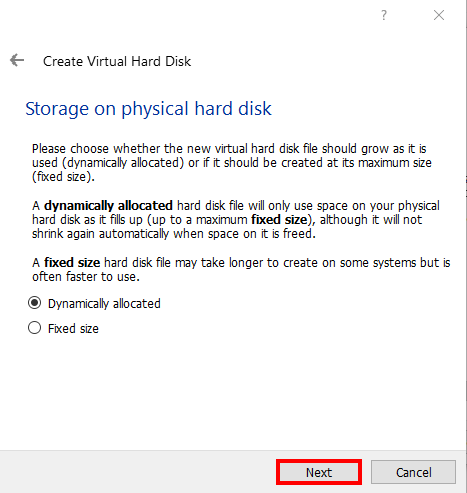
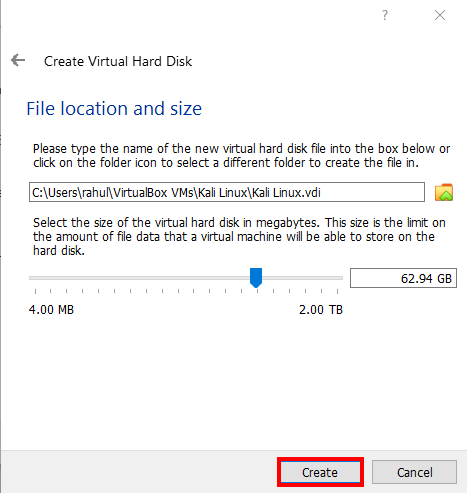
Final Step for Virtual Hard Disk configuration Allocating Virtual Disk size if you want to change the virtual Disk destination directory or name click the place holder and allocate disk size and click Create.
The minimum requirement is 12 GB for Kali Linux installation on Virtual Box.
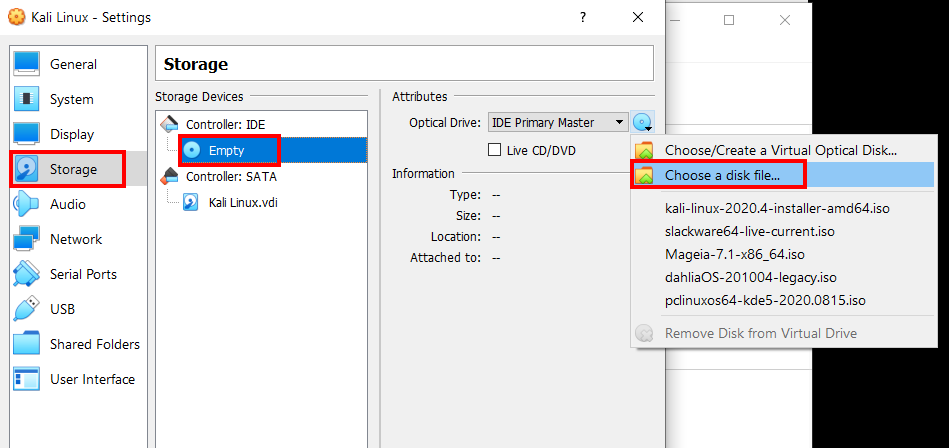
After Allocating the Virtual Hard Disk for Kali Linux Our New Kali Linux Virtual Machine is Created, Final Step is Attaching Kali Linux ISO image file to Virtual Machine Click the Kali Linux Machine Setting button and go to Storage Section and click the disk icon and navigate your Kali Linux ISO images.
Kali Linux Install VirtualBox Started
and click the start button to start the Kali Linux installer.
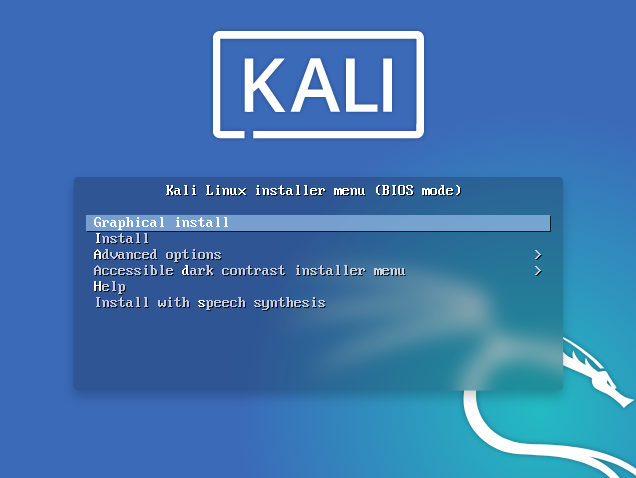
Now Kali Linux installer is start choose first option Graphical Install and hit enter.
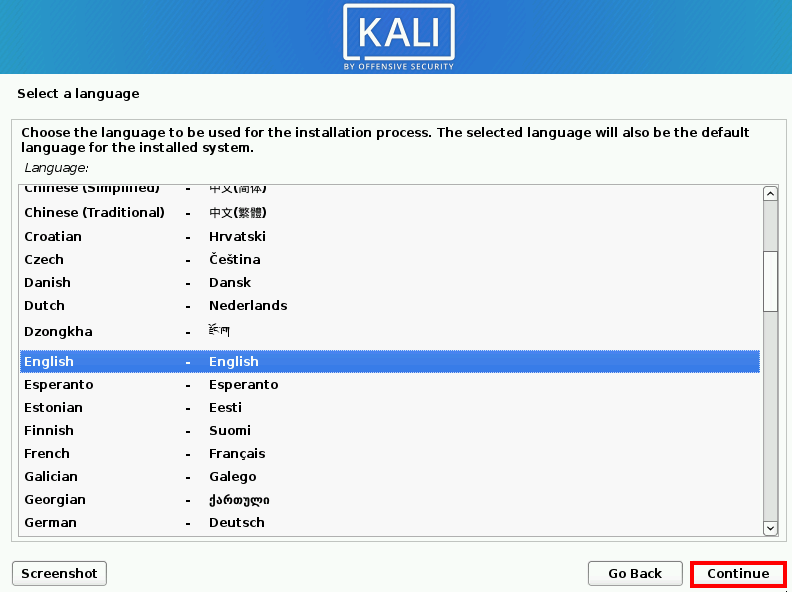
choose the installation process language and click Continue.
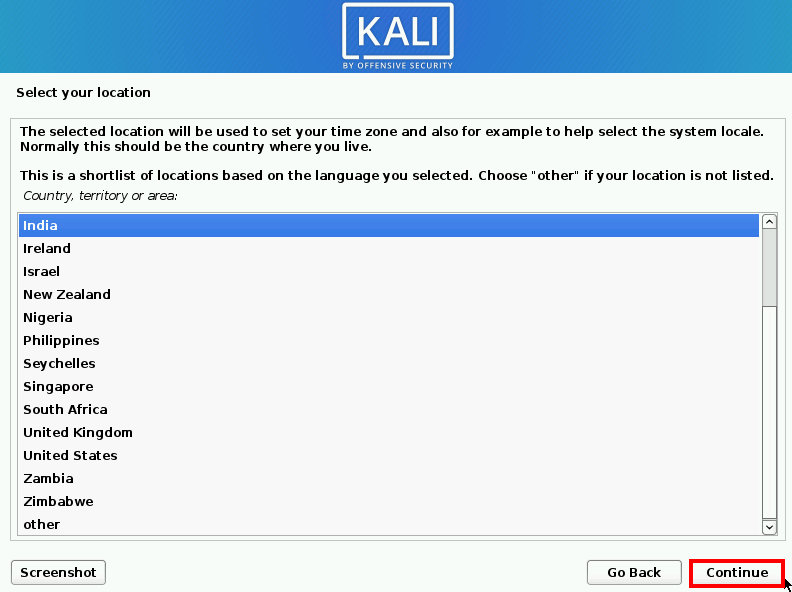
Select your country location and click Continue.
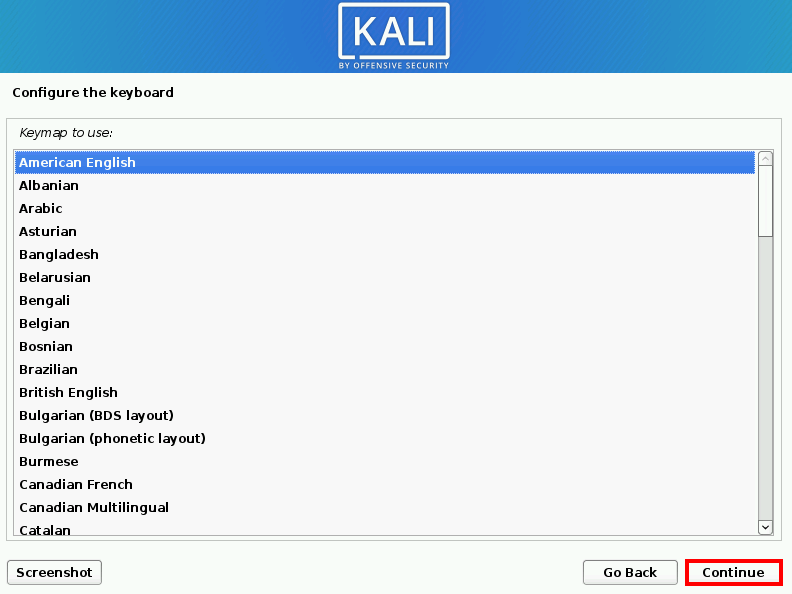
choose your keyboard layout and click the continue button.
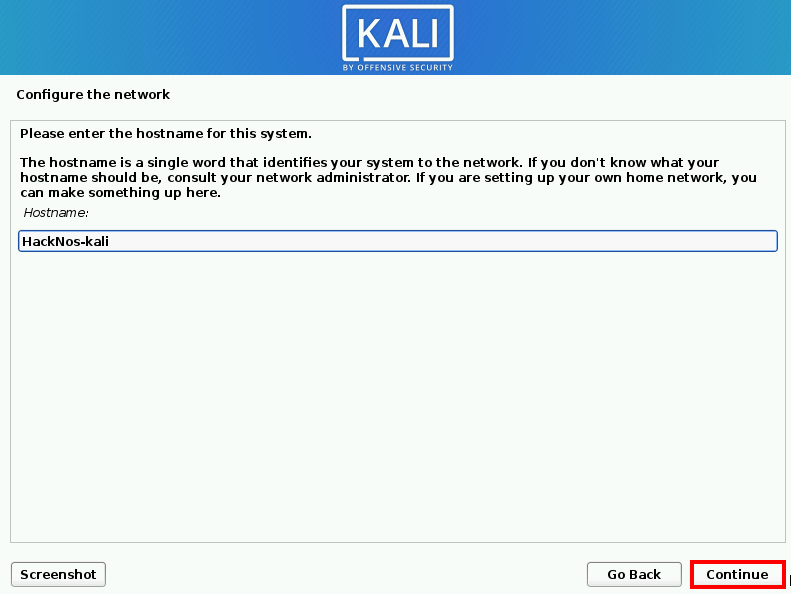
If you’re not connected to the internet you get a network configuration error click ( don’t configure this time ) and go to the next step, type your Kali Linux machine host-name and click continue.
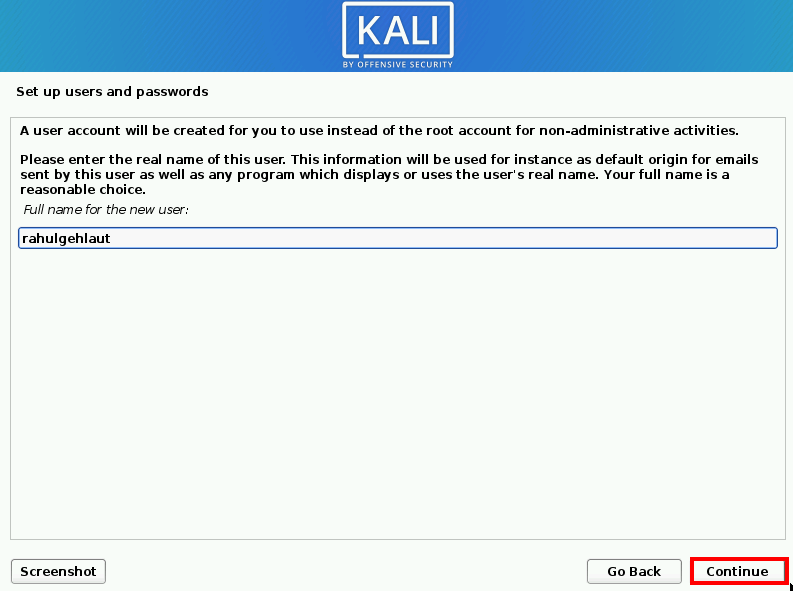
Next, type the new user’s full name and click the Continue button.
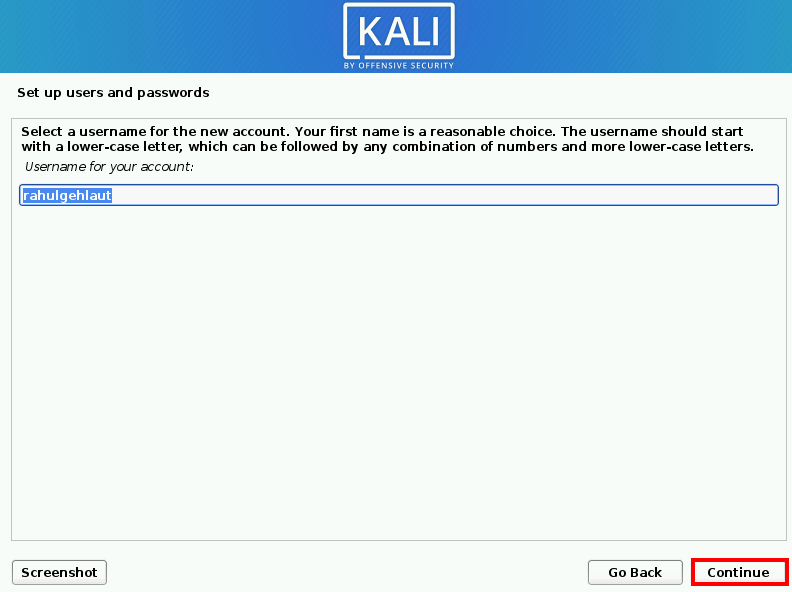
Now type your username and click the continue button.
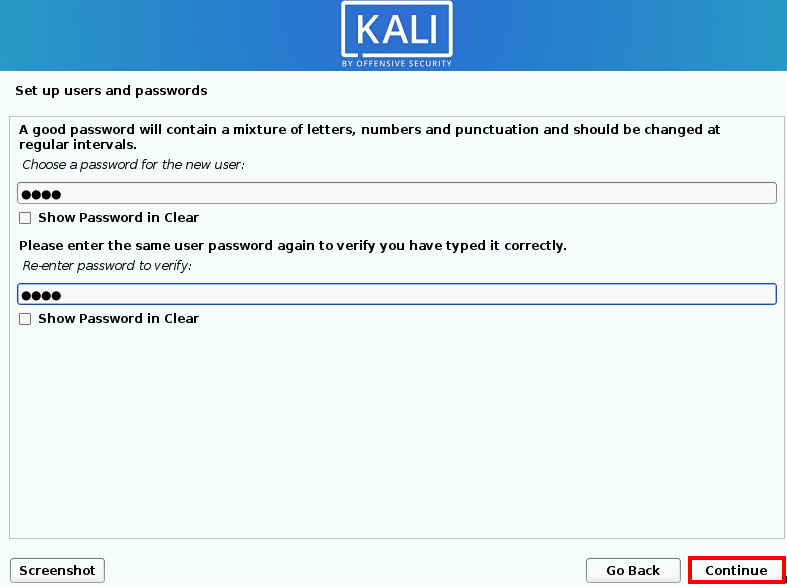
Choose a New password for the new user, type your password two times and click the Continue button.
Partitions Configure For Kali Linux install VirtualBox
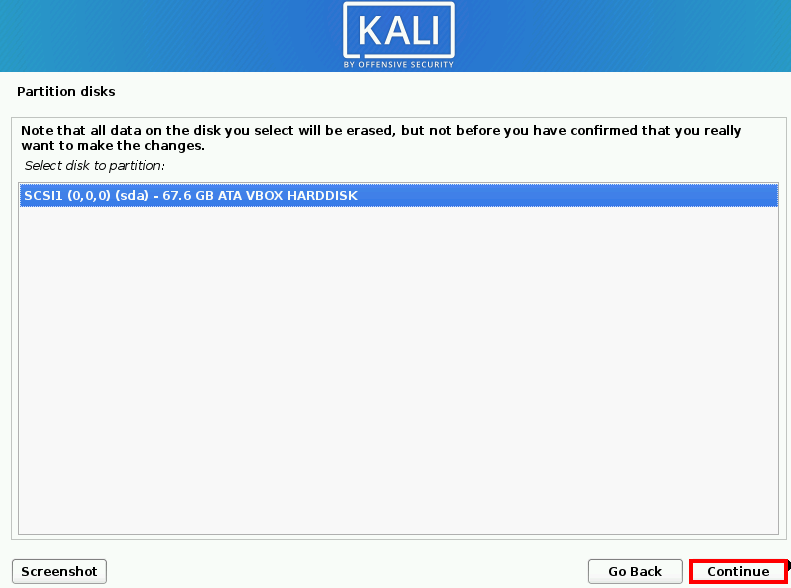
Next, We will have to set the partition disk Choose the First option ( Guided – use entire Disk ) and click Continue.
time
Now Select your partition table and again click Continue.
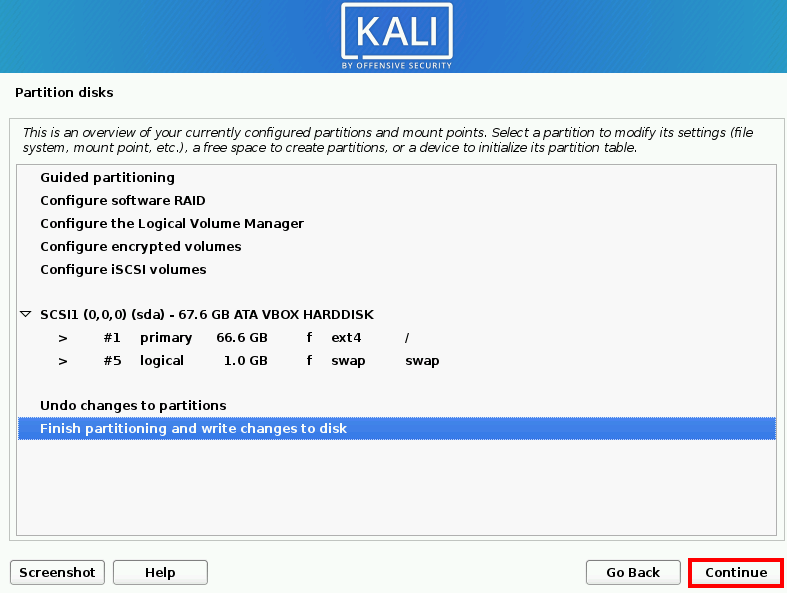
Check your Partition Table is correct and choose the second option ( Finish partitioning and write changes to disk ) and click the continue button.
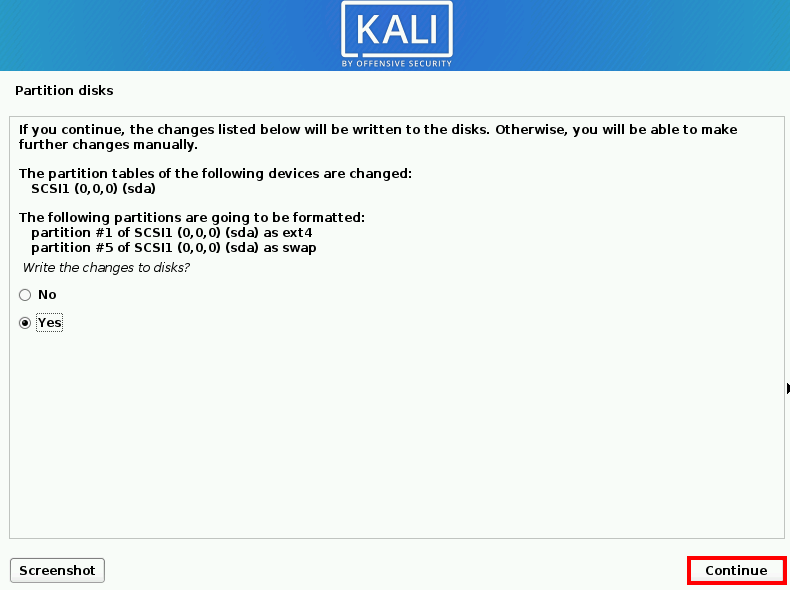
Partition Disk Write the changes to the disk choose the yes radio button and click Continue.
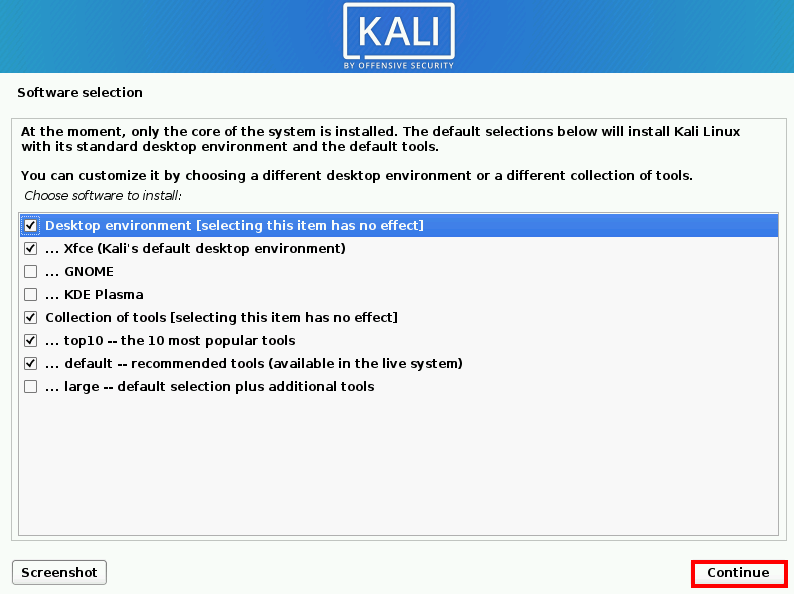
Choose Kali Linux Install Desktop Environment
Select your Desktop environment and Tools, in my case I choose the default option to install kali Linux with Xfce Desktop environment,) and click Continue.
Kali Linux Install VirtualBox Grub
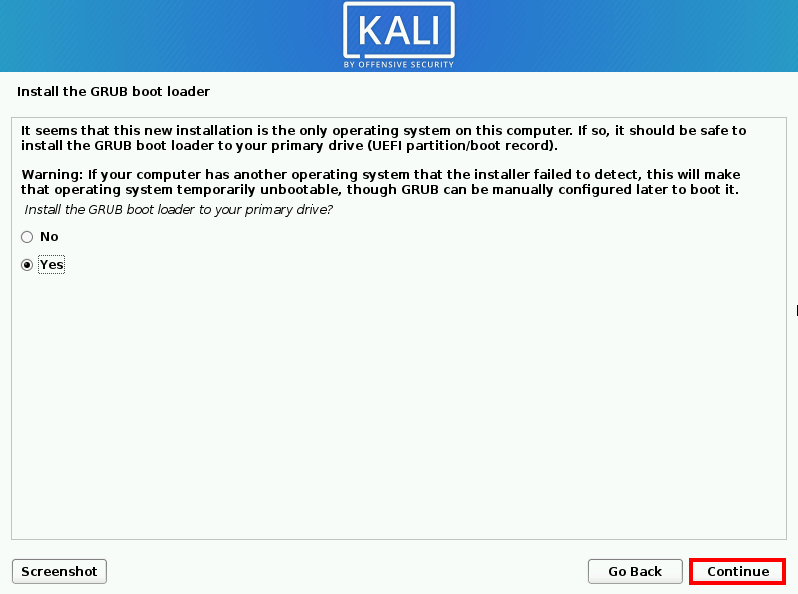
Install GRUB boot Loader your primary drive choose yes.
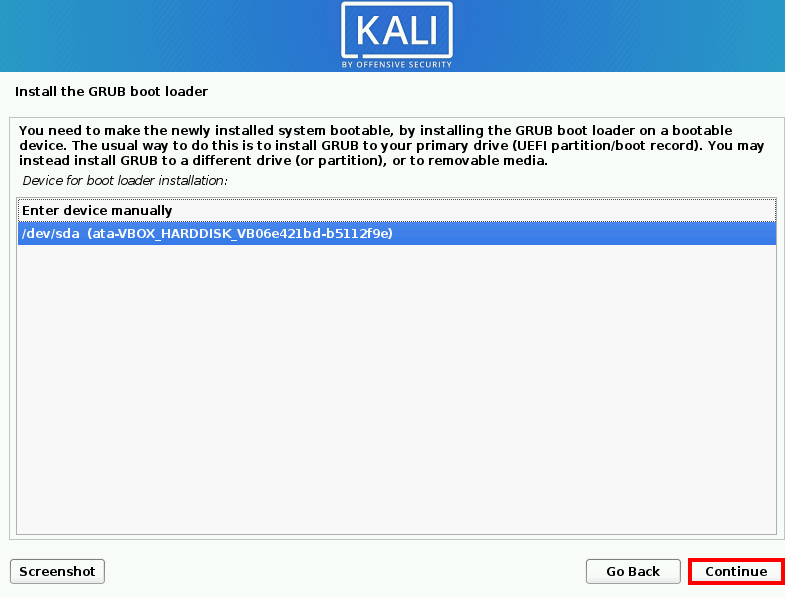
choose your boot loader installation Disk and click Continue.
Kali Linux Install VirtualBox Done
After 2-5 Minutes Grub boot loader installation is done now click the continue button and your Kali Linux VM is automatically restarting.
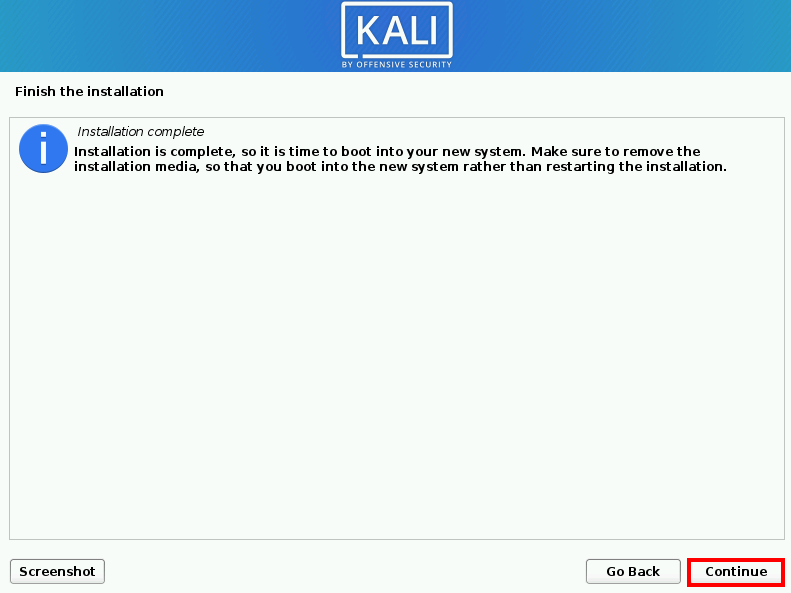
After rebooting the machine first we remove the Kali Linux installation ISO image and again restart the machine.
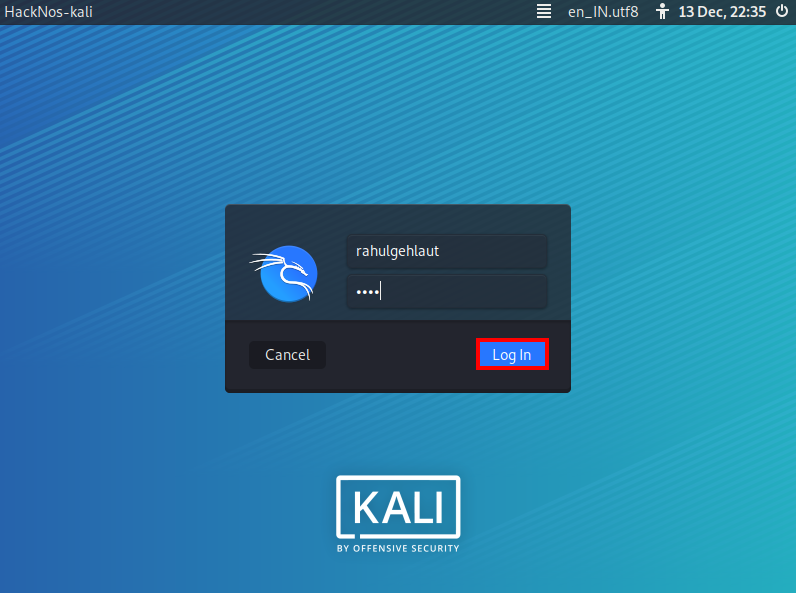
our Kali Linux machine is boot up type your username or password and hit enter.
- Kali Linux install as a windows subsystem
- Blackarch Install Virtualbox
- Ubuntu-Server install Virtualbox
- Kali-Linux install on Amazon AWS.
- Kali Linux Install VirtualBox
Common Kali Linux Questions
How install Kali Linux on USB?
There is lots of option and tools for installing Kali Linux on USB Drive. After creating Kali Linux bootable USB Drive You can Run the Kali Linux Operating System directly without installing it on Any Windows & Linux Computer Using the Kali Linux Live Option on the boot menu.
Let’s Install Kali Linux on USB
- Insert your USB drive on Your Computer
- Download any USB Drive Flasher utility
- I’m Using Most Popular USB Flasher Utility BalenaEtcher and available for Cross-Platform
- Why I Used Etcher Because it’s free and Easy to Use
- Let’s run the Etcher Software
- Select Your Kali Linux Image File
- Select You USB Flash Drive
- And Final Click On Flash Button
Now Our Kali Linux USB Flashing is Started it takes 5-15 minutes Wait Until the Flash Complete Message.
Is Kali Linux free?
Yes, Kali Linux Operating System is completely free You can download it from Kali Linux Official Web Site Free for Penetration Testing. Kali Linux comes with 600 pre-installed Free Penetration Testing Tools. and Kali Linux is developed by Offensive Security Teams.
How to Upgrade Kali Linux to VirtualBox?
You can Upgrade the Kali Linux Using these few Commands.
|
1 |
sudo apt update -y && sudo apt upgrade -y |
Can Linux be hacked?
Yes, Anyone can be hacked Kali Linux Operating System Using the Linux Reverse Shells and Netcat Reverse Connection, and there is no pre-installed Firewall for the protection of Kali Linux Ports.
Is Kali Linux safe?
Kali Linux is It’s a Debian-based Operating System and it is developed by the Offensive Security Team, and no One Operating System is Safe Hacker Can Hack Any operating System using their own skills and techniques.

