In this post, we are going to install Kali Linux as a Windows Subsystem on Windows 10 Machine. Windows Subsystem for Linux (wsl ) is a compatibility layer for running Linux binary executable natively on Windows 10 and Windows servers 2019.
- Kali Linux Install Virtualbox
- Run Kali Linux as a Windows Subsystem
- Parrot OS Install on Virtualbox
- Login WordPress Account Without Password
- Run Kali Linux as Windows Subsystem
Run Kali Linux as a Windows Subsystem
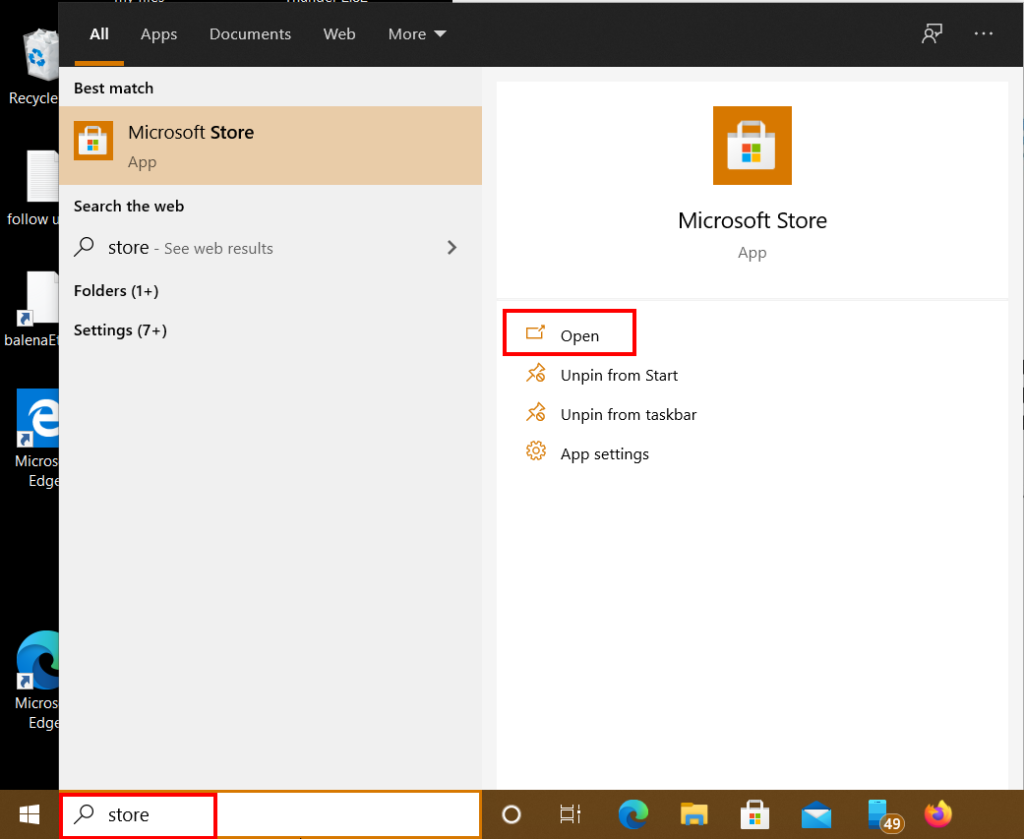
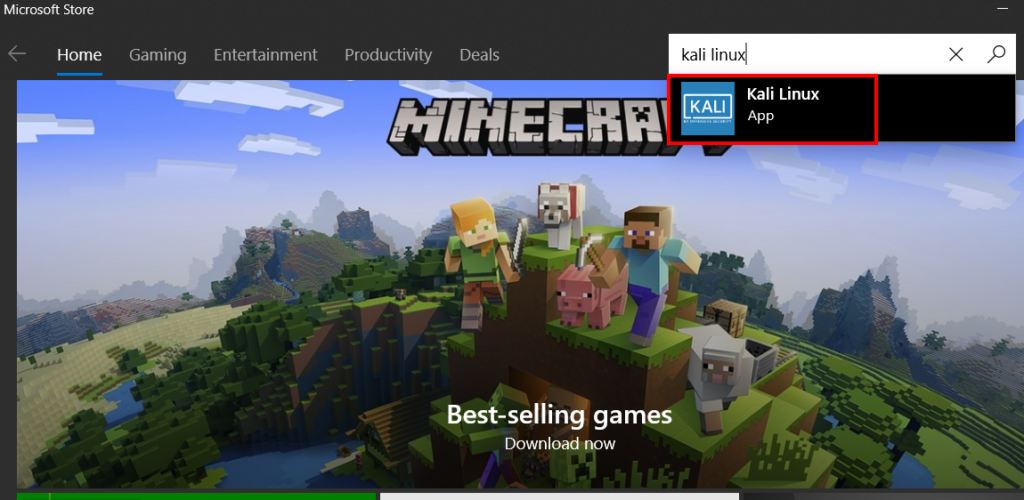
First, we open our Microsoft Store and search for Kali Linux.
Click the Kali Linux app button
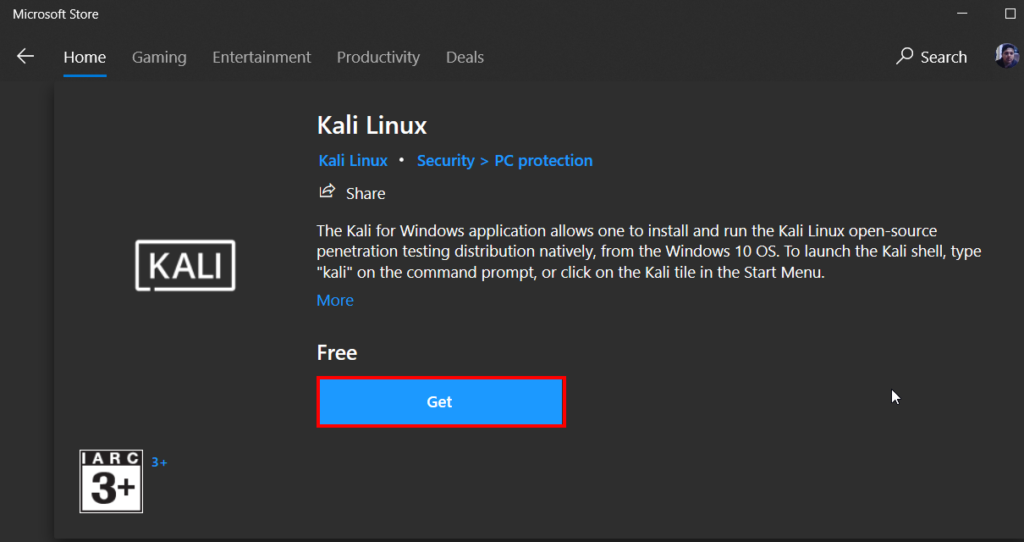
Now install Kali Linux click Get and our Kali Linux machine is downloading.
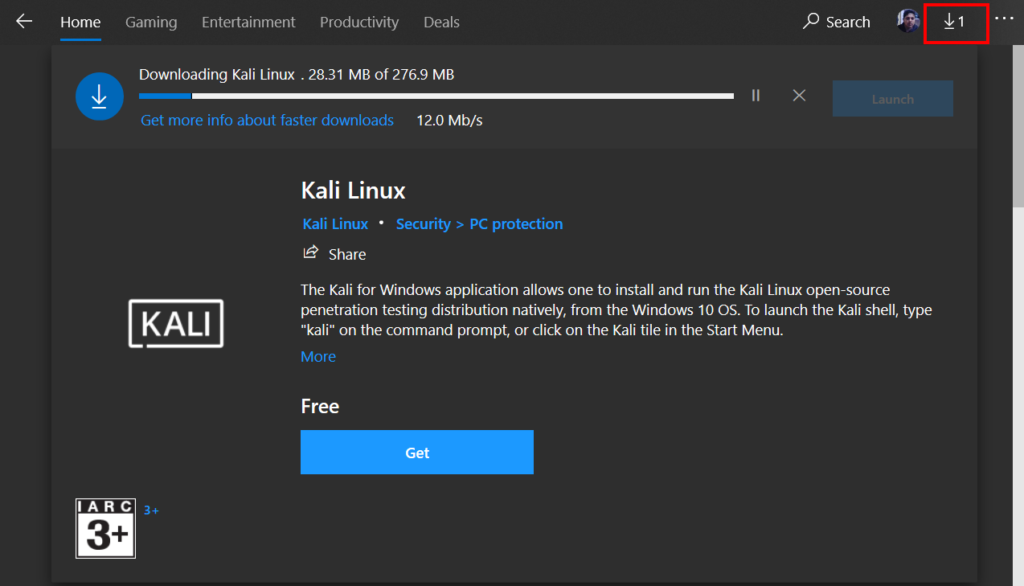
Wait until the complete download.
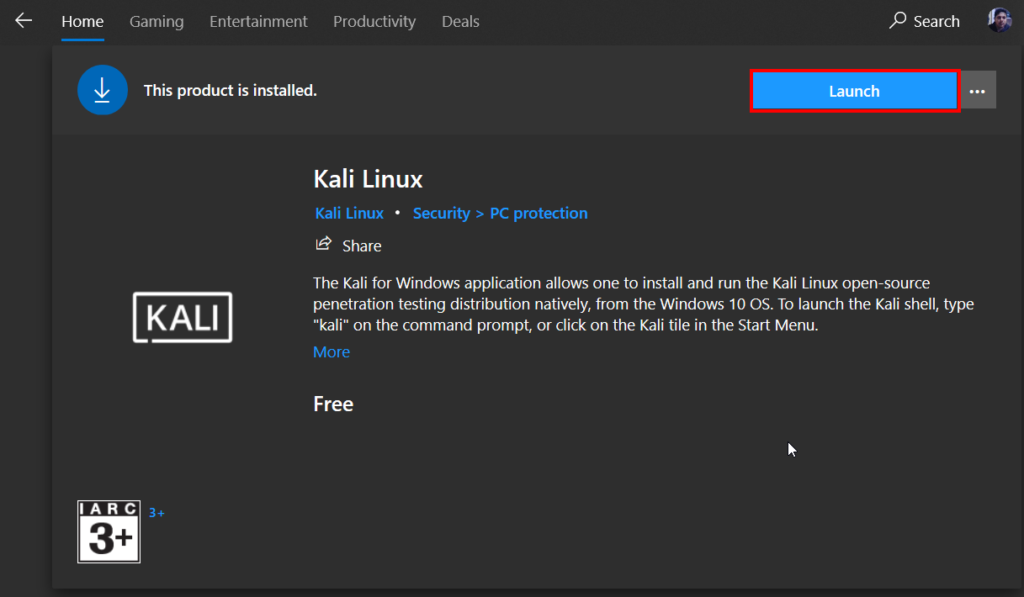
Now our Kali Linux App is installed click the launch button.
A new window is open and we get an error WslRegisterDistribution failed with error: 0x8007019e
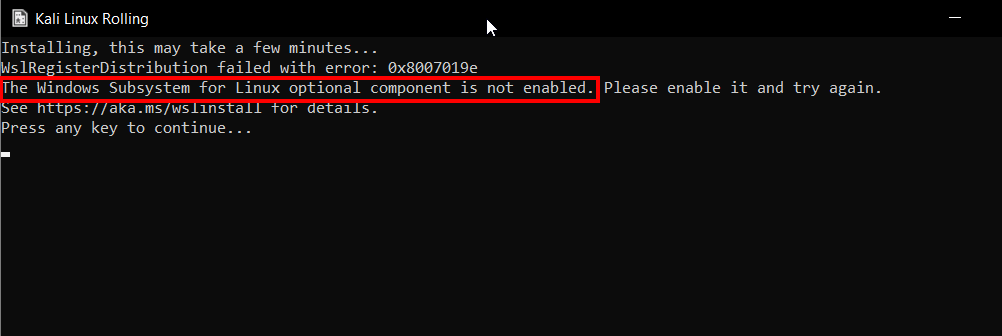
Windows Subsystem for Linux optional component is not enabled
Installing, this may take a few minutes…
WslRegisterDistribution failed with error: 0x8007019e
The Windows Subsystem for Linux optional component is not enabled. Please enable it and try again.
See https://aka.ms/wslinstall for details.
Press any key to continue…
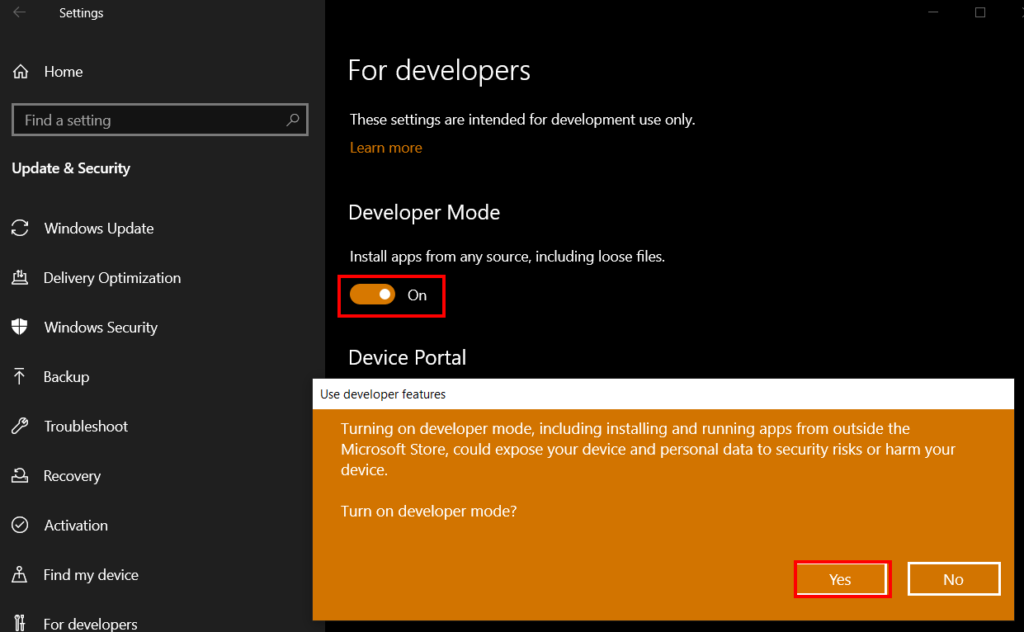
Let’s fix the problem go to the windows setting and find the developers option and enable Developer Mode.
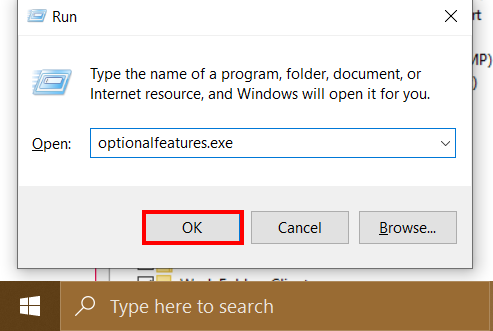
The next Step is to enable Windows Subsystem for Linux features open run command and write optionalfeatures.exe and enter.
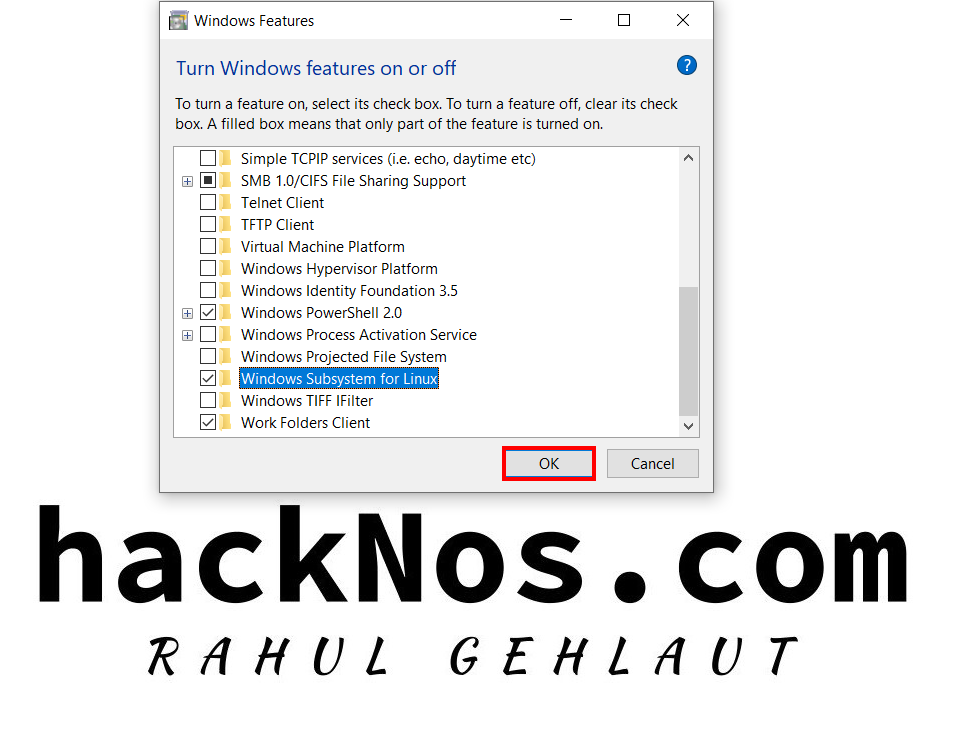
Run Kali Linux as a Windows Subsystem Enable Features
now check the Windows Subsystem For Linux and click ok.
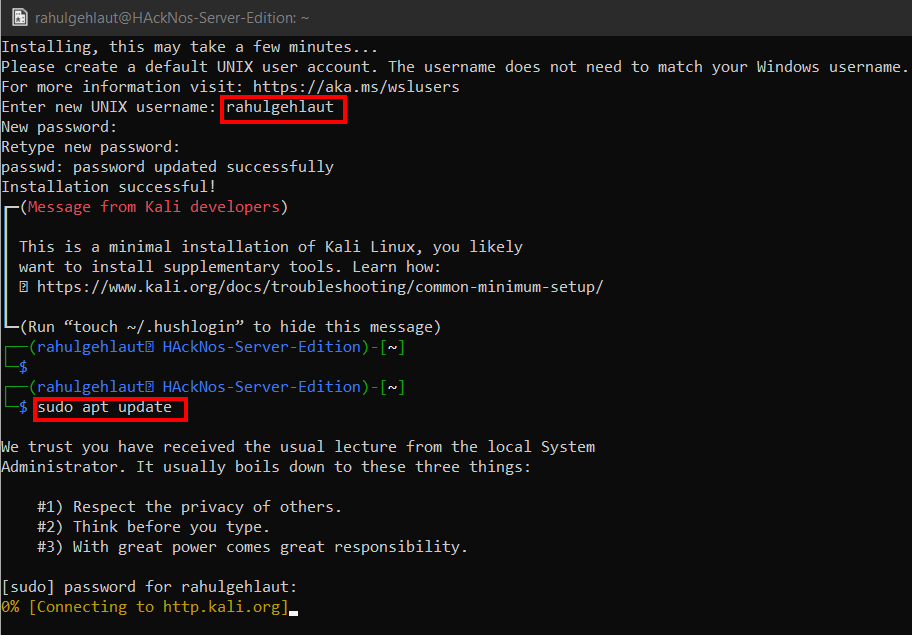
And again open Kali Linux App, it takes a few minutes for installing Kali Linux as a windows subsystem, After a minute it asks us new username and password for a new user.
Let’s update Kali Machine run the below command.
|
1 2 |
sudo apt update sudo apt upgrade -y |
