What is CyberPanel?
CyberPanel is a web hosting control panel that comes with OpenLiteSpeed Server, CyberPanel is an alternative to cPanel, CyberPanel is an open-source Free Software, you can install CyberPanel on any Linux Server
CyberPanel Features
- Auto SSL.
- FTP Server.
- Docker Manager.
- Web Terminal.
- Free One click Software (WordPress, Zoomla, Magento, Git)
- PHPMYAdmin.
- FileManager.
- Email Support (Rainloop).
- Light weight DNS Server Managment.
- PHP Version Managment.
- Different Level Of users.
- Firewall.
- One click Backup and Restore.
CyberPanel Install Requirements
- Centos 7.x, Centos 8.x, Ubuntu 18.04, Ubuntu 20.04
- Python 3.x
- 1024MB or above Ram.
- 10GB Disk Space.
- CyberPanel Install on Vultr VPS
- CyberPanel NameServer Configure
- WordPress Install on Ubuntu Server
- CyberPanel Install WordPress
- CyberPanel Install Ubuntu
- WordPress Install on AWS
In this article, We are going to talk about what is CyberPanel, or CyberPanel Install on Vultr High-Frequency VPS, Before Start, the installation process first log in with your Vultr account.
Deploy New instances for CyberPanel.
After Access the Vultr Dashboard First we deploy New Instance, let’s click on the Products button and choose a Server according to your requirement,
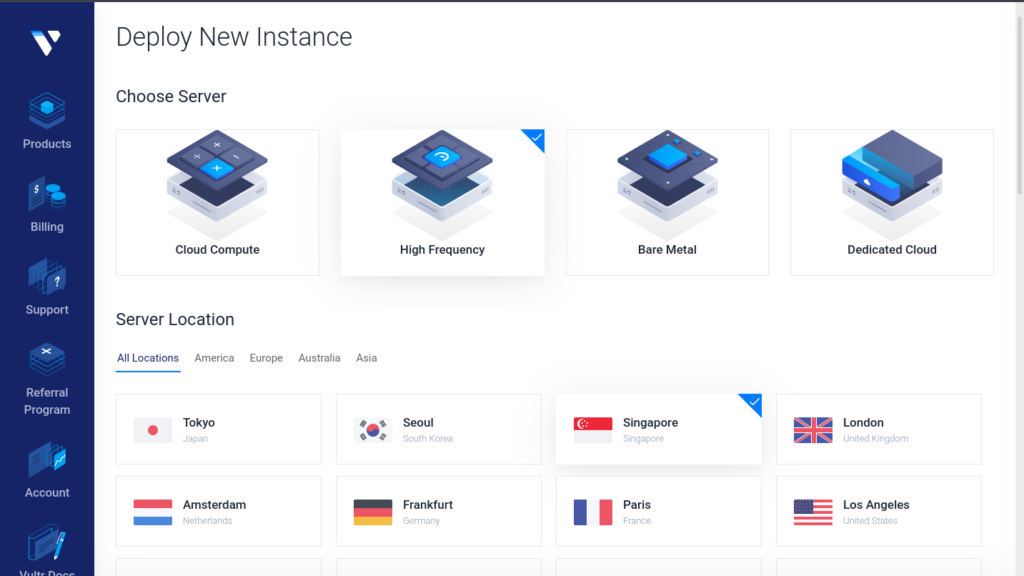
Choose Server: I choose the High-Frequency Server.
Server Location: Next Select your Nearest Server Location I’m from India but there isn’t an available India Server so I’m continuing with the Singapore location.
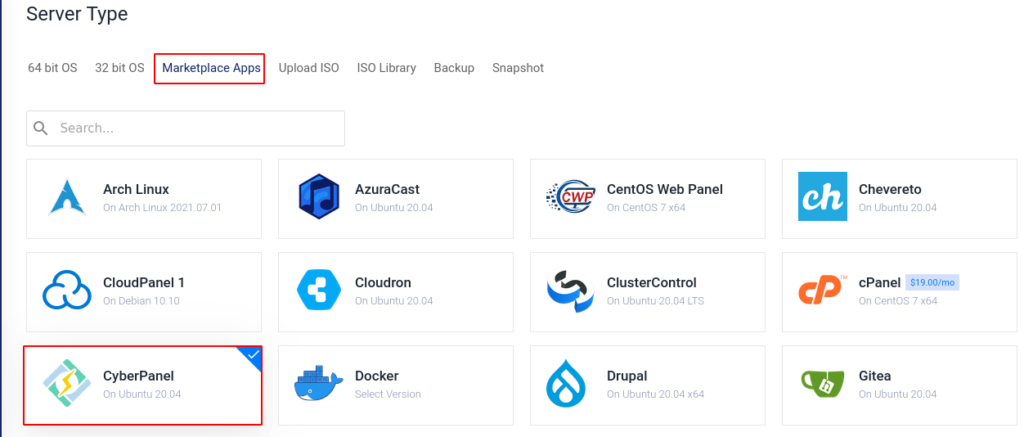
Server Type: Now this time to choose Our Server Type Which means we need to choose which type of operating we want to install on the Cloud Server, Click On the Marketplace Apps, and then select the CyberPanel Template On Ubuntu.
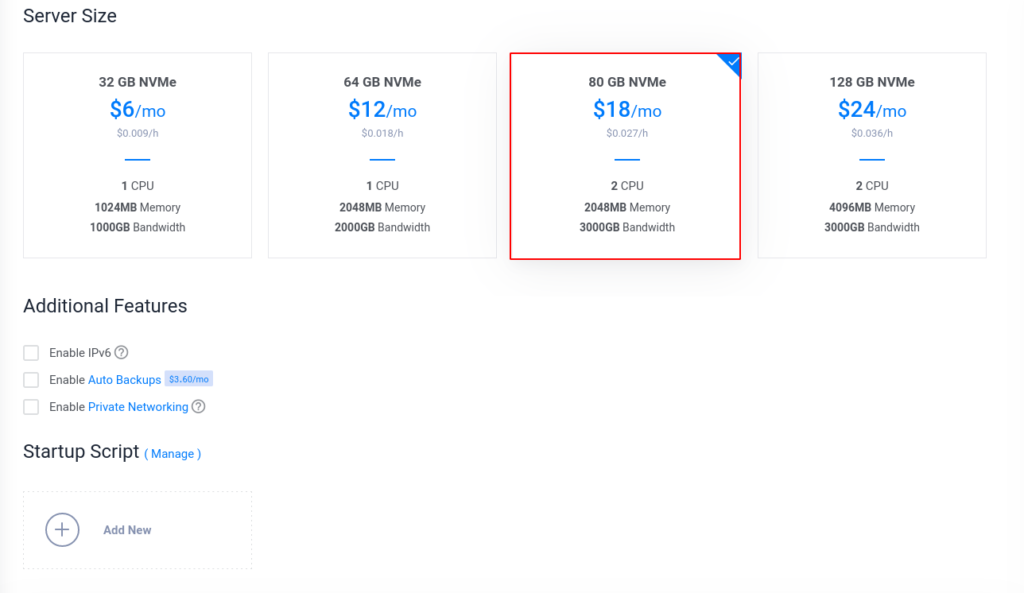
Server Size: Select your Server Size According to your requirement and minimum requirement for CyberPanel Installation.
1 CPU
1 GB Ram
In this Installation, I skip the Additional Features option, if you need IPv6 Support or automatic Backup for your Server you can select the first two options.
Security Management & Server Hostname
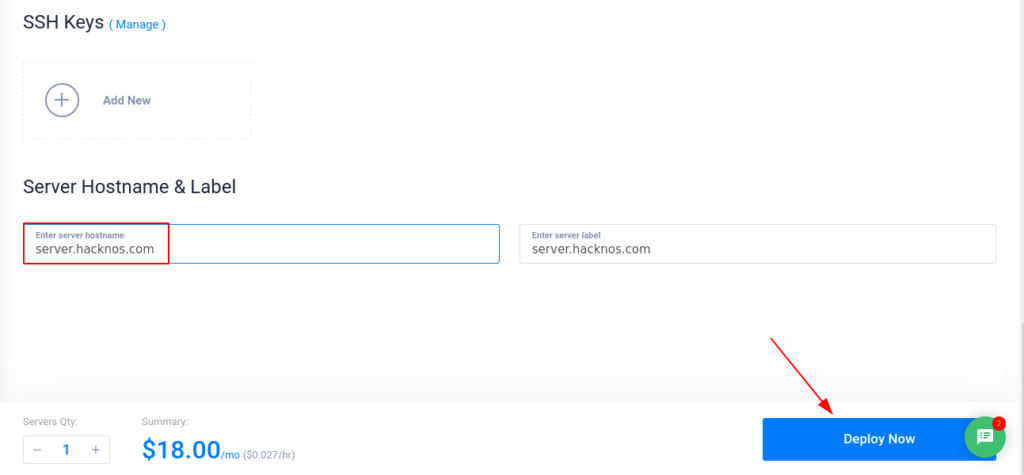
Now We need to Select Which Type of Security we want to implement on our Server for Accessing the Console, If you want to login with SSH Keys click the Add New Button and paste your authorized SSH key.
On this next option, we need to write our Server Hostname type your hostname in the first placeholder, and click the Deploy Now button.
Note: Before clicking the Deploy Now button, first review your Server Details because After Deploy the Server you can’t change few features like Server Location or Instance Type.
After Deploying the server it takes 2-3 Minutes for ready to use, wait until seeing the Status Running.
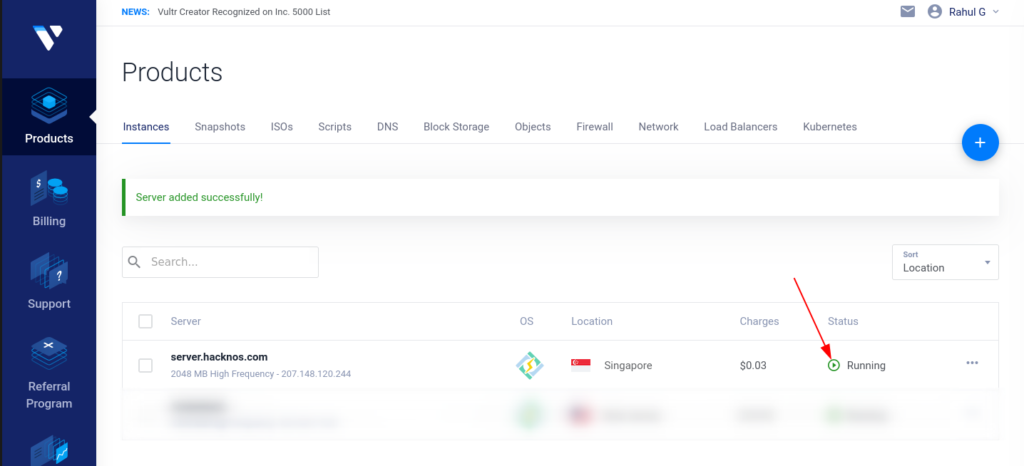
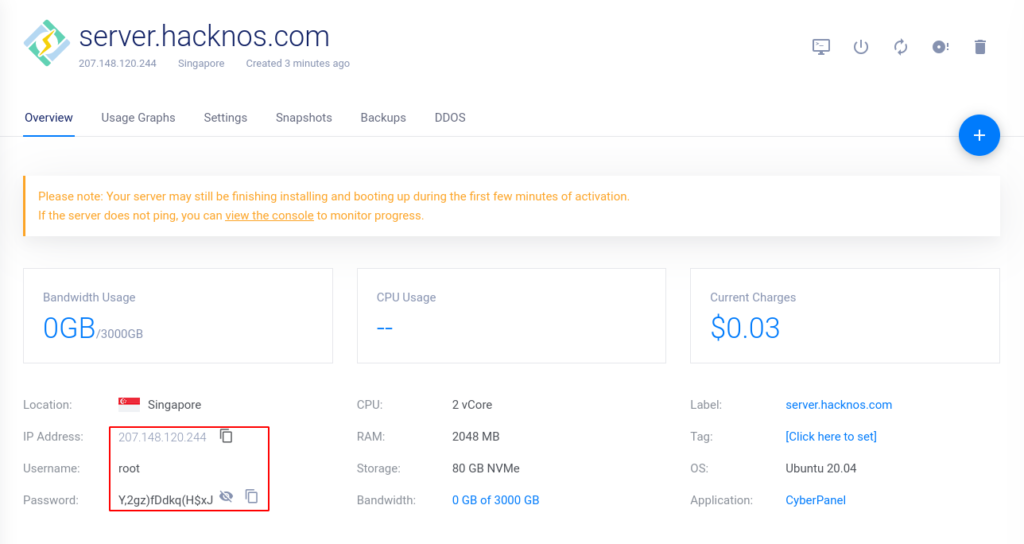
Now Our CyberPanel Install Successfully and our Server Ready to Use click on the Running button and you move the Server Overview Page let’s copy your Server IP Address or username: password
SSH Console Access & Get Cyber Panel Password
If you are using a Windows Operating System can use the putty Software for accessing the SSH Console, I’m using the Linux Operating System so I’m using the terminal for accessing the SSH Console Access.
|
1 |
ssh root@your-ip-address |
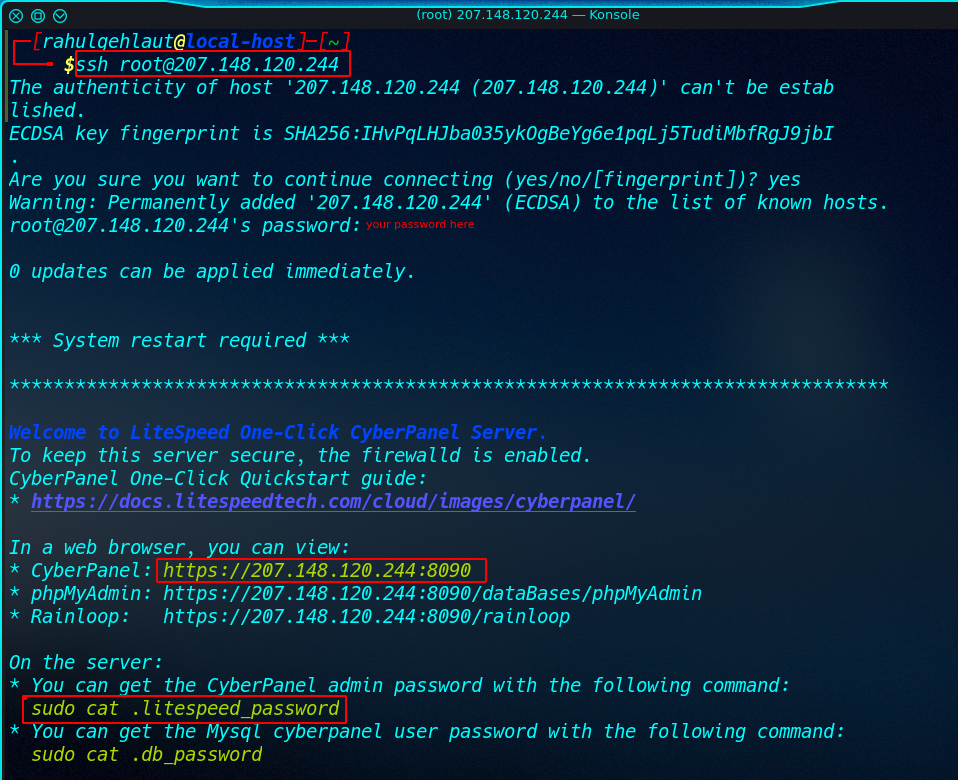
After accessing the ssh console run the following command for getting the Cyberpanel Password.
|
1 |
cat .litespeed_password |
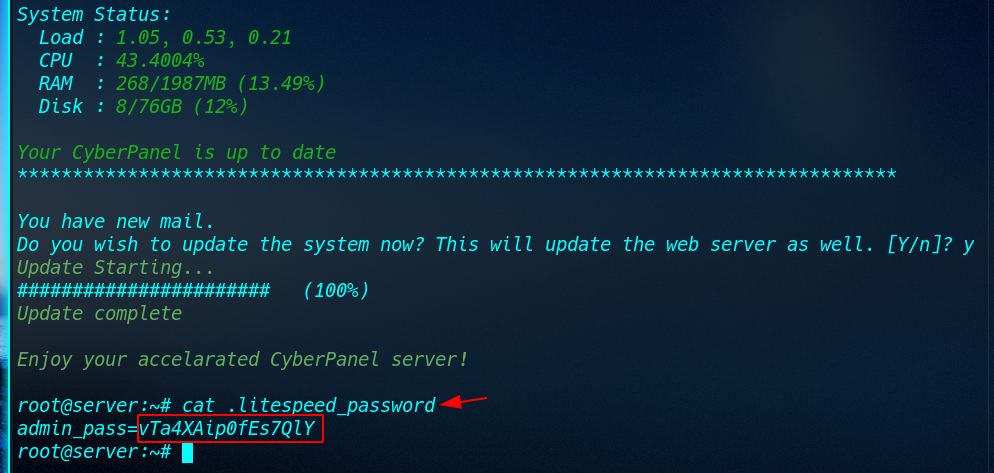
After copy the cyber panel password from your server, let’s open any browser and navigate your Server Public IP in URL address with 8090 port, and don’t forget to use HTTPS Protocol.
|
1 |
https://ip-address:8090 |
After navigating the following URL We will get a Warning: Security Risk page click the Advanced button and Accept the Risk and Continue
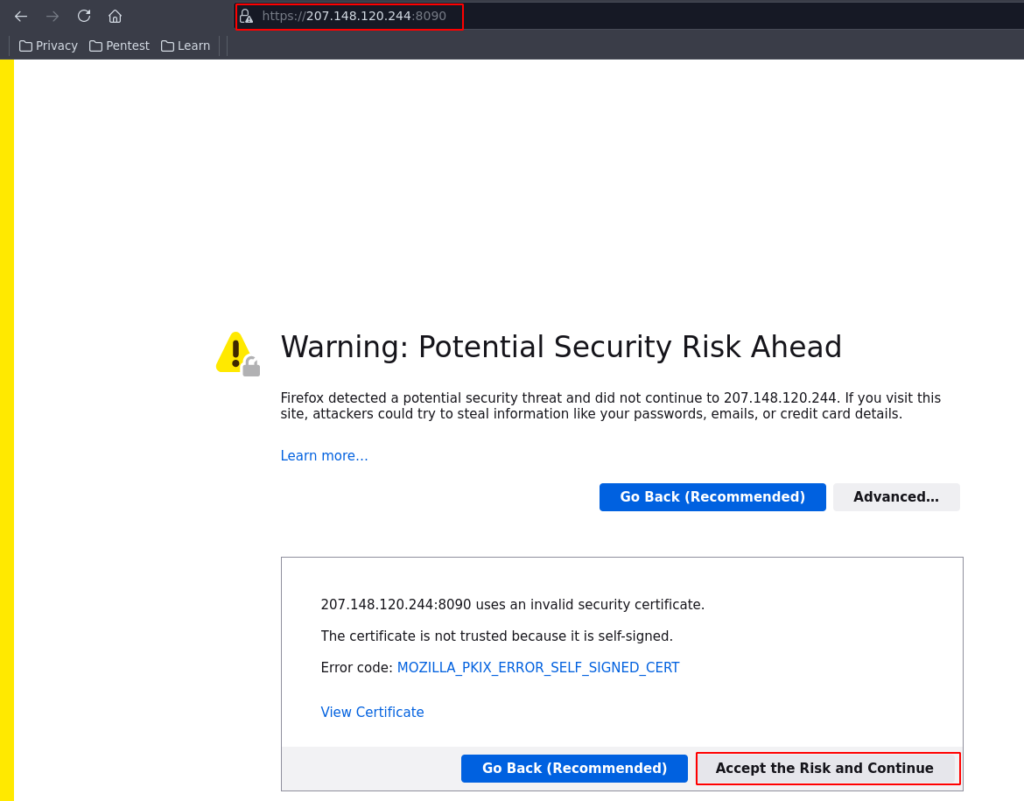
Let’s log in with your cyberpanel password and username is the same admin.

CyberPanel Install Free ?
CyberPanel comes with OpenLiteSpeed and you can Install CyberPanel Free Many Cloud VPS providers Provide CyberPanel Install on One-Click, CyberPanel is completely free for an unlimited number of Websites or domains.
CyberPanel Install – OpenLiteSpeed free ?
Yes, OpenLiteSpeed Server is Completely Free it comes with a GPLv3 License, When you Install CyberPanel it’s automatically installed on your VPS.


