How to Install Windows 10 In virtual Box.
Today I will tell you how you can install Windows 10 operating system in a virtual box.
Box – Create New. ( windows 10 install virtualbox )
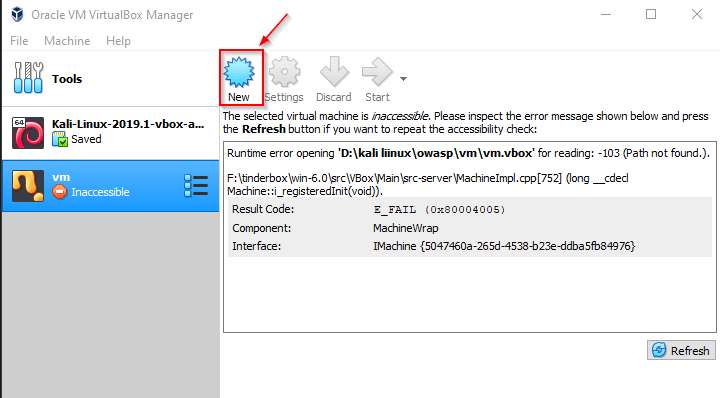
To install Windows 10, first you have to open your virtual box and then click above the new button as shown in the photo.
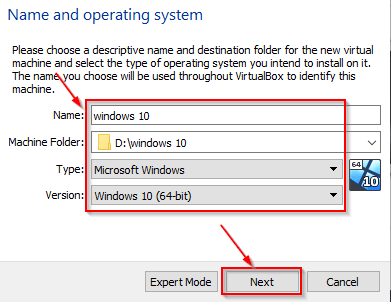
After that you have to set some features for your window as you have seen in the photo, you have to select the same option and if you have a laptop with 2GB of RAM, then you should select Windows 10 32 bit in version If your Ram is more, then you have to select features similar to mine.
Box – Select the RAM. ( windows 10 install virtualbox )
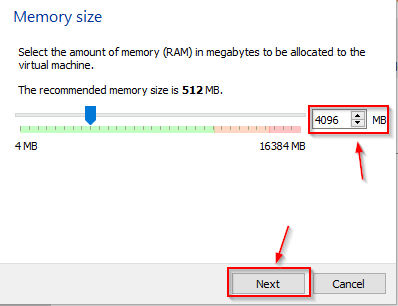
After this, you have to set the RAM for your Windows 10, how much RAM you want to give to your window, after selecting the RAM you have to click on the Next button.
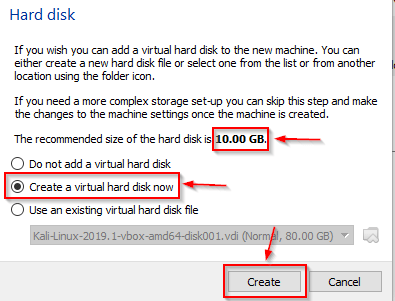
After this, there will be some type of window show in front of you, inside which you have been told that to install the window stand, you must have at least 10 GB of storage. If it says different in every computer, then it will also show some storage in you and after that you have to choose the second option and click on the create button.
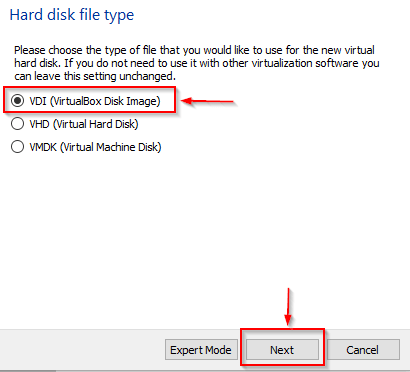
Here, you have to select the first option and then click on the Next button.
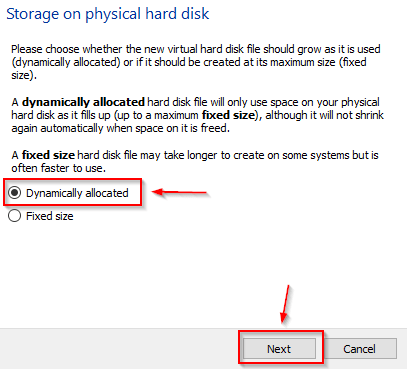
Here you have to suck the first option, which means that if you need more storage in future, then its storage will increase automatically.
Box – Select the Storage. ( windows 10 install virtualbox )
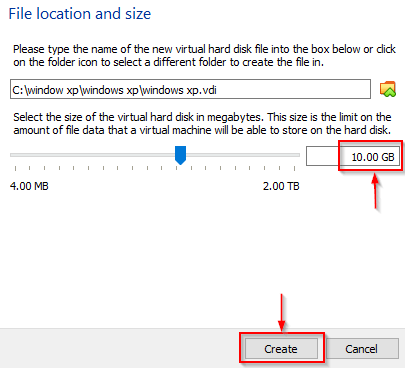
After this, you have to give storage to your Windows 10 which can be given by any number but it
should be more than 10GB and then click above the create button.
After this your Windows 10 will be configured, now we have to configure the virtual box, for which
we have to select our window and go to its settings.
Box – Select the ISO File. ( windows 10 install virtualbox )
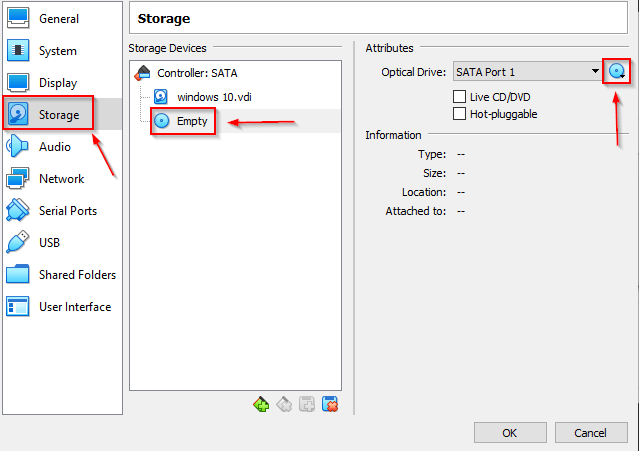
After going into the settings, we have to click on the storage option and then click on the option
of Empty, after that you have to select your Windows 10 ISO file by clicking on the icon of the CD.
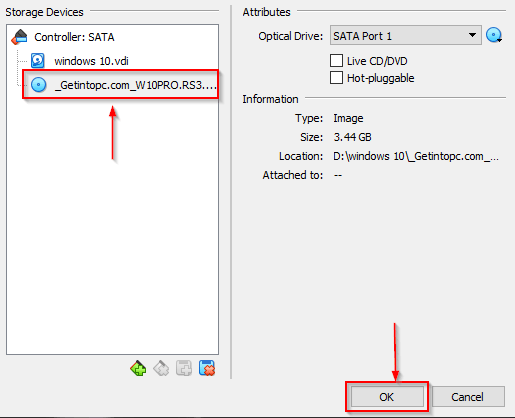
After selecting the ISO file, you will see a window of this type where you have to click on the OK
button.
Box – Network Setting.
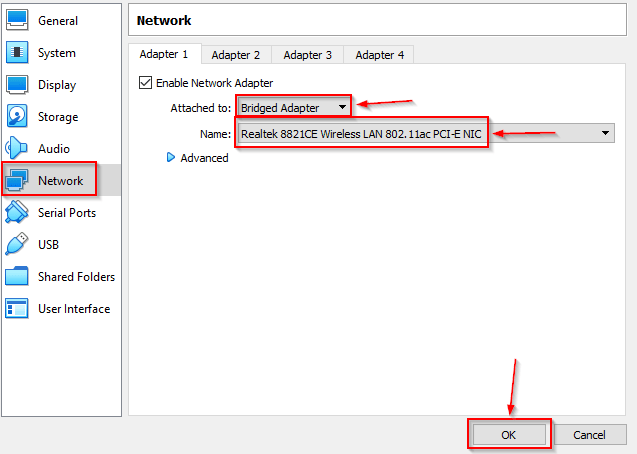
After this we have to go to the network settings and then you have to select the same options as
me and click on the OK button which will be the setting for your Windows 10 networks.
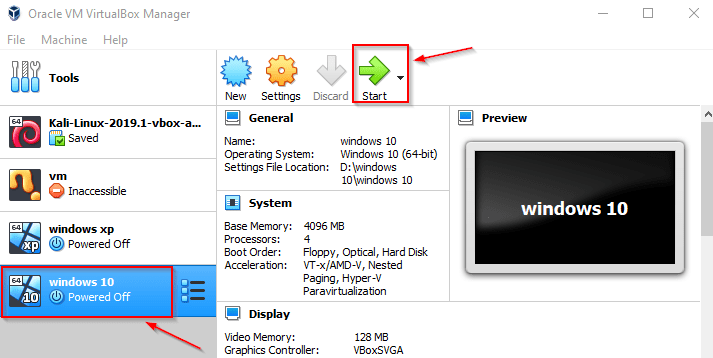
Now you have to start your windows, for which you have to click above the start button as shown in
the photo.
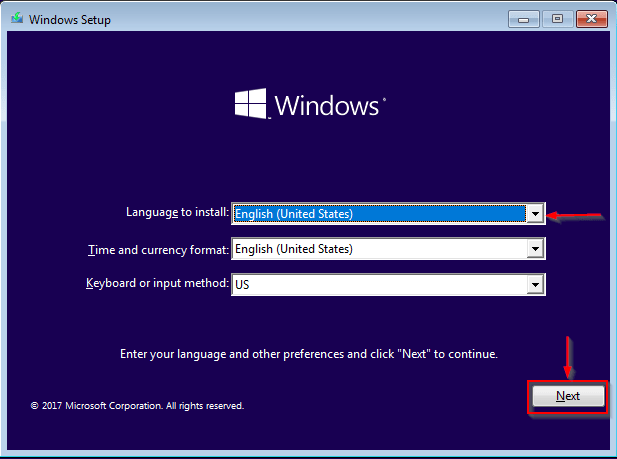
After the window starts, there will be some kind of show in which you have to select your
language and then click on the Next button.
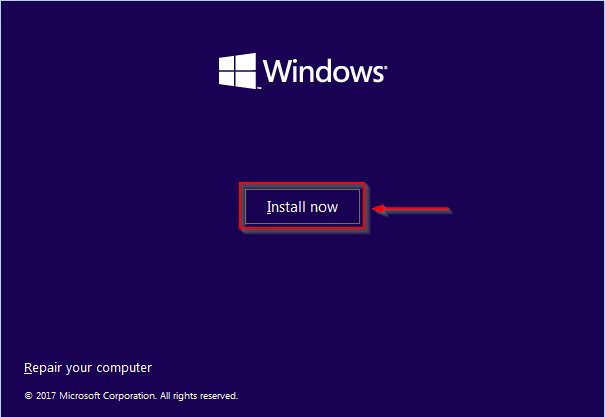
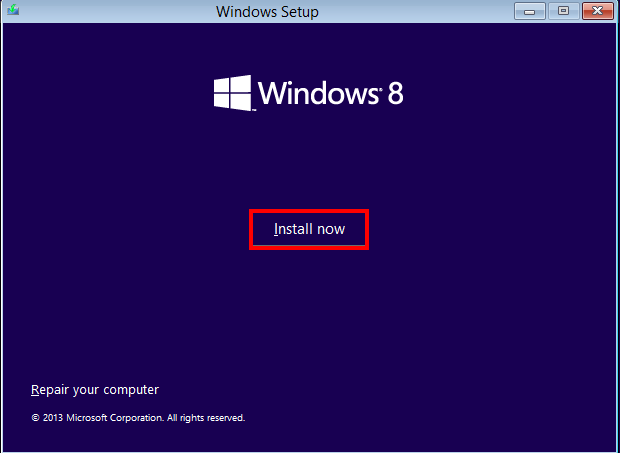
After selecting the language, there will be a window show in front of you, in which you are being
asked whether you want to install the window, here we have to click on the Install Now button.
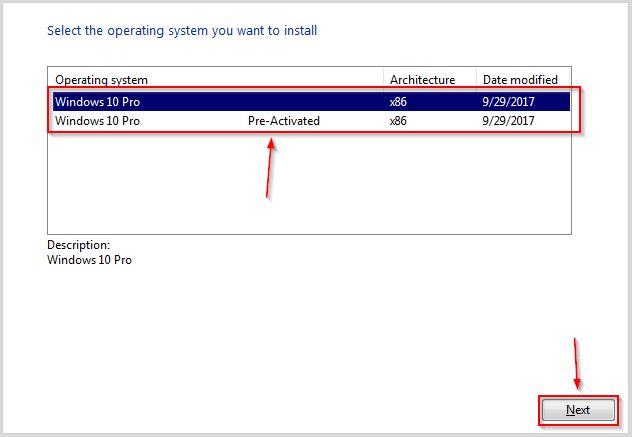
After this, all the windows 10 in your ISO file will be shown here, from which you have to select
whether you want to install which window and click on the Next button.
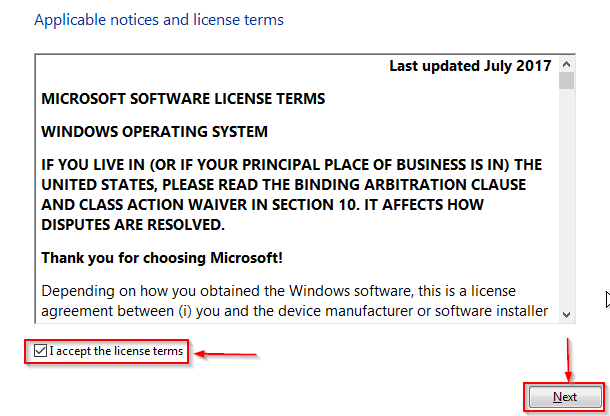
After this, the term and condition of the window will appear in front of you and then here you have to
tick the I Accept and click on the Next button.
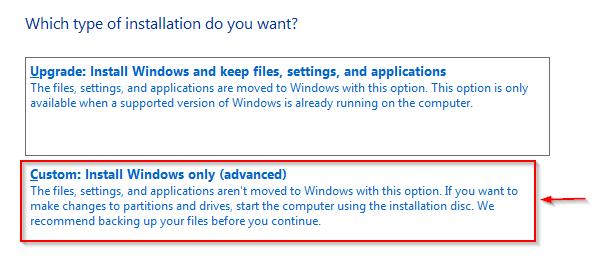
Here you have to select the custom install.
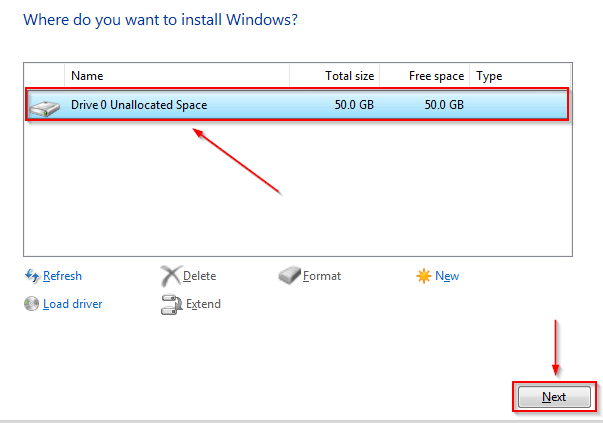
Then you will see some such type of window in front of you, where you will show your selected storage and ask if you want to install your window in this storage, then you select that storage and
Click on the Next button.
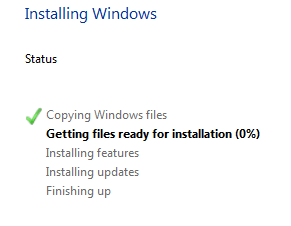
After this, your window will start installing. Now we have to wait till all the features are tick mark, it may take some time here, so wait.
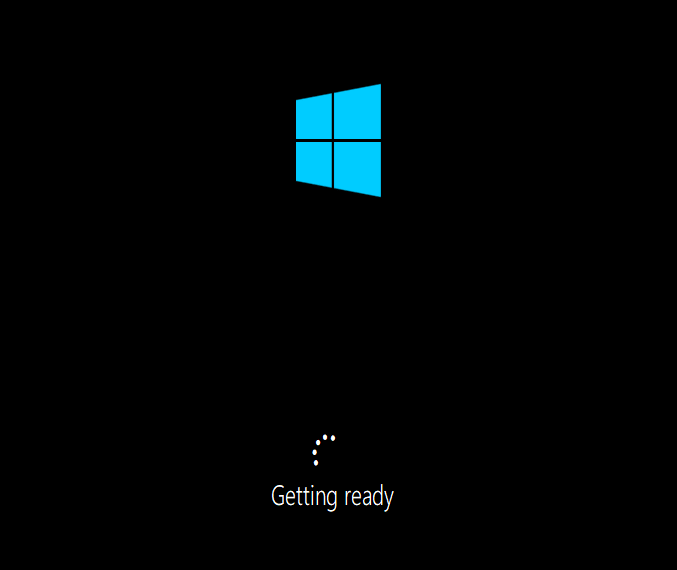
After this, your laptop will be restarted and after that there will be some such window show in front of
you, where you have told that all your features are ready.
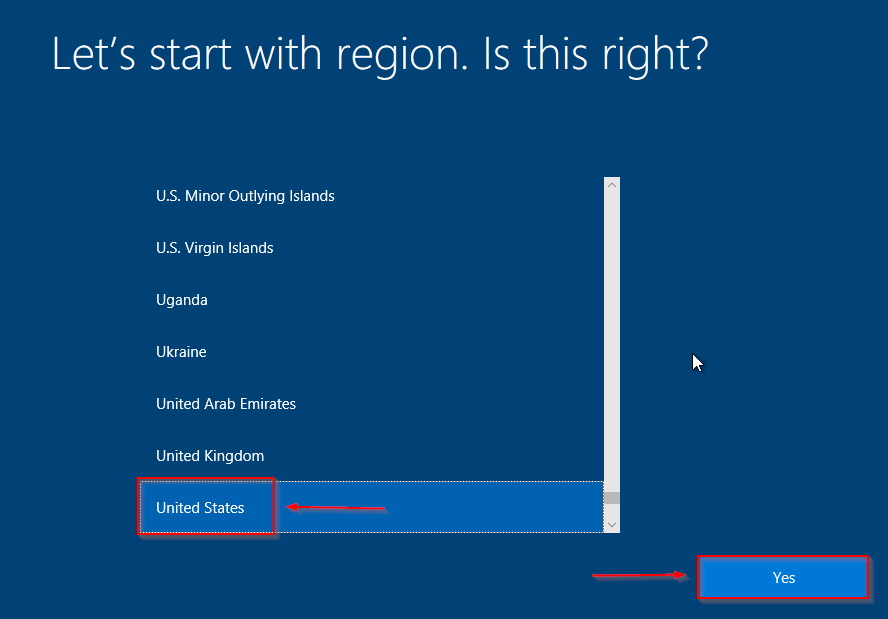
After this, you have to select your region here and then click on Yes.
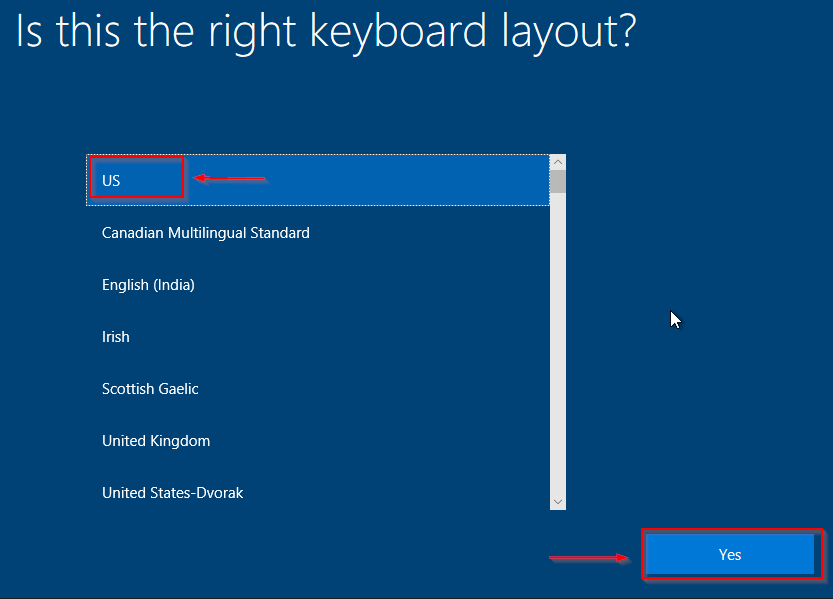
Here, you have to select your keyboard layout and click above the fame.
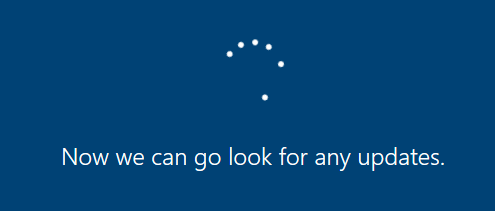
After this, there will be some such window show in front of which it is telling that whatever new
updates have come, it is installing and seeing them.
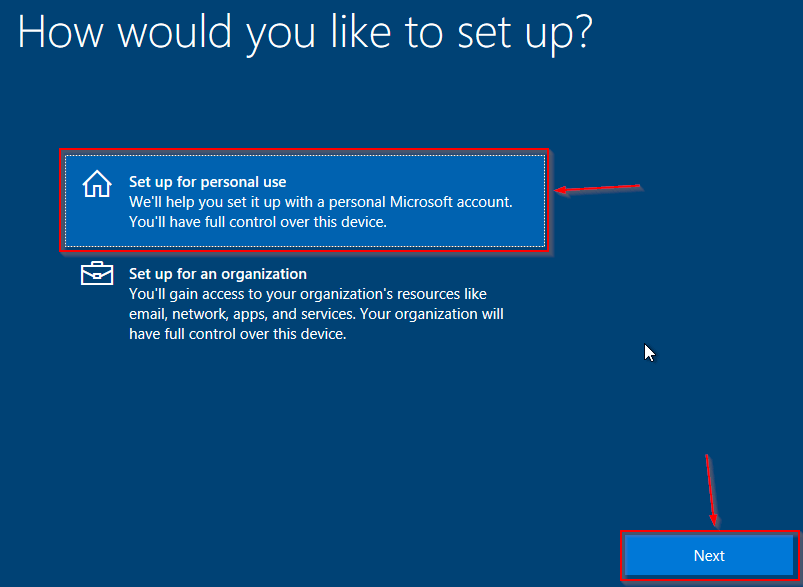
Here you have to select the first option for your personal use and then click on the Next button above.
Sign in with Microsoft. ( windows 10 install virtualbox )
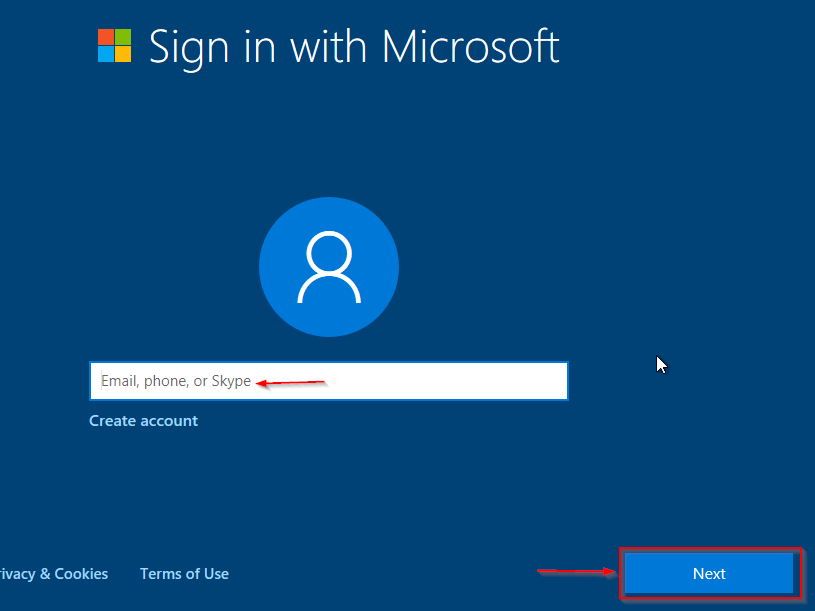
Here, to protect a password for your window, you have to enter your Microsoft account email and then click on the Next button.
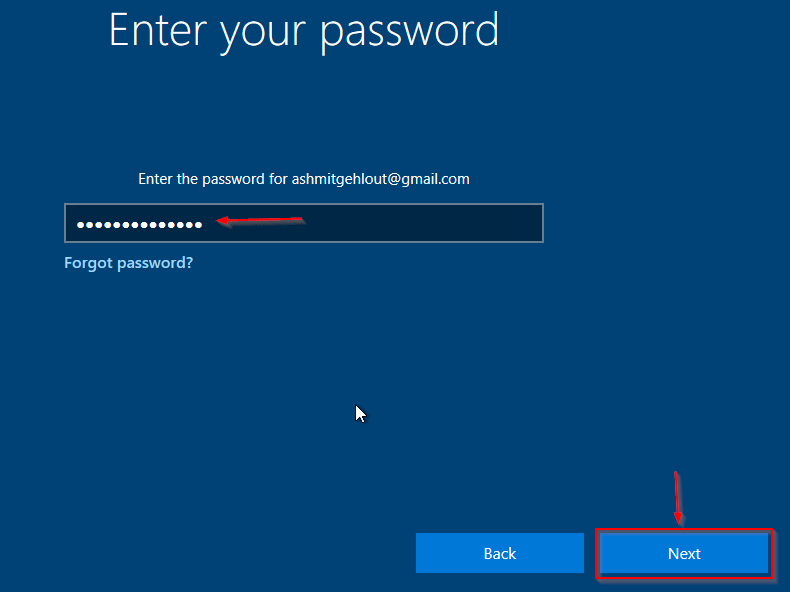
After entering the mail, you have to enter the password for that mail and then click on the Next button.
Set up a PIN.

Here you have to create a PIN for a security and then click on the OK button and come to the next step.

Here you are asking for your mobile verification. After mobile verification, you have to click on the Next button.
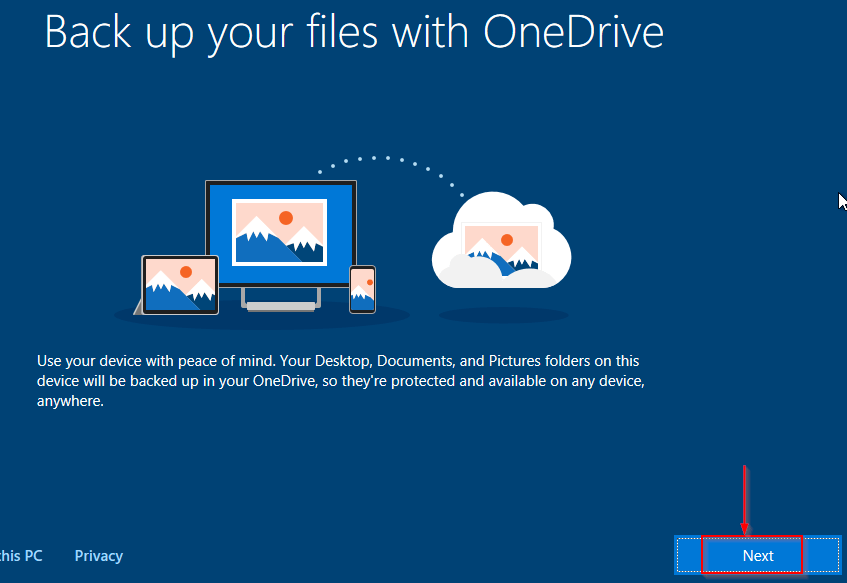
Here you have been told that all the backup of your window will be saved on your on-drive
automatically and then after that you have to click on the Next button.
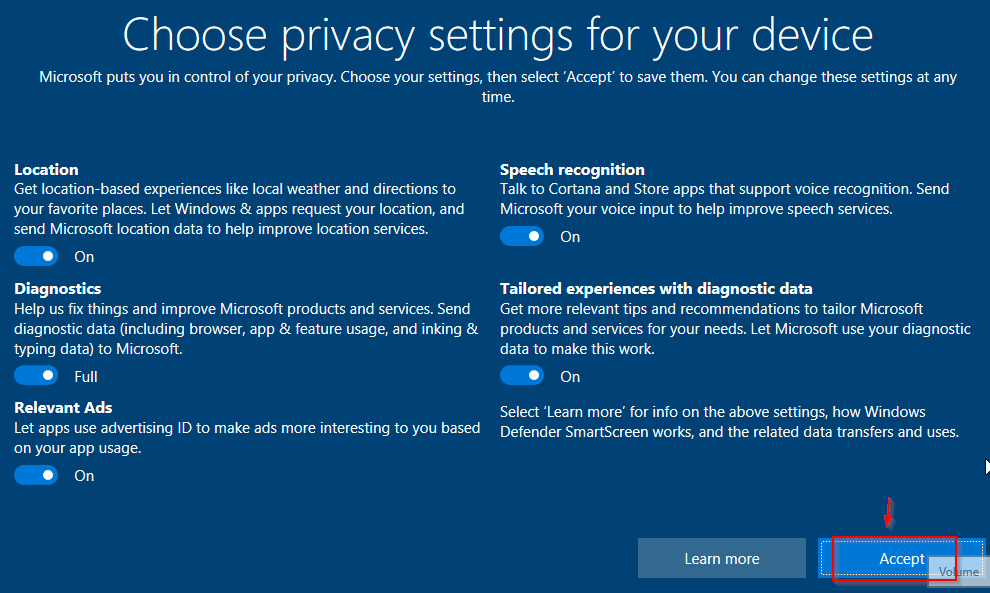
Here, you select all the options and click on Accept.
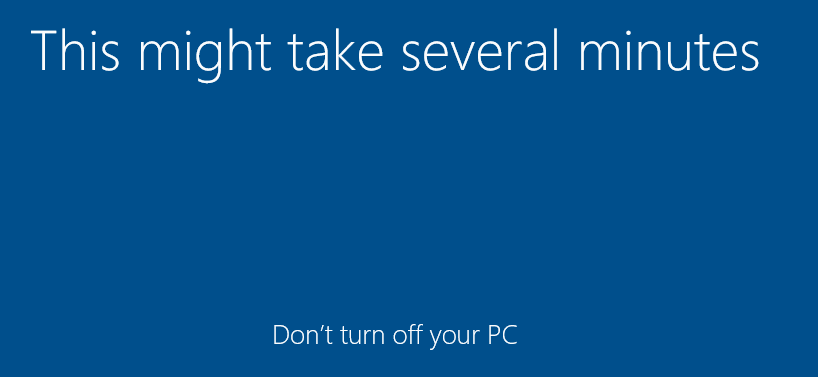
After this, it will take to prepare everything related to your window, for which it will take a little time, then you wait a little.
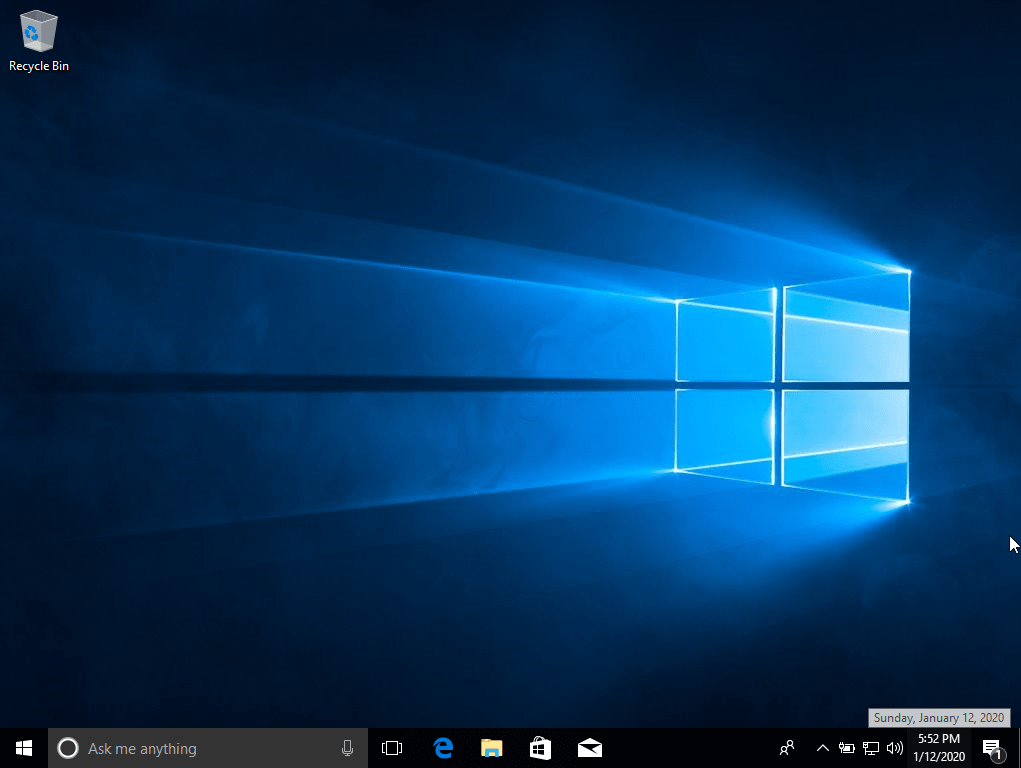
You can see that my window has been successfully installed, if you face any kind of problem in this process, then you can ask me in the comments.

