In this post we are going to install DataLife Engine on the Ubuntu server, DataLife Engine is a ( CMS ) Content Management System, DataLife Engine is designed for media websites and blog creation on the Internet. DataLife Engine is easy to use CMS.
DataLife Engine CMS is a Very lightweight Content Management System, you can run it with 8 MB ram memory and a single-core processor.
DataLife Engine Demo
DataLife Engine is working with a large website keeping the server load on a minimum level. in this post we use DataLife Engine Demo Free Trial Version, and DataLife Engine isn’t free for personal and professional uses but you can try DataLife Engine Trial Version, there is no payment method requires for Downloading DataLife Engine Demo.
- CyberPanel NameServer Configure
- CyberPanel Install on Vultr
- Best Content Management System
- vestacp installation on AWS free
- Joomla setup apache server
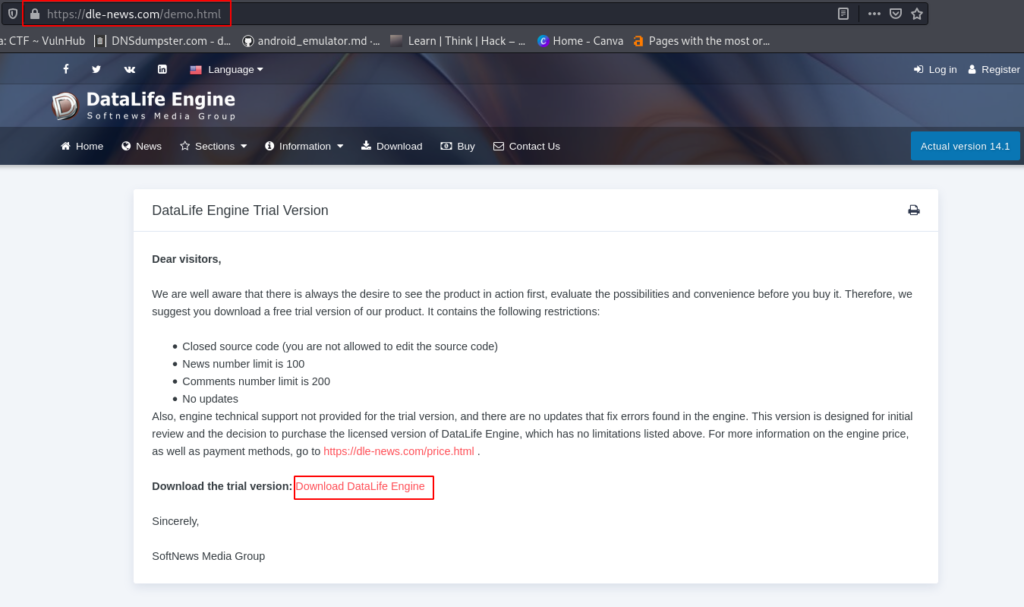
DataLife Engine Demo Download
You can download it from https://dle-news.com/demo.html
DataLife Engine Minimal Server requirements
- Apache 2.0 or above
- PHP 5.4 or above
- MySQL 5.0 or above
- PHP Extensions => Zlib, GD2 XML mbstring or iconv
- The minimum ram memory size RAM is 8 Megabytes
- The recommended size of RAM depends on your Site load.
DataLife Engine Installation on Ubuntu Server
Before Star DataLife Engine Installation, we need to download the DataLife Engine Demo trial version Source code, let’s download the DataLife Engine demo train version from https://dle.news.com/demo.html
In this DataLife Engine Installation, I’m using my subdomain, if you want to try DataLife Engine for Learning purposes, I suggest you install it on your Subdomain.
If you already enough learn about DataLife Engine you can Install DataLife Engine on your main domain for Blogging and creating a new Website.
After download the DataLife Engine Trail Version, first we need to create a Web directory for DataLife Engine Installation files, let’s open your terminal and create any name directory.
|
1 |
touch /var/www/dle.hacknos.com |
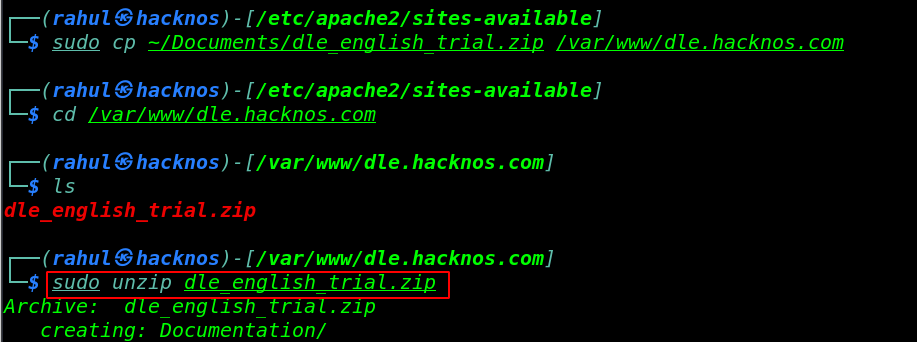
Now copy the dle_english_trail.zip file in your Document Root Directory, in my case, my Document root directory in /var/www/dle.hacknos.com and extract it using unzip command.
If you install DataLife Engine on your main domain or shared hosting in your case your document directory is different.
|
1 2 3 |
sudo cp <Download directory> <destination Directory> cd /var/www/dle.hacknos.com sudo unzip dle_english_trail.zip |
Adding Permission removing useless files
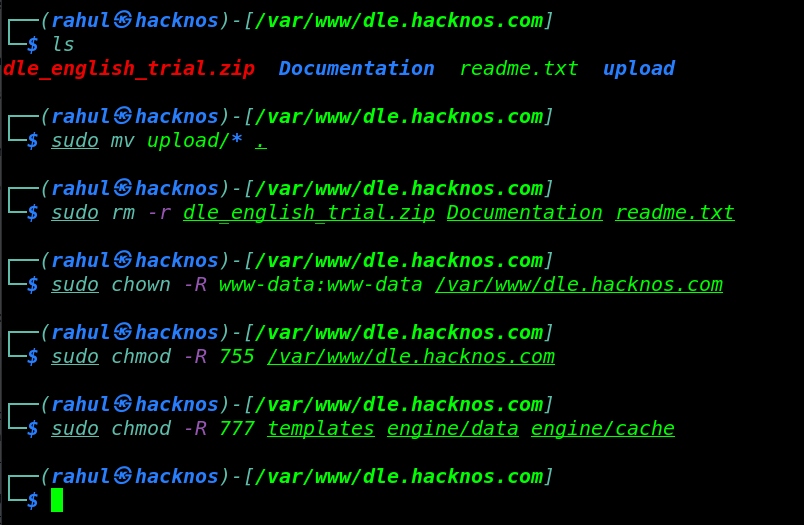
Now move your Document root directory and move all files from the upload directory to the document root directory.
|
1 2 |
cd /var/www/dle.hacknos.com sudo mv upload/* . |
Delete useless Files and Directory
|
1 |
sudo rm -r dle_english_trail.zip Documentation readme.txt |
Changing Files and Directory Group and user permission use these command.
|
1 2 |
sudo chown -R www-data:www-data /var/www/dle.hacknos.com sudo chmod -R 755 /var/www/dle.hacknos.com |
Adding Special permission for Special files and directories
|
1 |
sudo chmod -R 777 templates engine/data engine/cache |
Setup Virtual-Host For DataLife Engine Installation
If you install DataLife Engine on your main domain you can skip this step, because of this steps for Subdomain users.
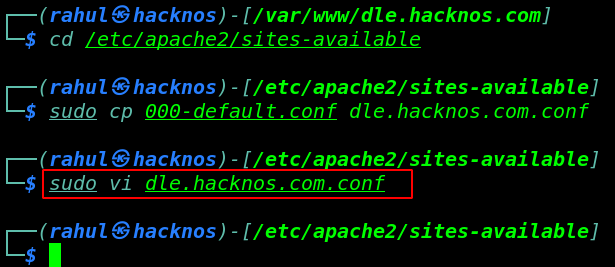
Let’s move the apache2 configuration directory and copy the default configuration file and open it to any text editor.
|
1 2 |
cd /etc/apache2/sites-available sudo cp 000-default.conf dle.hacknos.com.conf |
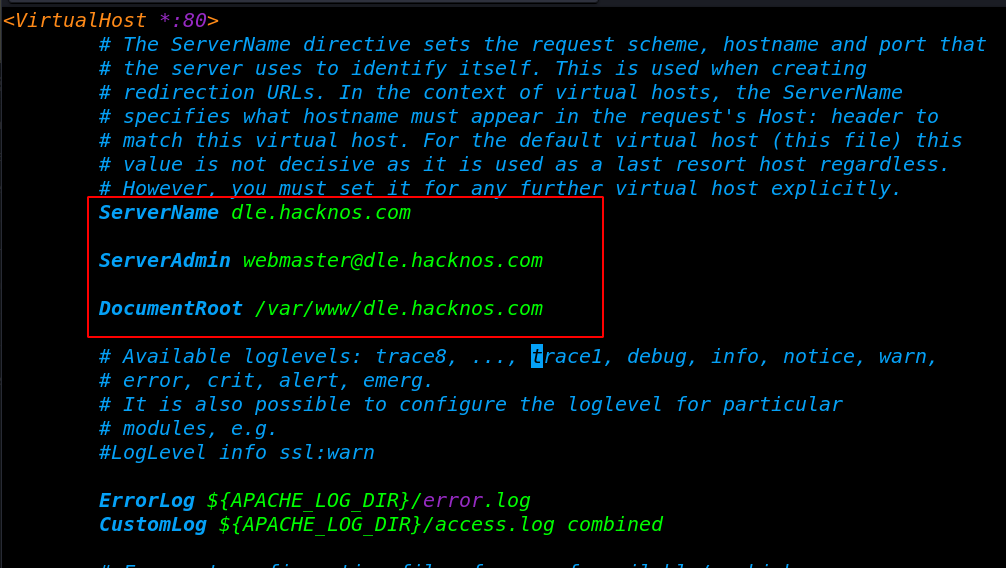
After open the virtual-host configuration file, we need to edit some lines First change the ServerName to your domain, and second change your DocumentRoot Directory, if you want to change Webmaster Email you can change it’s optional.
|
1 |
sudo vi dle.hacknos.com.conf |
Creating New Database for DataLife Engine Installation
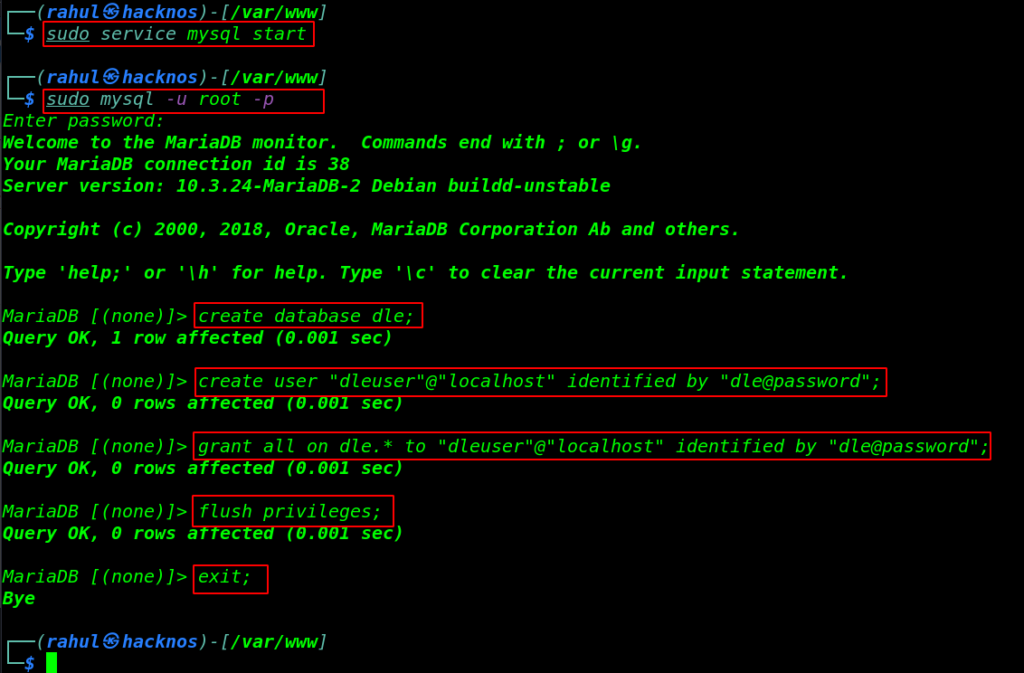
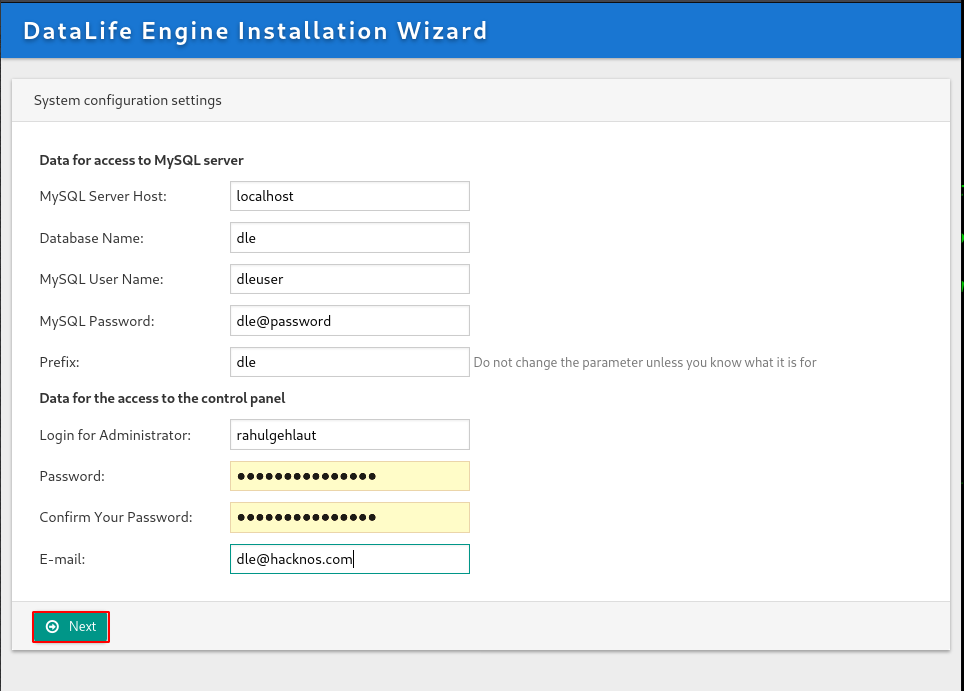
Let’s create a new database and new db user for DataLife Engine database files, I’m using MariaDB Server you can use these commands for creating a new database.
If you used PHPMYADMIN web base Database Server you can use it also for creating new database.
|
1 2 |
sudo service mysql start sudo mysql -u root -p |
|
1 2 3 4 5 6 7 8 9 |
create database dle; create user"dleuser"@"localhost" identified by "dle@password"; grant all on dle.* to user"dleuser"@"localhost" identified by "dle@password"; flush privileges; exit; |
Before Start DataLife Engine Installation Wizard installs these php requirement extensions, if you already did you can skip this step.
First Add these following repository for installing PHP extensions
|
1 2 |
sudo add-apt-repository ppa:ondrej/php sudo apt-get update |
|
1 |
sudo apt install php apache2 php-mbstring php-xml php-zlib php-gd2 php-iconv |
DataLife Engine Installation Wizard
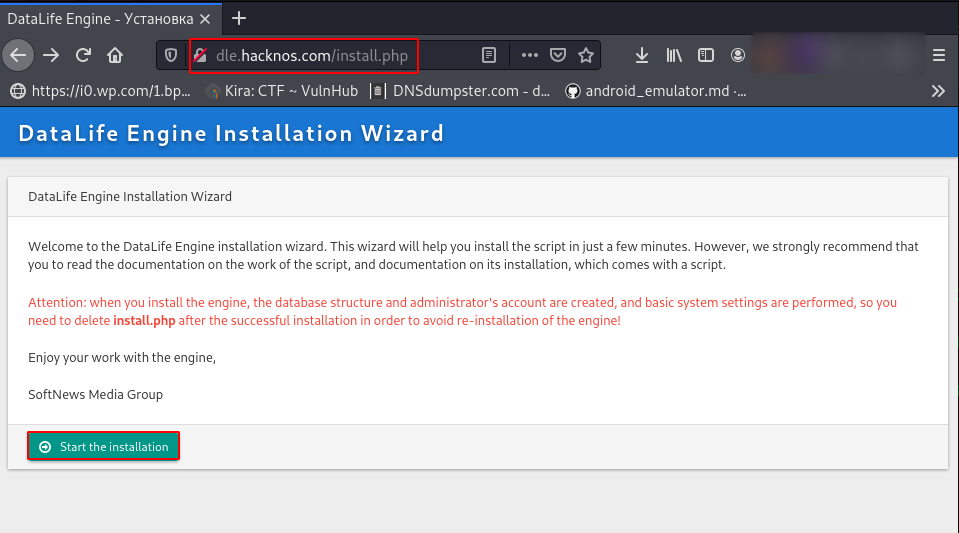
Now our Server Step is completed let’s open your any web browser and navigate the domain URL.
After open the website URL. you will see the DataLife Engine Installation Wizard page is open click the Start the Installation and go to next step.
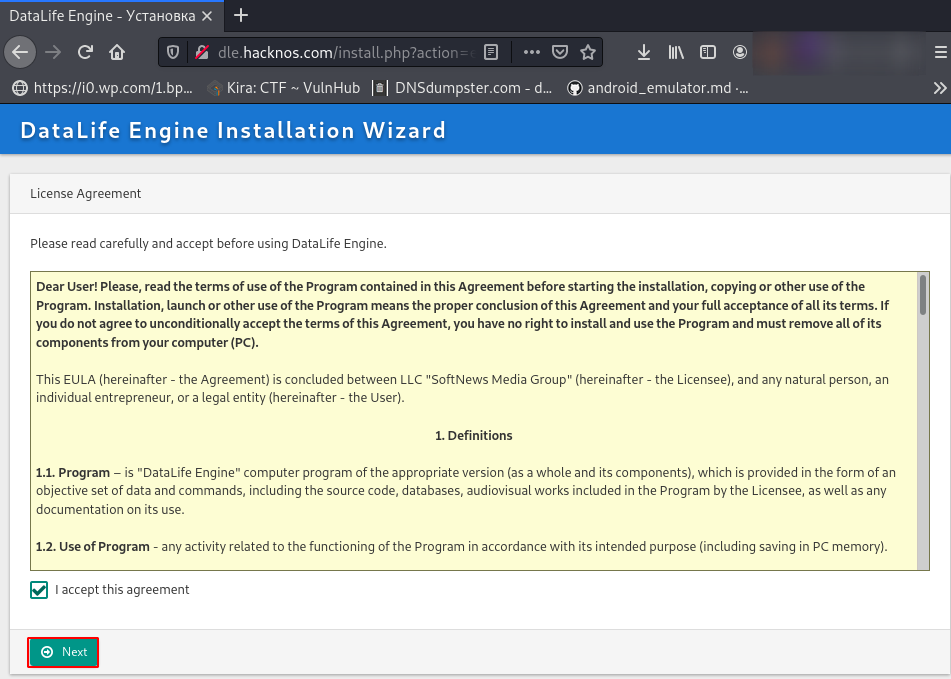
read the following license Agreement or click the checkbox and click on Next.
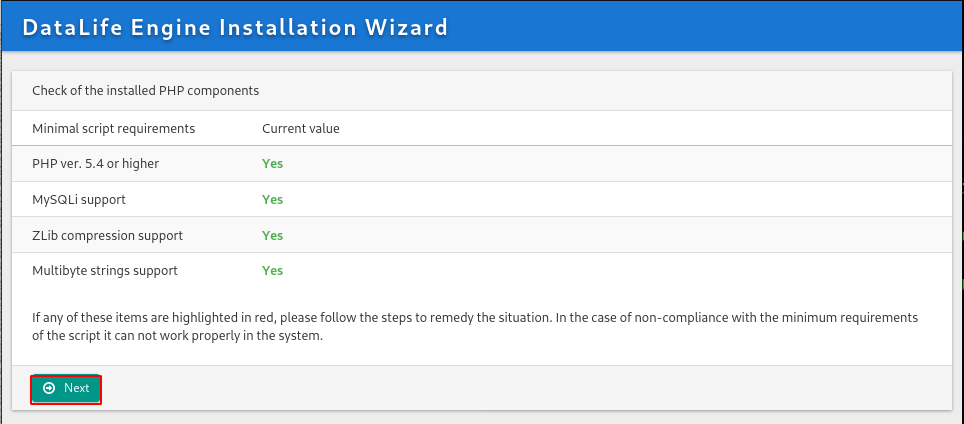
Checking Installation PHP components if you see any missing components first install the missing components After see the all requirements components in green status click Next.
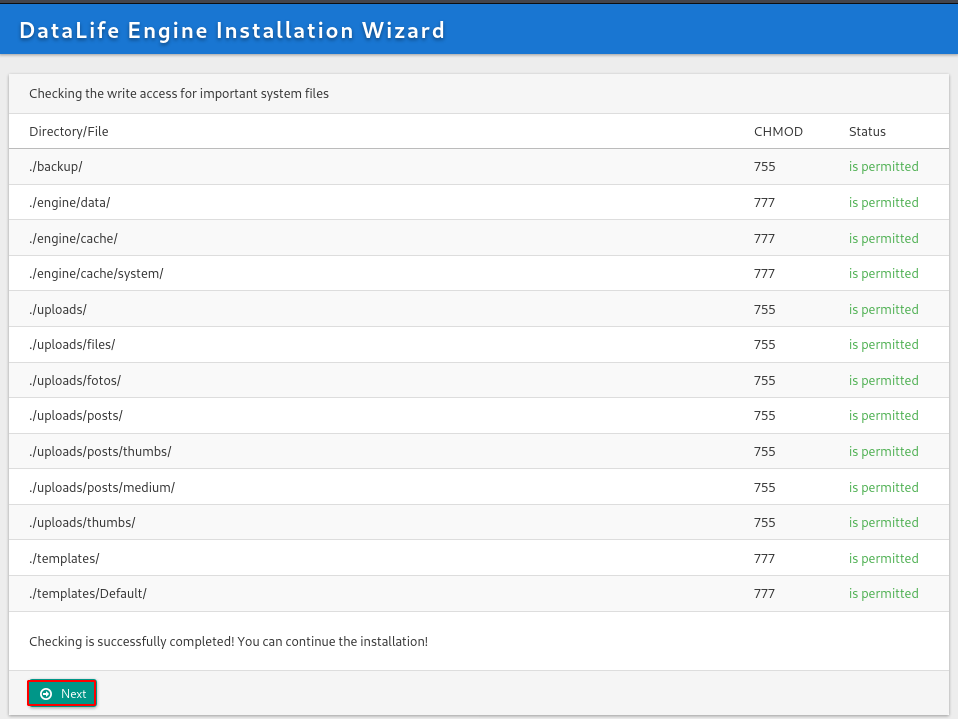
Checking the write access permission for important system files, if there any directory permission status shows red you need to add permission following directory.
Configuration Database, Let’s file your database information, if you didn’t create any database read the previous New Database paragraph, and create a new Administrator user for the Control Panel After completing the fill-up of all configuration settings click the next button.
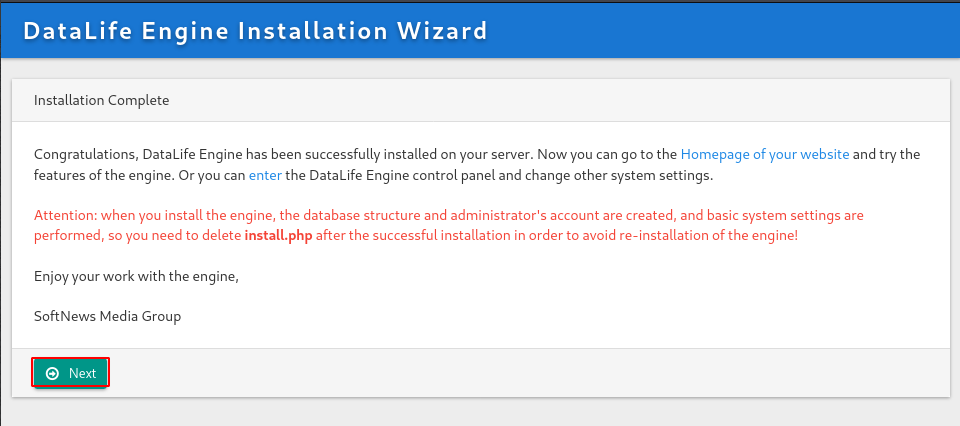
Our Installation Wizard is almost completed click the Next button and remove the install.php file from your Document root directory.
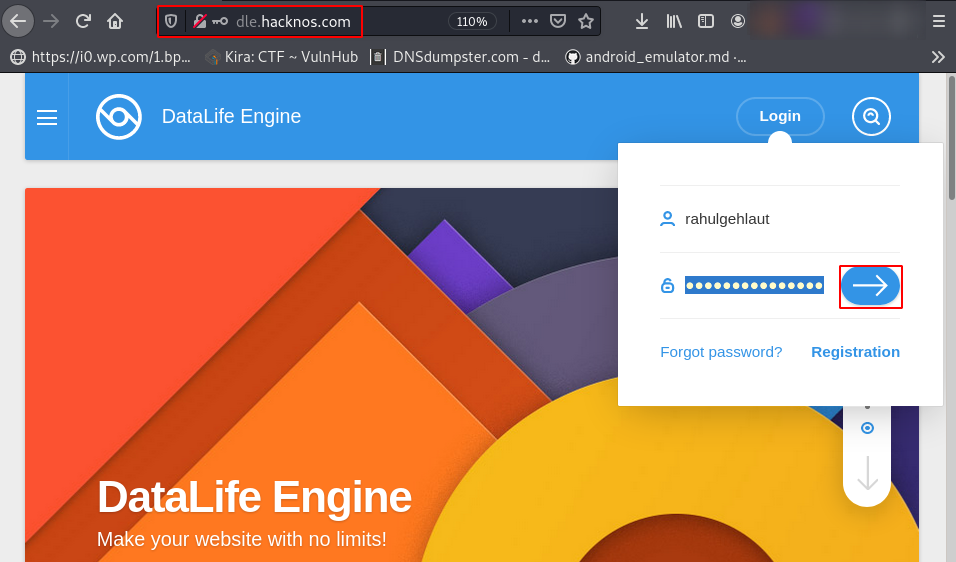
Now we see a beautiful DataLife Engine interface click the login button and write your administrator credentials then click the right arrow button.
Open the Administration Panel click on your username and next click on Administration Panel URL.
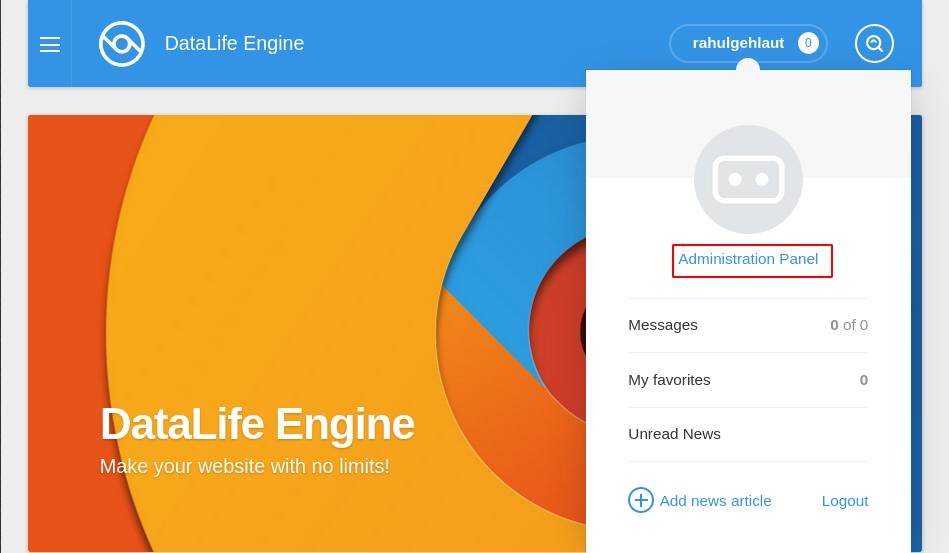
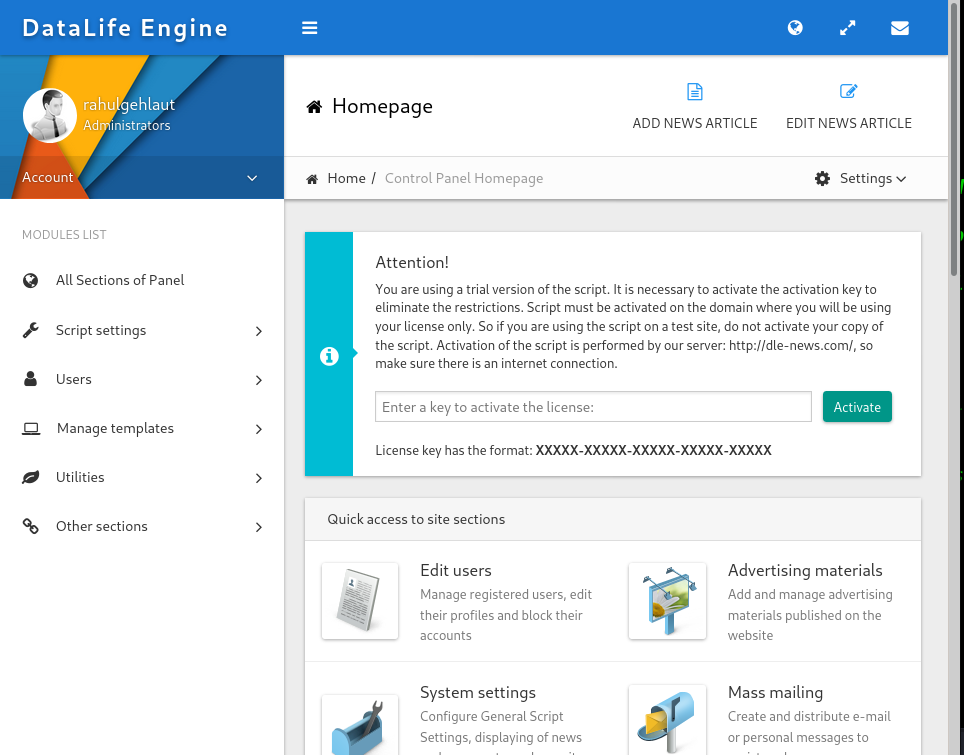
Now our DataLife Engine is successfully installed and now you can customize your uses according to this DataLife Engine Content Management System. (CMS )
