Today I will tell you, how will you How to Publish Android App on Google Play Store and upload your application to the Google Play Store and make it accessible to people.
Google Play is such a platform that makes Android applications accessible to people and for providing this service, it charges something by the publisher, after that you can use Google Play Console without paying for a lifetime.
More Related Questions
- Install Android Studio On Windows 10 – Part 1.
- Convert a Website to Android App – Part 2.
- Add Splash Screen To Your Android Application – Part 3.
- Enable Download Button In Webview Android App 2021 – Part 4.
- How to Generate APK for Google Play Console in Android Studio – Part 5.
Publish Android App on Google Play Store.
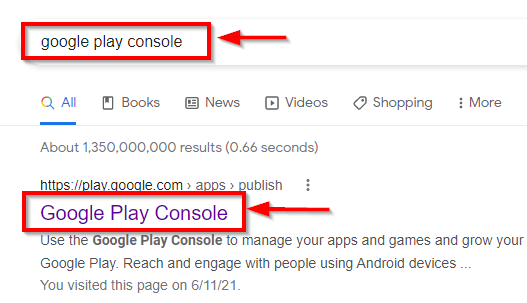
First of all, we have to create an account in Google Play Console, for which we will go to the official website of Google.
You have to search by entering Google Play in the Google search box and open the first result that comes which is the official Google Play Console. Here we will create an account to submit our application.
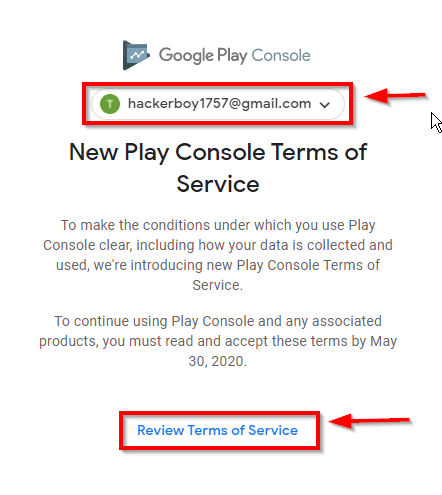
After doing this, an interface like this will open in front of you, here you have to create an account from Gmail on which you want your Google account to be created and then click on the Review Terms and Services button given below is.
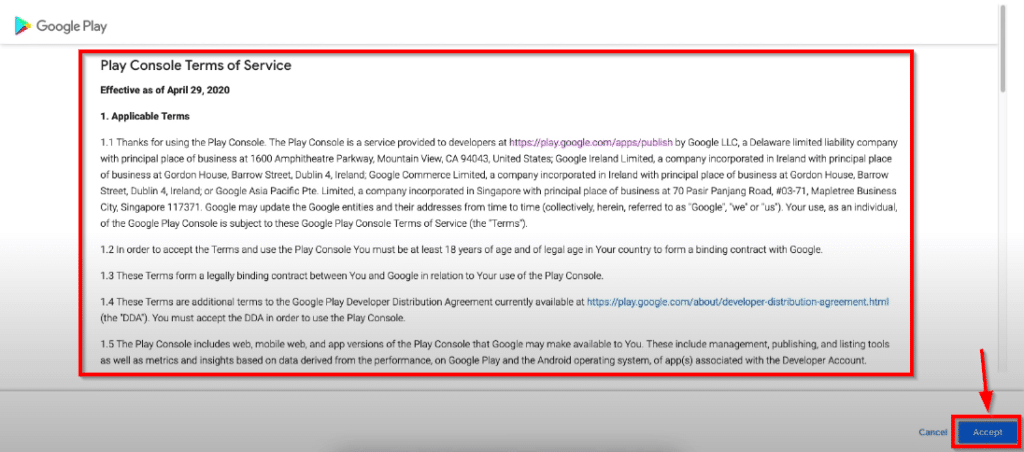
After this, a window like this will open in front of you, this is a complete form about all the services of the Google Play Console.
Which you can read and after submitting your application or before what are the conditions that Google Keeps in front of you all of them are written in this form, then you have to read it and click on the accept button given on the right corner.

One thing you have to keep in mind is that whenever you create your Google Play Console account, you will have to pay some fee to Google for this thing to use its service. This will be a one-time fee which is $25.
After giving this, you can access Google Play Console without paying for a lifetime and can submit any of your applications here.
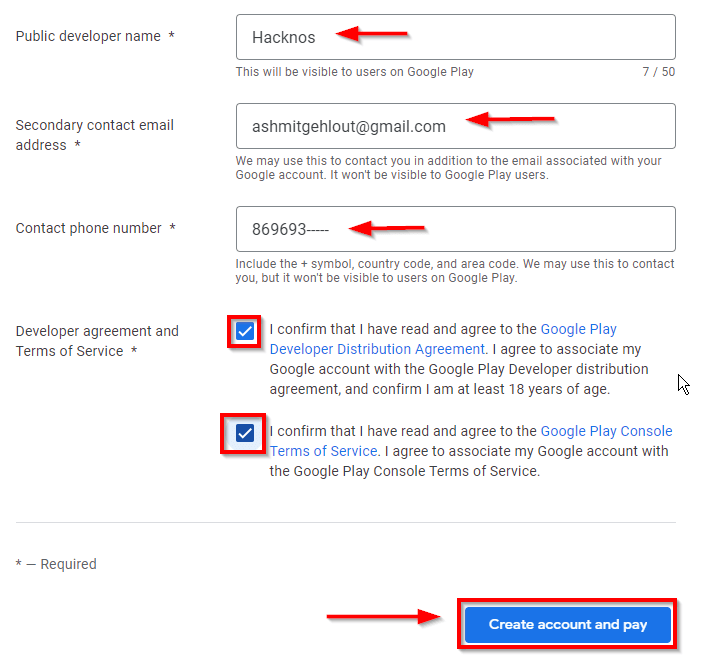
After this, a form of this type will open in front of you, you have to fail it, here you have to enter all the information exactly so that you do not have any problem later, in the secondary email, you will get the mail from which you are creating the account.
You have to give any other email address except this, after failing all this information, click on the Create Account and Pay button.
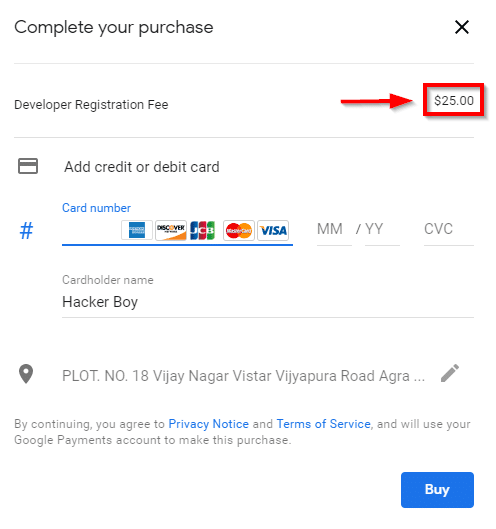
After completing all this process, now you will have to pay $ 25 to use Google’s service, which you can do through your international credit card or debit card.
This fee will be charged from you only once and then you can use this platform for a lifetime. After doing this, when you pay all the fees to Google, then a receipt will come on your Gmail account, which is written inside That would be how much money you have paid to Google.
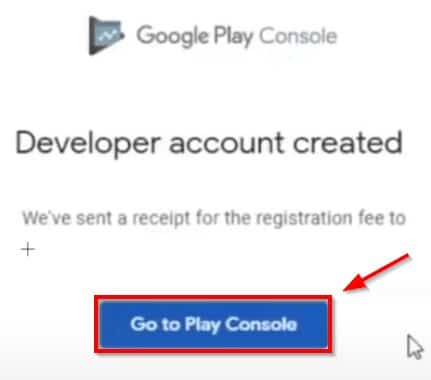
After doing this, some kind of interface will open in front of you, here your account has been successfully created, now you have to click on the Go to Play button and come to the dashboard of the account you have created.

After this, to submit your Android application and publish it on the Google Play Store, you have to click on the Create App button given so that you can request a new Android App.
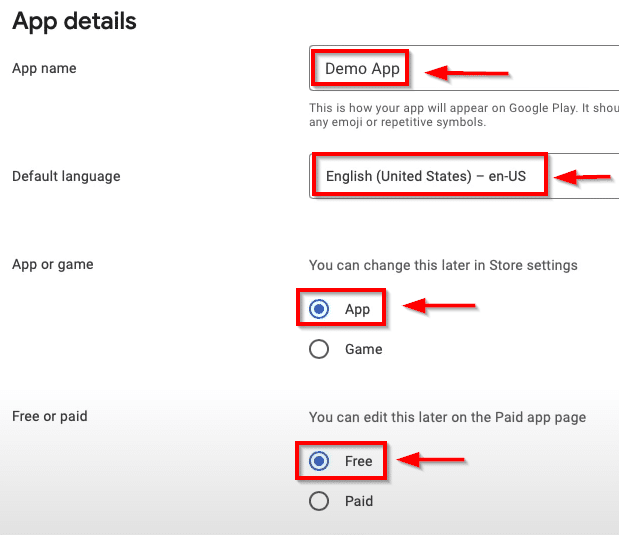
After this, some kind of information will be open in front of you, here you have to fill in all the things like the name of your android application.
Which language is used in your android application, is your android application an app, or is it a game on your android You want to give the application to the people for free or you want to make some money from the people to use the application.
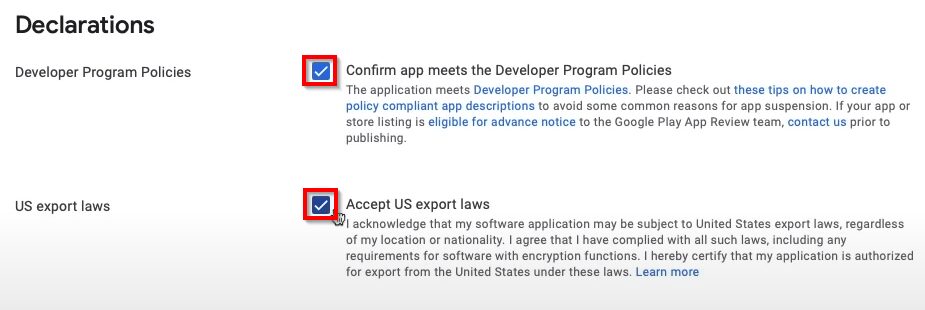
After this, you have to scroll down on the page and come to the section of declaration, here you have to tick both the checkboxes.

After filling all this form, now you have to click on the Create App button given on the right corner to create an application of yours and save all this process.
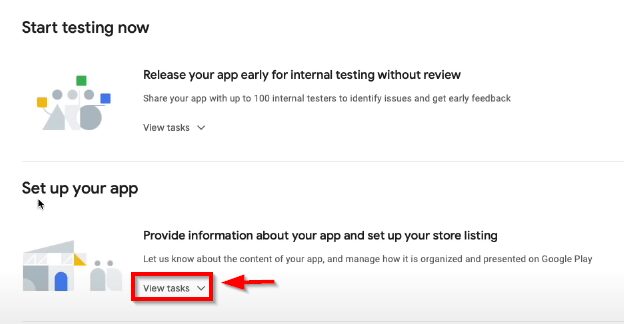
Now some such interface will open in front of you, here you have to go to the second option set up your app and click on the view task button so that you can setup your Android application to submit it.

After clicking on the View Task button, some options will open in front of you, after successfully completing all these options, you can send your Android application to Google Play Console for review, where your Android application will be sent by Google’s team. After review, it will be approved.
Step 1: App Access – Google Play Publishing.
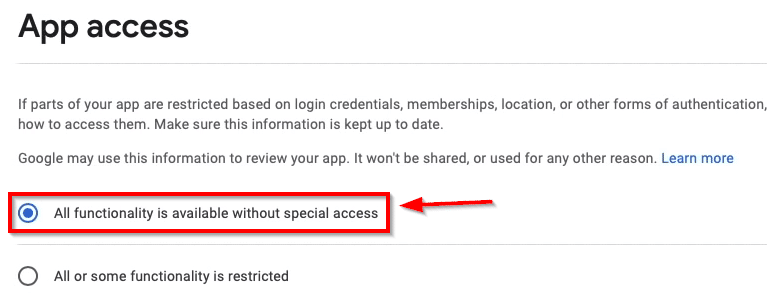
First of all, you have to click on the first option App Access and some kind of interface will open in front of you, here you have to select whether the user has to log in to access the information in your Android application or not.
If the login form is given in your application, then you have to click on the second option, otherwise, you can select the first option and save this process by clicking on the save water given on the right corner.
Step 2: Ads – Google Play Publishing.

After this, you have to come to the second step where you are being asked whether there is any other company’s AIDS or product advertisement in your Android application.
If the ad is being run by any company in your application, then you have to click on the first option, otherwise, you have to select the second option and click on the Save button.
Step 3: Content Ratings – Google Play Publishing.
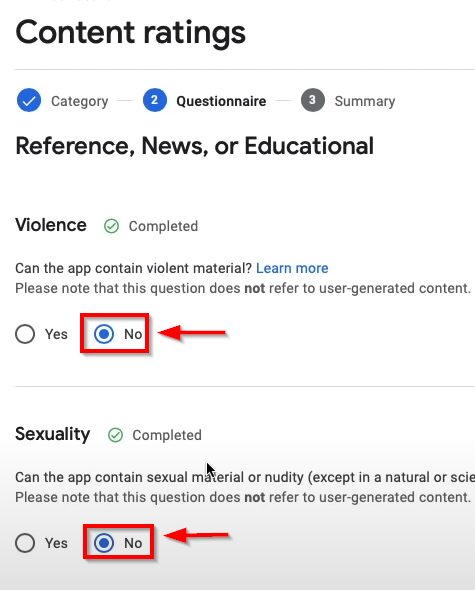
After this, you have to open the third option content ratings, and in front of you something like this.
The interface will open, here you have to read all the details yourself and give information about your Android application, this detail is very important, so you must read it and fill all the options according to you.
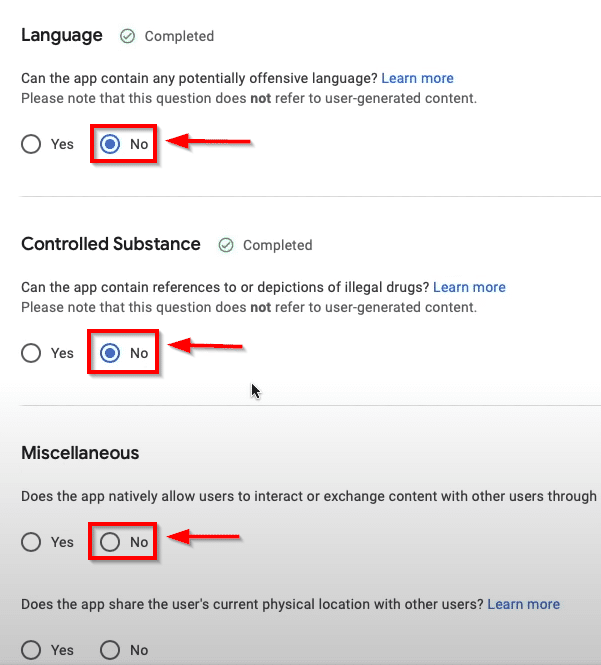
After this, you have to scroll down and read the given and option score and fill it correctly and save all the process by clicking on the save button given in the right corner.
Step 4: Target Audience – Google Play Publishing.
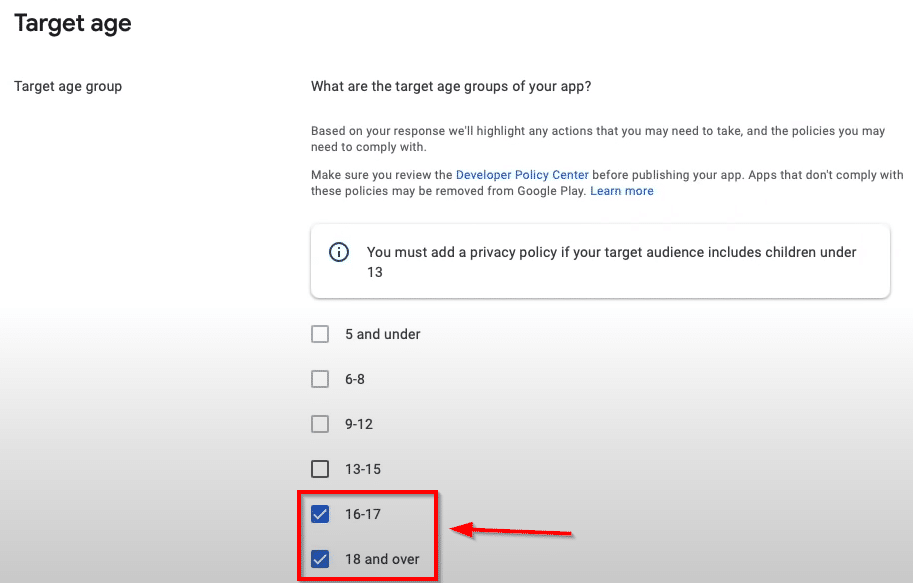
After this, you will come to the fourth option to submit the application, where you have to select the audience for your Android application, which audience you want to give to use your Android application.
Here whatever audience you have, its country Location has to be told about its edge where you want to show them. And then save this whole process.
Step 5: News Apps – Google Play Publishing.
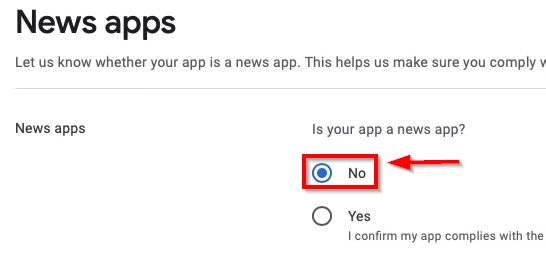
After this you will come to step 5 where you have to tell whether your Android application is not a news-related app, if it is, then you will make it successful otherwise you save it by clicking on the first option nine.
Step 6: Select App Category and Store Settings.
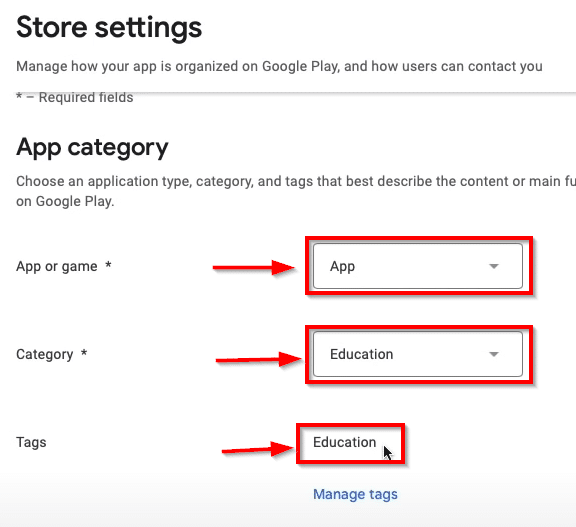
After this you will come to the sixth step, here you have to set up the store for your Android application, where you have to provide some information related to your Android application, such as which category your Android application is related to. You enter the tag.
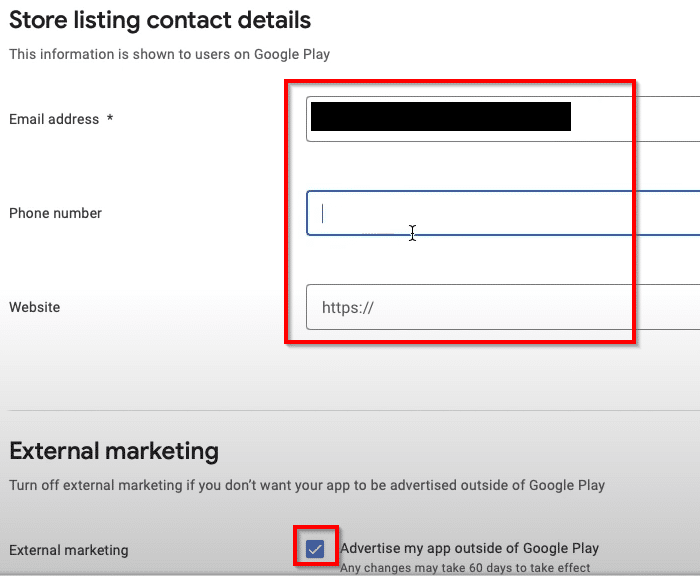
After doing this, you have to scroll down the page and enter your email address, if you want to give the phone number and the name of your website, then you can give it here.
It is optional where you have to enter the image address, the rest two You can leave the option and then you have to tick mark the external marketing box given below and then save the whole process.
Step 7: Setup Store Listing – Publish App Google Play Store.
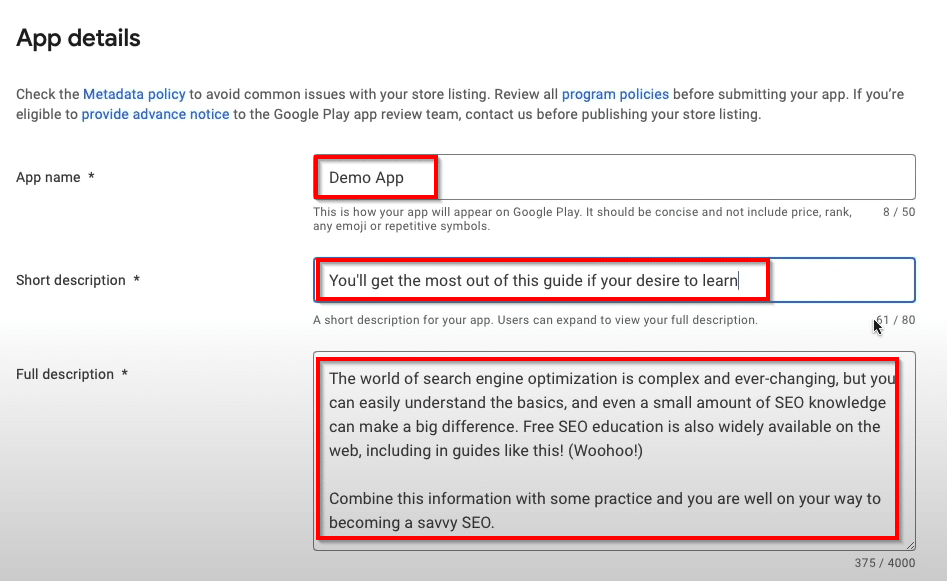
After this, in the seventh step, you will have to give some description related to your Android application, which will be visible to people after your Android application is published on Google Play Store.
You have to give two types of description here, first a short about your Android application. You have to give a description and second, you have to give a full description of your Android application.
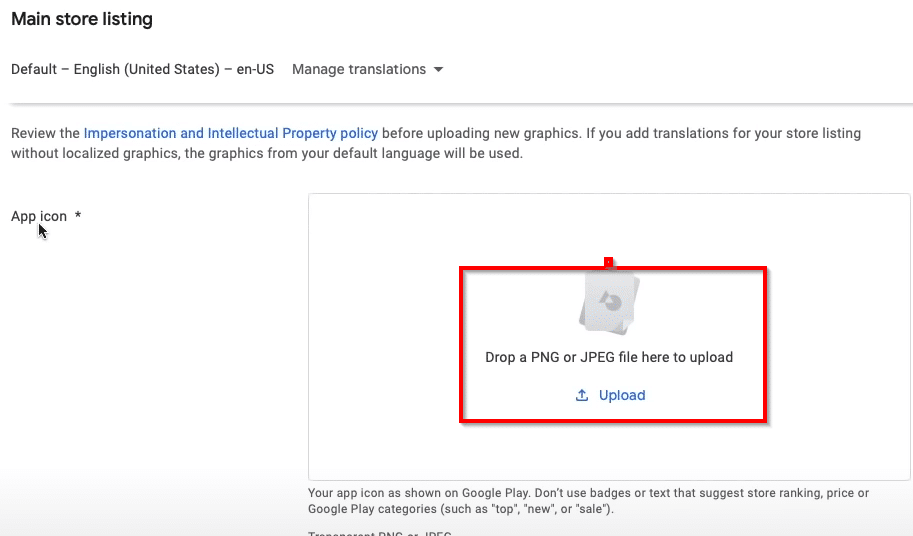
After this, you will have to give some screenshots here which should be related to your android application and you have to upload any icon you want to show here which will be shown on the google play store after giving all this information you have to download it Have to save.

Now our android application is setup and now we will send this android application in review to publish on the google play store for which you have to go to publish your app on google play and click on the view task button.
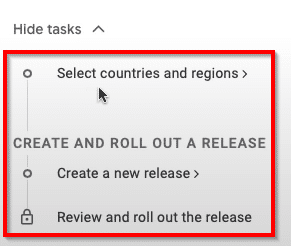
After clicking on the New Task button, you have to select all the options given here like in which country you want to show your Android application and after that, you have to create a new release for your Android application.

When you will create a new release for your Android application, then you have to click on the review release button given on the right corner so that the section of the release created by you will be reviewed by the Google team.
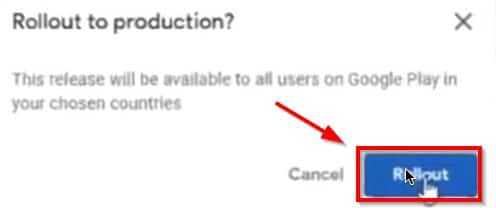
And after this, the option of this method will open in front of you, here you have to click on the rollout button. As soon as you click on the rollout button, your Android application will be submitted to the Google Play Console.
And then your Android application will be seen by the Google team whether it is under Google’s policies or not, only after that your application will be approved. It will be given and after getting that approval, it will be shown on Google Play Store in automatic writing.
Time of FAQs
Google Play Console is an android application publishing platform where you can submit any of your Android applications and after reviewing that application by Google’s team, approval is given, which you submit to Google’s play store. It is given so that more people can download your application and you can reach your application to as many people as possible. Google Play Console takes some charges for publishing your application, which you have to pay once and after that, you can use Google Play Console account for the whole lifetime without any charge.
If you want to create an account for Google Play Console and submit your Android application in it, then for that you have to go to the official website of Google Play Console from where you create an account and pay the service charges demanded by Google. After that, you can submit your Android application there. After creating an account on Google Play Console, you have to do some one-time charging for a lifetime which is $25. After this, you can submit any of your applications here.
If you want to submit your application on Google Play Console, then you will have to pay some charges for it. Google Play Console charges you $25 for your entire lifetime using its service, after which you are able to easily access all the services of Google Play Console and submit any of your Android applications here. The $25 you pay is not refundable if you want to refund the price you paid it is not possible.
