How to Airgeddon Tool Installation and Fix All Errors.
Today I will ask you to install the Airgeddon tool and show all the errors in between and solve it.
All Error – Search Airgeddon github.
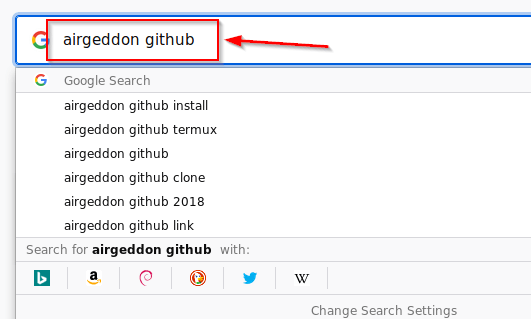
First of all, we have to install the tool, for which we have to go to Google and search Airgeddon github.
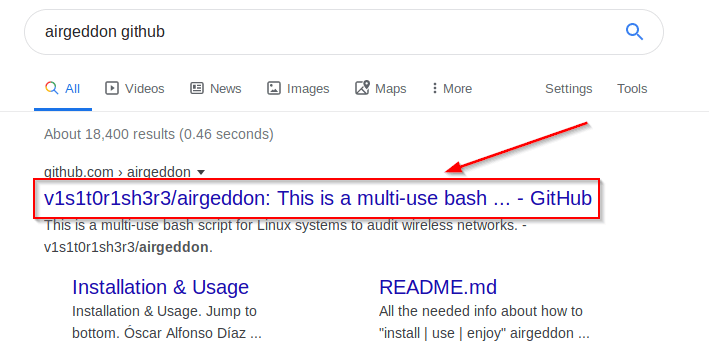
After searching, there will be something in front of you from this type of window, inside which you have to click on the First result, as shown in the photo.
All Error – Copy the Tool URL.
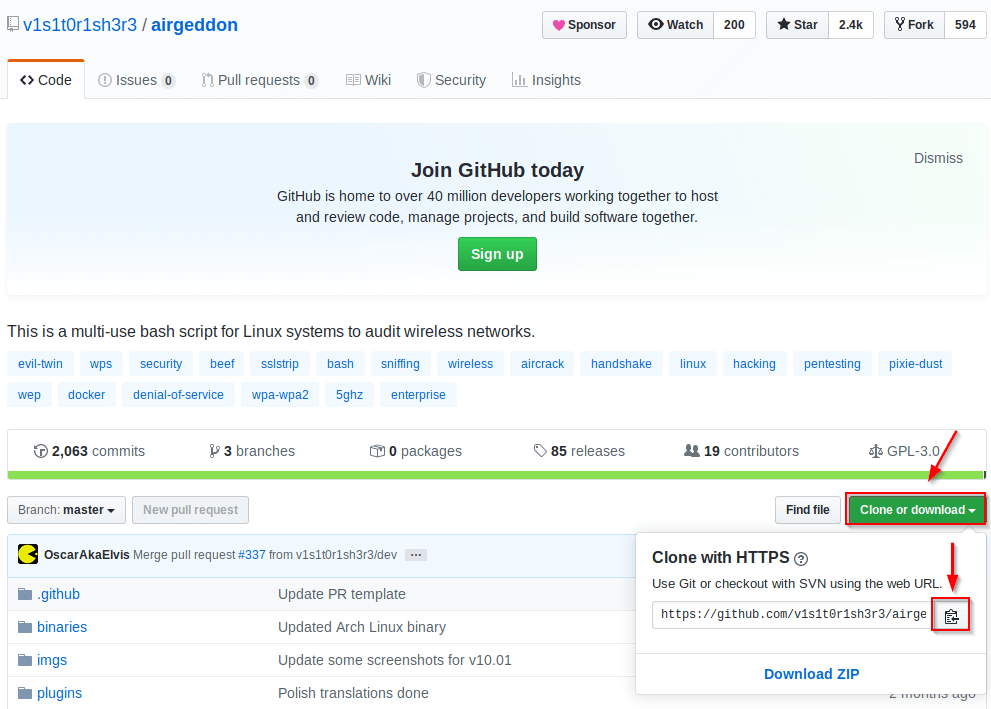
Then some such type of interface will open in front of you, where you have been given the download
button below to download the tool, you can also download the tool in a zip file from here or you can
copy its URL for direct download. You have to see whose button is seen below.
All Error – Download the Tool.

|
1 |
git clone https://github.com/v1s1t0r1sh3r3/airgeddon.git |
After copying the URL you have to open a terminal and there you have to first paste the URL by typing
git clone and then press the button so that your tool will start downloading.

You can see that my tool has been successfully downloaded and will install this tool.

To install the tool, you first have to go to the folder of your tool where your tool is downloaded and
then you have to give some permission to a file as shown in the photo.
All Error – Give the Permissions.

|
1 |
chmod 777 airgeddon.sh |
To give permission to the file, you will find it in the section of the command command and is also
shown in the photo.

|
1 |
./airgeddon.sh |
After giving the permission, you have to open the tool easily, whose command you will find in the
section of the command.
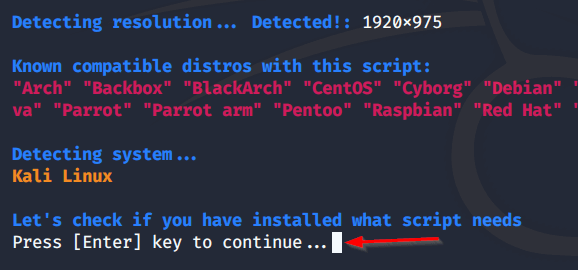
After the tool is open, some such interface will open in front of you, where you have to continue by
pressing the enter button.
All Error – Fix all Errors.
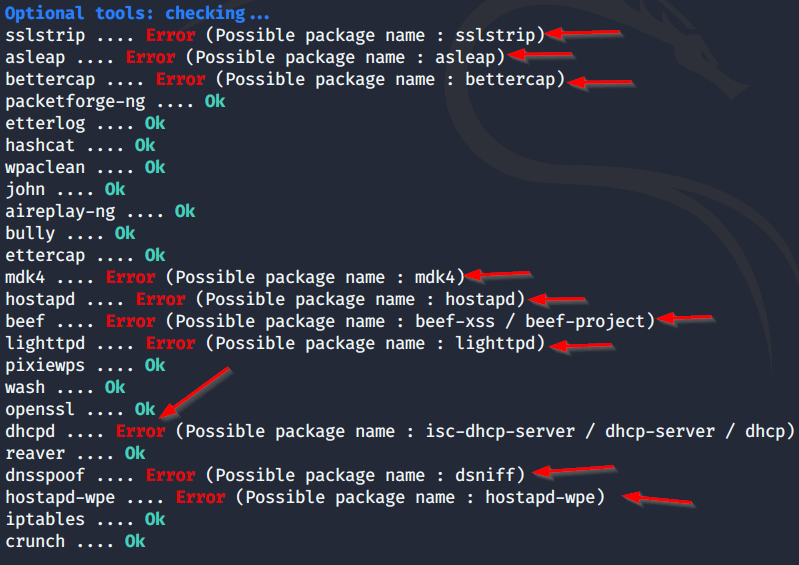
Now you can see that some errors are coming in front of us, which are useful for running the stool,
some of the software is not installed yet. So now we have to install these software manually.

Before the family installation, this automatic will ask to install all the software where you have to
proceed by pressing the (Y) button. So that all the software has to be installed.

You can see that some type of address is showing in front of me, inside which it is telling that your net
connection is not right and all these software are not being installed, so we have to continue by
pressing the enter button.
All Error – Manually Install the Softwares.
|
1 |
apt-get install (YOUR SOFTWARE NAME) |
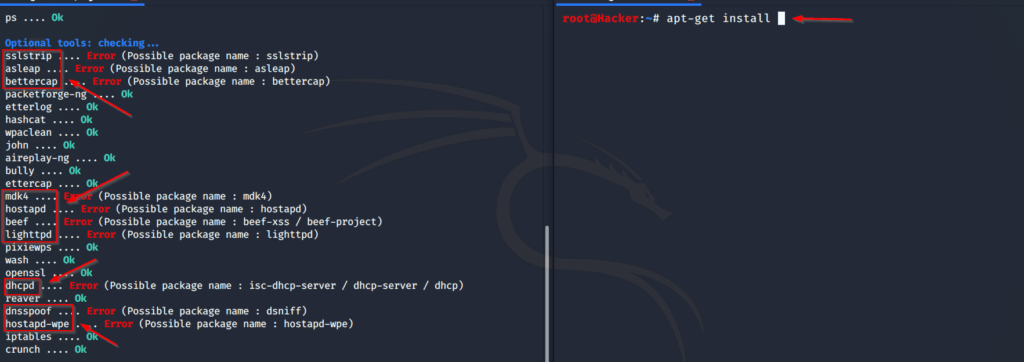
To install all the software manually you have to first write some commands and then after writing the
command you have to give the name of the software which is required and not installed for your tool,
in which the tool is showing the error as You see in the photo.

Our first tool is sslstrip which is not installed, now we will install it manually for which we have to
press the enter button after giving the name of the tool.

After this, some type of window will open in front of you, inside which it is telling you how much the
size of your tool is and how much of your storage will fall after it is installed, here you have to proceed
by pressing the (Y) button.

In this way, you will have to install all the other tools.

After installing all the tools, you will not be able to install two tools in front of you, for which you will have to use different commands so that this Arabic is fixed.
All Error – Install Two Other Tool.

|
1 |
apt-get install beef-xss |
To install the remaining two tools, you will find the command in the section of the command and is also
shown in the photo. Airgeddon Tool Installation and Fix.

|
1 |
apt-get install isc-dhcp-server |
This is the second toll after which all your software will be successfully installed.
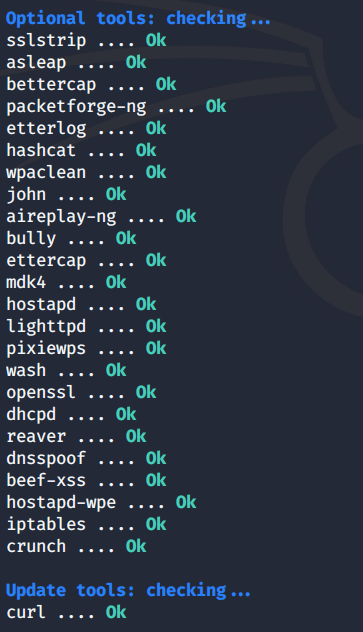
You can see that all my software has been installed and now I am not showing any error on any software.
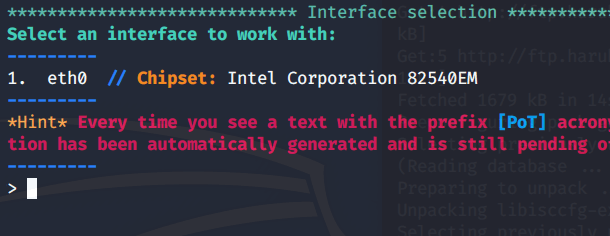
You can see that my tool has started successfully and now I am not having any other show of any kind.

