How to on setup kali Webserver on AWS
How to configure static IP AWS see here. Kali-Linux install.
Log in to your AWS account and launch a new EC2 instance

Now Create New Instance click Launch Instance
Amazon AWS – Create New Machine.

Choose an Amazon Machine Image And search Kali Linux and click Select button
Amazon AWS – Choose Your Machine.

Next click Continue

Choose an Instance Type use t2-micro Free and click Next: Configure Instance
Amazon AWS – Select Your Plane.

Configure Instance Details Simple click Next: Add Storage

Click Next: Add Tags
Amazon AWS – Select the Stroge.

Add Tags You chose anyone tag

Configure Security Group A security group is a set of firewall rules that control the traffic for your instance. Create a new security group Type SSH, All TCP, All UDP and Source Anywhere And click Review and Launch

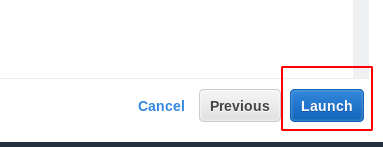
Please review your instance launch details. You can go back to edit changes for each section. Click Launch to assign a key pair to your instance and complete the launch process
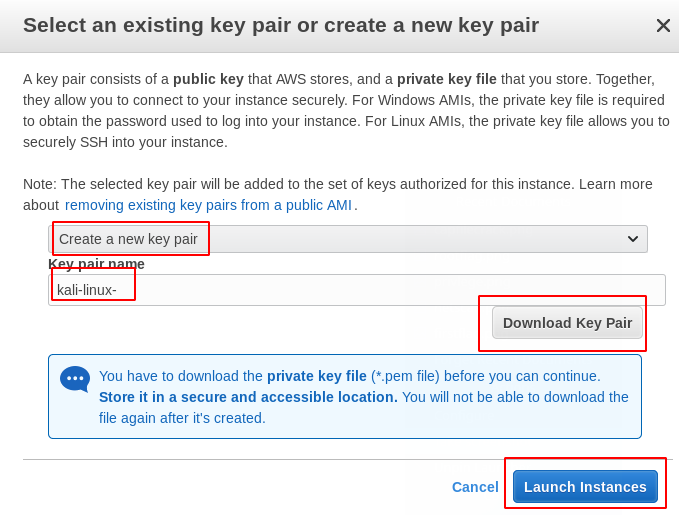
For connecting Kali Linux create a new key pair And Download you key Download Key Pair and Launch Instances
Now Go To your Ec2 Dashboard and Select and copy you instance Ip address for connecting Machine

first Go to your Download Folder and change permission Chmod 400 “you key name” after change permission login ssh connection Kali-Linux install.
ssh -i “your key name” ec2-user@youripaddress and yes
you log in your Kali Linux shell ec2-user change you user sudo su for the root login.

Author: Rahul Gehlaut